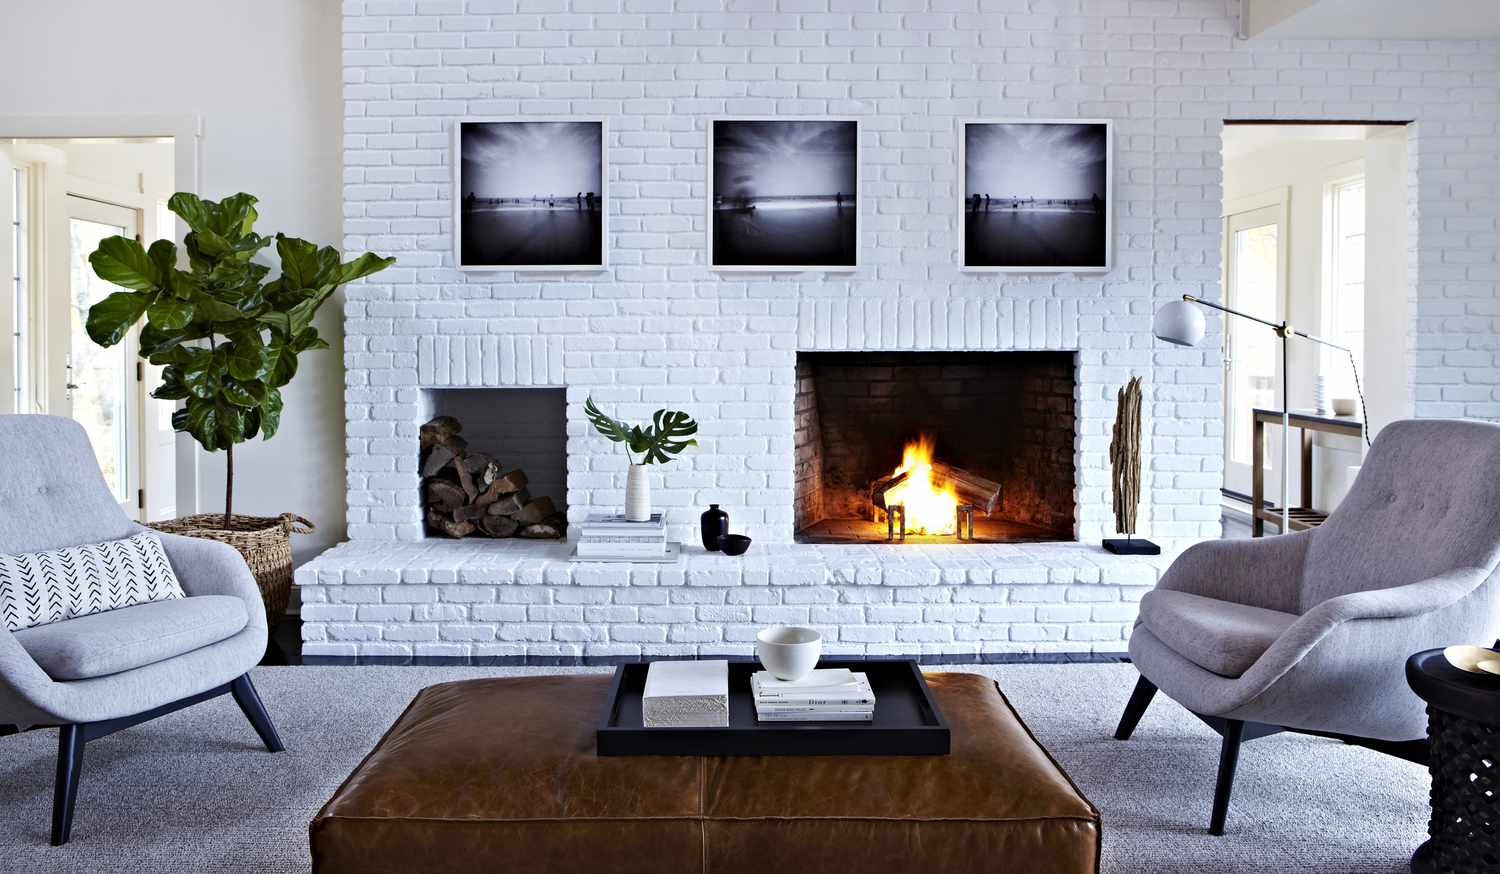
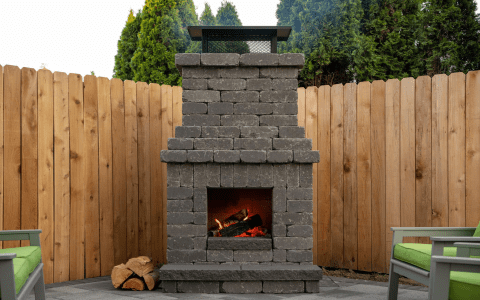
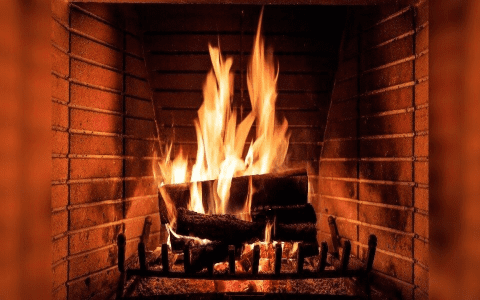
Okay, so I decided to give my fireplace a little makeover, and let me tell you, it turned out pretty great! I went with white bricks because, well, who doesn’t love a classic, clean look? Plus, it really brightens up the whole room. Let’s dive into how I went about it.
First things first, I had to choose the right kind of bricks. Not all bricks are created equal, especially when it comes to fireplaces. I learned that the hard way. You need fire bricks, the ones that can handle the heat. Regular bricks just won’t cut it; they can crack or even explode when things get too hot. So, I did some digging and found these solid clay fire bricks. These solid clay bricks are a traditional choice and they hold heat like a champ, which is perfect for those chilly nights. I also considered ceramic bricks, which are lighter and come in some fancy designs, but they can be a bit pricier and are more focused on high-heat resistance and decoration rather than retaining heat.


Once I got my hands on the right bricks, the real fun began. This time I chose high quality Cordierite fire bricks that can stand up to 2400 degrees Fahrenheit. I had to remove the old, ugly bricks. Let me tell you, that was a workout! But with some elbow grease, a chisel, and a lot of patience, I got them out of there. The next step was prepping the surface. I cleaned everything up, made sure it was nice and smooth, and got rid of any loose bits.
Then came the part where I actually got to put in the new white bricks. I mixed up some mortar and I carefully started laying them in place. It felt a bit like a puzzle, making sure everything fit just right. This kind of fire bricks come in a variety of sizes, so I have many choices. Took my time, double-checked the level every now and then, and before I knew it, I had a beautiful new brick face for my fireplace. The white color really did make a difference. It’s so much brighter and more inviting now. And the best part is, these bricks don’t just look good; they hold the heat really well. So, even after the fire’s died down, the room stays warm and cozy. It’s like the fireplace is giving you a warm hug, even when the flames are gone.
I also added a few decorations to really make it pop. I found a nice painting and some candlesticks for the mantel and a cool firewood holder. Even threw in a tall plant on one side to add some life. It’s these little touches that really bring the whole thing together. The walls around the fireplace were a bit dull, so I painted them a nice beige color. It’s light and helps keep the space bright, especially since the room doesn’t get a ton of natural light.
- Choosing the Right Brick:
- Looked for fire bricks, not regular ones.
- Found solid clay bricks that retain heat well.
- Considered ceramic bricks but preferred the traditional look.
- Removing the Old Bricks:
- Used a chisel and some serious elbow grease.
- Took a while, but got it done.
- Prepping the Surface:
- Cleaned everything up.
- Made sure it was smooth.
- Laying the New Bricks:
- Mixed up mortar.
- Carefully placed each brick.
- Checked the level regularly.
- Adding Decorations:
- Put up a painting and candlesticks on the mantel.
- Added a firewood holder and a tall plant.
- Painting the Walls:
- Chose a light beige color.
- Brightened up the space.
It was a bit of work, but totally worth it. It feels good to sit back and admire what I accomplished. Plus, it’s super satisfying to know that I did it all myself. If you’re thinking about giving your fireplace a makeover, I say go for it! Just make sure you choose the right materials, take your time, and don’t be afraid to get your hands dirty.
I chose Aluminum oxide material this time, It’s a tough ceramic, white in color, and it can stand up to a whole lotta heat.
Trust me, the feeling you get when you finally light that first fire in your newly bricked fireplace is unbeatable. So yeah, that’s my fireplace story. Hope it inspires you to tackle your own DIY project!


