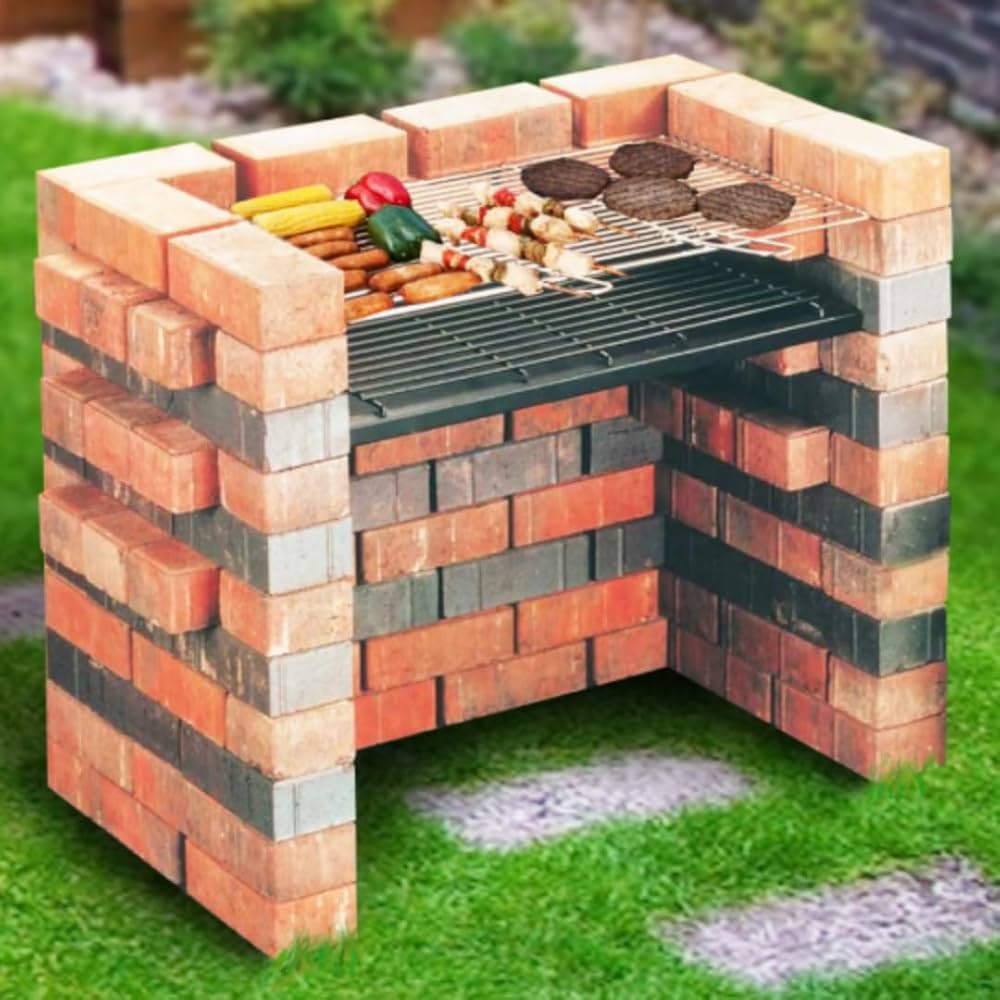
Hey everyone, I’m back with another project, and this time it’s all about building a brick BBQ grill in my backyard. I’ve always wanted a nice spot to grill, and after seeing some cool ideas online, I decided to just go for it and build one myself.
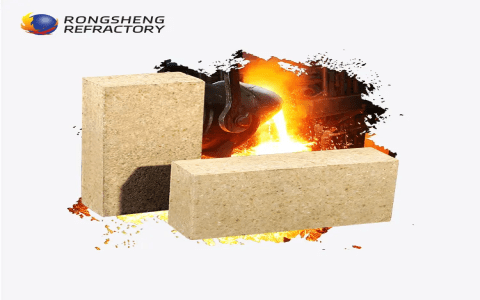
First things first, I had to pick a good spot in my yard. I made sure it was away from anything that could catch fire, like trees or the house itself. Once that was settled, I started gathering my materials. Now, from what I gathered, a good BBQ grill needs to handle a lot of heat. So, I went with some firebricks – they are designed for high temperatures, perfect for fireplaces, wood-burning stoves, or in my case, a BBQ grill.


Getting Started
I sketched out a simple design, nothing too fancy, just a basic rectangular shape. The plan was to build a solid base and then the walls of the grill. I used regular bricks for the base because they wouldn’t be directly exposed to the intense heat.
- Laying the Foundation: I started by digging a shallow pit and filling it with gravel for drainage. Then, I laid down the first layer of regular bricks, making sure everything was level. This was crucial because a wonky base means a wonky grill.
Building the Walls
Once the base was set, I started on the walls. This is where the firebricks came in. I mixed up some heatproof mortar – regular stuff wouldn’t do here. It was a bit of a learning curve, getting the consistency right, but I managed.
- Layer by Layer: I started laying the firebricks, one by one, spreading the mortar and tapping them into place with a trowel. I kept checking the level as I went up. It was slow work, but kinda satisfying, you know? Seeing it all come together brick by brick.
The Grilling Area
For the actual grilling surface, I needed something sturdy. I opted for stainless steel grates because they’re durable and easy to clean. I left some gaps in the brickwork to slot the grates in. It took a bit of measuring and adjusting, but eventually, they fit just right.
- Finishing Touches: I built a little chimney at the back to help with the smoke. I also added a shelf on the side for placing utensils and stuff. It’s all about making it functional, right?
After letting the mortar dry for a few days – super important, don’t rush this part – I fired it up for the first time. Man, the feeling of grilling on something you built with your own hands is just awesome. The heat distribution was great, thanks to those firebricks, and the food tasted amazing, if I do say so myself.
Building this BBQ grill was a real adventure. It took some time, a bit of elbow grease, and a lot of patience, but it was totally worth it. Now, I’ve got a killer spot for summer BBQs, and I can proudly say, “Yeah, I built that.” If you’re thinking about doing something similar, just go for it. It’s a fun project, and you’ll learn a lot along the way. Plus, the bragging rights are pretty sweet, too!


