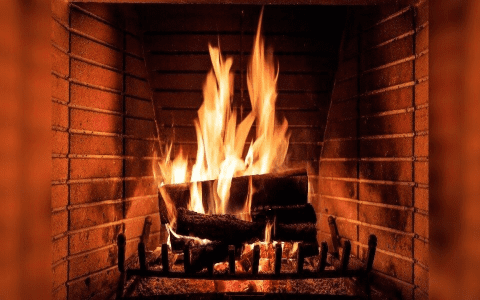
Okay, so the other day I was looking at my wood burner and noticed that some of the fire bricks inside were starting to look a little worse for wear. I mean, they were cracked and crumbling in places. It had me worried, to be honest. These things are supposed to protect the stove body from the intense heat, right?
So, I did what any sensible person would do – I started to check them out. I noticed some cracks, not just hairline ones, but the kind that makes you think pieces might start falling off. And yeah, in some spots, I could actually see the metal of the stove wall behind the bricks. That’s not good.


I know these bricks can take a beating, but these were looking bad. The stove was also acting up a bit lately, producing a little more smoke than usual and seemed to be burning less efficiently. I’ve heard that’s a sign the bricks might be failing.
I did some reading online and discovered that you should really replace the bricks as soon as you see them starting to crumble or if there are big cracks where sections are moving around. Some small cracks are fine, but mine was clearly past that point.
I decided to take action. I figured it’s better to be safe than sorry, especially when dealing with fire. Plus, I didn’t want my stove to get damaged. Replacing the fire bricks seemed like a manageable DIY project, so I took notes of the old bricks’ positions and started to remove them one by one. You would be surprised how heavy the old bricks were.
- First I cleaned the inside of the stove once the old bricks were out.
- Then I carefully placed the new bricks in their positions.
- I made sure the new bricks were placed correctly.
- Then I started a small fire to slowly heat the new bricks.
Honestly, it wasn’t as hard as I thought it would be. The hardest part was probably just making sure I got the right size and type of bricks. After I was done, I let the stove cool down completely and then lit a proper fire.
It felt good to get that done. Now the stove seems to be working much better, burning cleaner and hotter. And I have peace of mind knowing that those old, cracked bricks aren’t going to cause any problems. It’s a good feeling to tackle a little home maintenance project and have it turn out well. If you’re noticing similar issues with your wood burner, don’t put off replacing those fire bricks!


