OK, so, let me tell you about this little project I got myself into the other day. It was about gluing a brick to a fireplace mortar joint. Sounds simple enough, right? Well, let me walk you through it.
First off, I surveyed the fireplace, one of the bricks on the ceiling had come out. I needed to get this brick back in its place. So, I started by gathering my tools and materials. I grabbed some gloves, safety goggles, a wire brush, a chisel, a hammer, and, of course, the adhesive. I did some digging online and found out that there are a bunch of adhesives out there that claim they can handle this kind of job. I went with some Loctite PL 500 because it said it was good for outdoor landscaping.


Prepping the Area
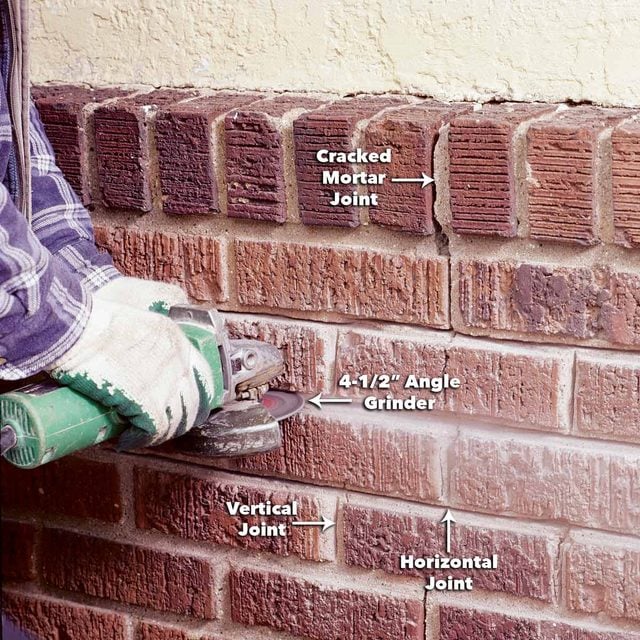
Next, I got down to prepping the area. I put on my gloves and goggles – safety first, always. Then, I used the wire brush to clean off any loose mortar and debris from the brick and the joint. I used a chisel and a hammer to chip away the remaining mortar. I wanted a nice, clean surface for the adhesive to stick to.
Mixing and Applying
With everything prepped, I moved on to the adhesive. Since I chose the Loctite PL 500, I followed the instructions on the tube. I applied a generous amount of the adhesive to the back of the brick and also into the mortar joint where the brick would sit. I also found someone online mention LIQUID NAILS FUZE, they say it has an extreme temperature resistance.
Setting the Brick
Now for the tricky part – setting the brick. I carefully positioned the brick into the joint, making sure it aligned with the other bricks. I pressed it firmly into place and held it there for a few minutes, just to make sure it had a good initial bond. Some folks online talked about this chemical bond that happens between the mortar and the brick. Apparently, the brick sucks up some water and cement from the mortar, creating this bond in the brick’s pores.
Curing Time
After setting the brick, it was time to let the adhesive cure. The instructions on the Loctite said it would take about 24 hours to fully cure, but I decided to give it a bit more time, just to be safe. I mean, better safe than sorry, right?
Finishing Touches
Once the adhesive was fully cured, I inspected my work. The brick was firmly in place, no wobbling or shifting. I even gave it a gentle tap with the hammer, just to make sure it was solid. I used some mortar mix to fill in any gaps around the brick, blending it in with the existing mortar to make it look seamless. Although some handymen say that if the task you are working on is structural in nature, you’d better use mortar.
And there you have it – one brick successfully glued to a fireplace mortar joint. It wasn’t rocket science, but it did require a bit of patience and elbow grease. But hey, that’s the satisfaction of DIY, right? You get to stand back and admire your handiwork, knowing you did it yourself. Plus, I learned a thing or two about adhesives and mortar, which is always a bonus in my book.


