Okay, so, I’ve always been fascinated by those big, beautiful brick smokers you see in the backyards of serious barbecue enthusiasts. I finally decided to take the plunge and build one myself. Let me tell you, it was quite the adventure!
First, I spent weeks just researching. I read every article, watched countless videos, and scoured forums to get an idea of what I was getting myself into. It seemed a bit daunting at first, but I was determined. Choosing the right type of smoker was the first big decision. I opted for a traditional offset smoker because I love that classic smoky flavor it provides. And size? Well, I went big – because why not? I also had to consider the material. Brick seemed the way to go for that authentic look and heat retention.


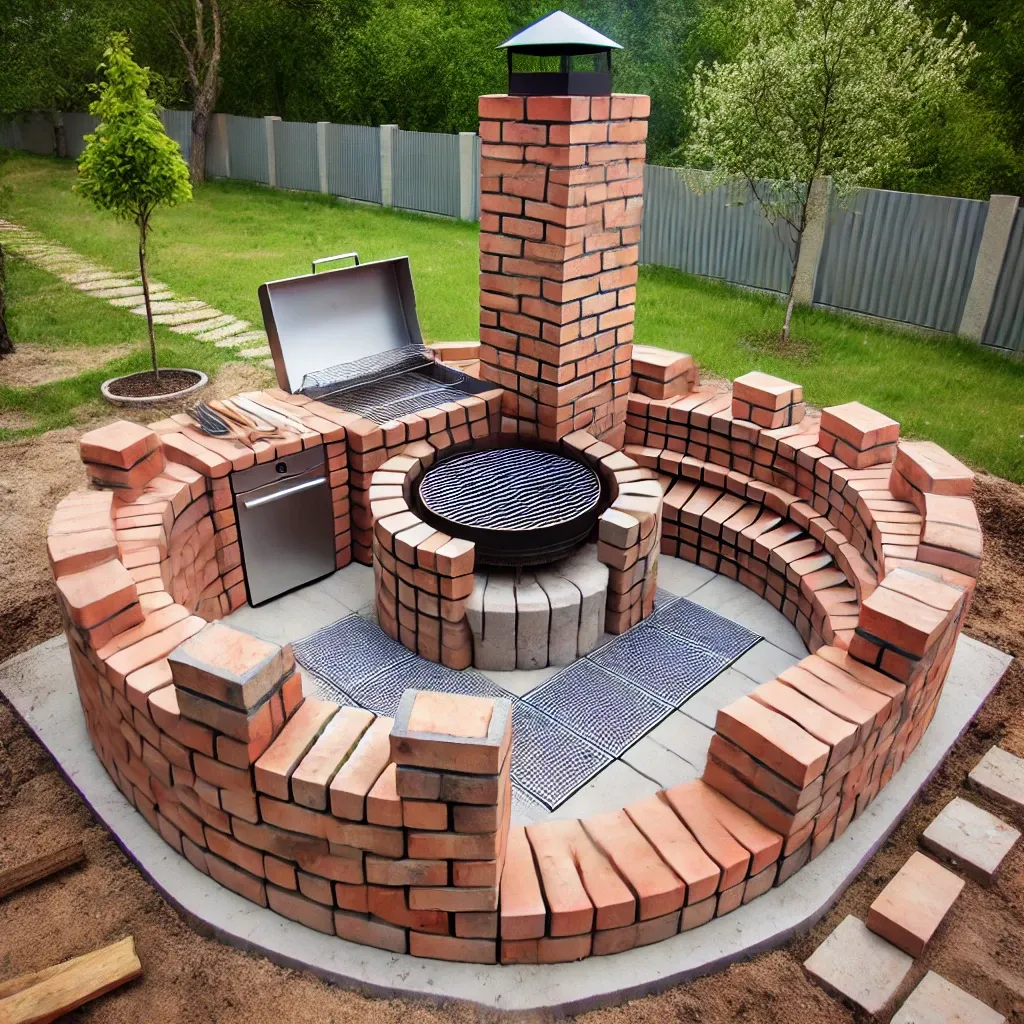
Once I had a basic plan, I gathered all the materials. We’re talking a lot of bricks, a metal door, some grates, and all the other bits and pieces. The actual building process was… intense. It started with laying a solid foundation. I leveled the ground and poured a concrete slab. That alone took a whole weekend and a lot of sweat.
Then came the bricklaying. I started building the firebox and the cooking chamber, row by row. Let me tell you, my back was not happy with me. But slowly but surely, the smoker began to take shape. It was actually pretty cool to see it come together.
After the main structure was up, I installed the metal door and the grates. I also added a chimney to help control the airflow. This part was crucial because, as I learned, airflow is everything in a smoker. You need to keep those vents open and positioned correctly to get that smoke swirling just right.
- Laying the foundation: This was tough, but crucial.
- Building the firebox and chamber: Brick by brick, it started to look like a smoker!
- Installing the door and grates: Feeling like a real craftsman here.
- Adding the chimney: Airflow is king!
Once everything was built, it was time for the first test run. I cured the smoker by lighting a fire and letting it burn for several hours. I kept it at 400°F for a while, then dropped it down to around 225°F. Then, I decided to smoke some pork butt, since I heard it’s pretty forgiving for beginners. I seasoned the meat, placed it directly on the hot racks inside the smoking chamber, and let it do its thing.
Hours later, I had the most delicious, smoky, fall-off-the-bone pork you could imagine. It was a moment of pure triumph. All that hard work had paid off, and I finally had my very own brick smoker.
Honestly, the whole experience was incredibly rewarding. It was a lot of work, sure, but I learned so much, and now I have a smoker that I built with my own two hands. Plus, the food that comes out of it is just on another level. If you’re thinking about building your own smoker, I say go for it! Just be prepared to put in some serious elbow grease. And remember what I learned about the best wood: hickory is your best bet for that all-around amazing flavor.
It’s a heck of a project, but trust me, it’s worth it in the end.


