Okay, today I’m gonna show you guys how I built a BBQ grill with bricks in my backyard. It’s not as hard as you might think, but it does take some time and a bit of elbow grease. I wanted something sturdy and custom, so this was the perfect weekend project.
Getting Started
First things first, I gathered all my materials. I needed a bunch of bricks—about 120, give or take. I got these from a local home improvement store. They weren’t too expensive, but hauling them to my backyard was a workout in itself. Besides the bricks, I picked up some Portland cement, building sand, and hydrated lime. I also made sure I had a mortar plasticizer. This stuff helps make the mortar easier to work with, you know, not too stiff.
Mixing the Mortar
Next up was mixing the mortar. This is where the magic happens. I used a simple ratio: 6 parts building sand, 1 part Portland cement, and 1 part hydrated lime. I dumped all these into a big tub and started mixing them dry. Once they were nicely combined, I mixed the mortar plasticizer with a bucket of water separately. Then, I gradually added this mix to the dry ingredients, stirring continuously. I aimed for a consistency that wasn’t too runny or too thick—just right for spreading.
Laying the Foundation
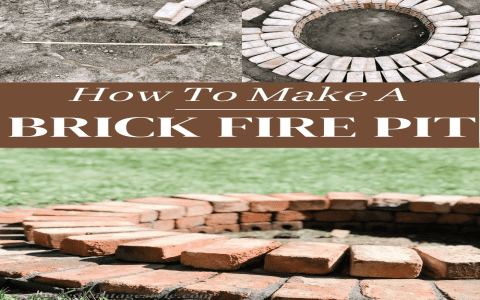
With the mortar ready, I started laying the foundation. I marked out a rectangular area in my backyard where the BBQ would sit. I dug a shallow trench, about 4 inches deep, and filled it with a layer of gravel for drainage. Then, I started laying the first course of bricks, applying a generous amount of mortar on the bottom and sides of each brick. I used a level to make sure everything was straight and even. This part is crucial—you don’t want a wonky BBQ, right?
Building Up
Once the foundation was set, I began building up the walls. I laid each brick carefully, staggering the joints for added strength. Between some of the bricks, I left a few gaps to act as vents for air circulation. I kept checking the level and making adjustments as needed. It took a few hours, but seeing the walls rise was pretty satisfying.
Adding the Grill
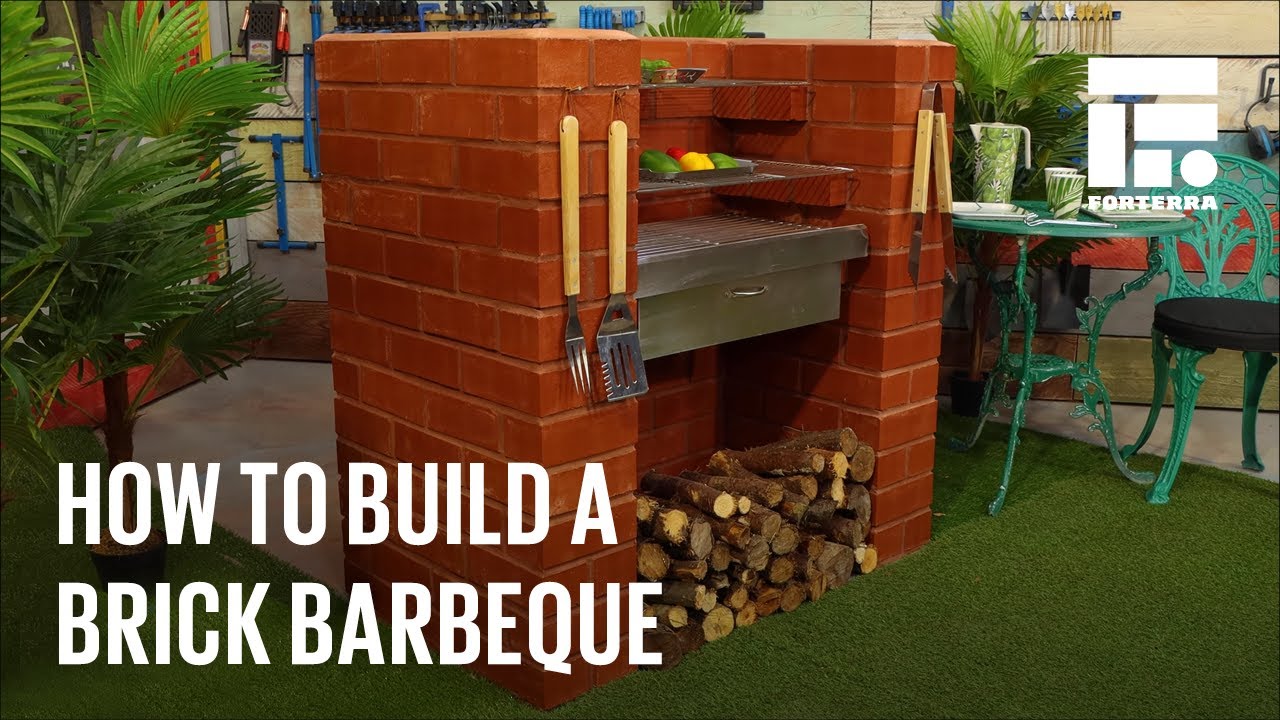
After the walls reached about waist height, it was time to add the grilling set. I used some bricks to make some holders to hold the coal tray and at least one grill on top. I then secured these holders with more mortar. I placed a metal tray for the coals and a grill grate on top, making sure they fit snugly. I also built a small prep table on the side using more bricks and a flat stone slab. It’s handy for setting down utensils and ingredients while grilling.
Finishing Touches
Once everything was in place, I let the mortar cure for a couple of days. I didn’t want to rush the process and risk any cracks. After it was fully set, I fired it up for the first time. The bricks held up great, and the heat distribution was perfect. I grilled some burgers and hot dogs to break it in, and they tasted amazing.
Final Thoughts
Building a brick BBQ was a fun and rewarding project. It’s not something you can rush, but the end result is totally worth it. Now I have a custom-built BBQ that’s perfect for summer cookouts. Plus, it looks pretty darn good in my backyard. If you’re thinking about doing something similar, I say go for it. Just be prepared to get your hands dirty and put in some work. Happy grilling!