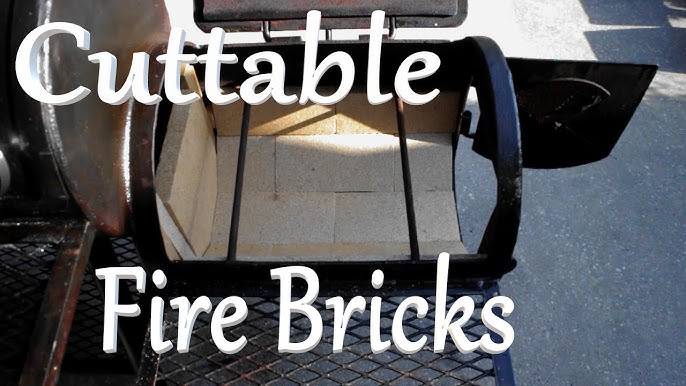
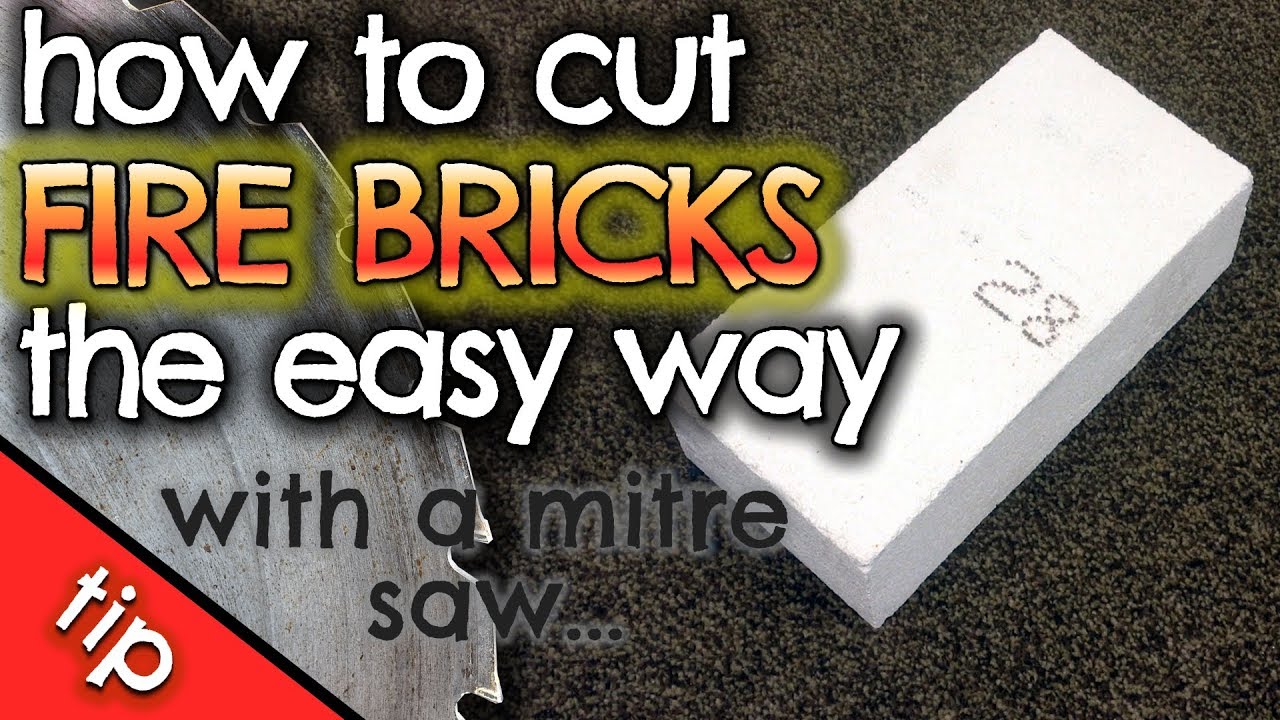
Well now, if ya ever need to cut them fire bricks for a wood stove, let me tell ya, it ain’t that hard if ya know what you’re doin’. Ain’t no need to get all worked up ’bout it. I’ll walk ya through it step by step. First thing you gotta know is, fire bricks ain’t like regular bricks. They’s tough and made to handle heat, so they gotta be cut right if you want ’em to fit good in the stove. So, here’s what you need to do:
What You’ll Need:


- Pencil
- Tape measure
- Safety goggles
- Hammer
- Cold chisel
- Straight edge
- Either a masonry blade or a wet saw (if ya got one)
Now, let’s get started, shall we?
Step 1: Measure and Mark
First, ya gotta figure out how much of the brick needs to be cut. Use your tape measure to get the right size. Once you got that, take a pencil and mark it on the brick real good. Don’t rush this part, ‘cause if you don’t measure right, you might end up with a brick too short or too long. And we ain’t got time for no mistakes, right?
Step 2: Soak the Brick (Optional, But Helps)
Some folks say if ya soak the firebrick for a minute or two, it helps with all the dust that flies around when you’re cutting. I reckon it’s worth a try, especially if ya don’t want to be coughin’ your lungs out. So, just dip that brick in a little water and let it soak for a spell. Won’t hurt none, that’s for sure.
Step 3: Cut the Brick
Alright, now the fun part. If ya got a masonry blade for your saw, well, you can use that to cut through the brick. Just set it up on a steady surface—don’t want the thing movin’ around while you work. Line your saw right on the pencil mark, and start cuttin’. Take it slow, no need to rush. If you don’t have a saw, you can use a cold chisel and a hammer. Just score the brick along your lines first, then tap it good and proper along the line. You might have to do it a couple of times till it breaks clean.
Step 4: Clean Up the Edges


Once the brick is cut, you might find the edges a little rough-like. Don’t fret none. Just use a little sandpaper or a file to smooth ’em out. You don’t want any sharp bits pokin’ out when you place ‘em in your stove. Smooth it nice and easy, then you’re done with that part!
Step 5: Fit the Bricks Into the Stove
Now that your bricks are all cut and smooth, it’s time to put ‘em in the stove. Make sure they fit snugly, but don’t force ‘em. If they don’t go in just right, you might have to trim a bit more. But once they fit, you’re good to go!
Safety First!
Don’t forget, safety is real important when you’re cuttin’ them bricks. Wear them safety goggles, and be careful with them tools. A brick flying in your face ain’t no fun, I’ll tell ya that much. Also, make sure the area where you’re workin’ is clear of anything flammable, and wear some gloves to protect your hands.
So, that’s it! It’s not too bad once ya know what you’re doin’. Just take your time, make sure everything’s measured right, and keep safety in mind. That’s how you cut fire bricks for your wood stove. Don’t let it scare ya off next time you need to fix up that stove!
Tags:[fire brick cutting, wood stove, masonry blade, cold chisel, stove maintenance, DIY tips, cutting fire bricks]


