Alright, so, I recently had to replace the firebricks in my wood-burning stove. It’s one of those things you don’t think about too often, but when it’s time, it’s time.
I noticed the stove wasn’t heating like it used to. Took a look inside, and sure enough, some of the firebricks were cracked. A couple were even crumbling like an old cookie. That’s when I knew it was time to roll up my sleeves and get to work. I searched some key words on Google and found some useful information: the firebricks are there to reflect the heat back into the stove, making it more efficient. Pretty neat, huh? And here I thought they were just there to look pretty.


Getting Started
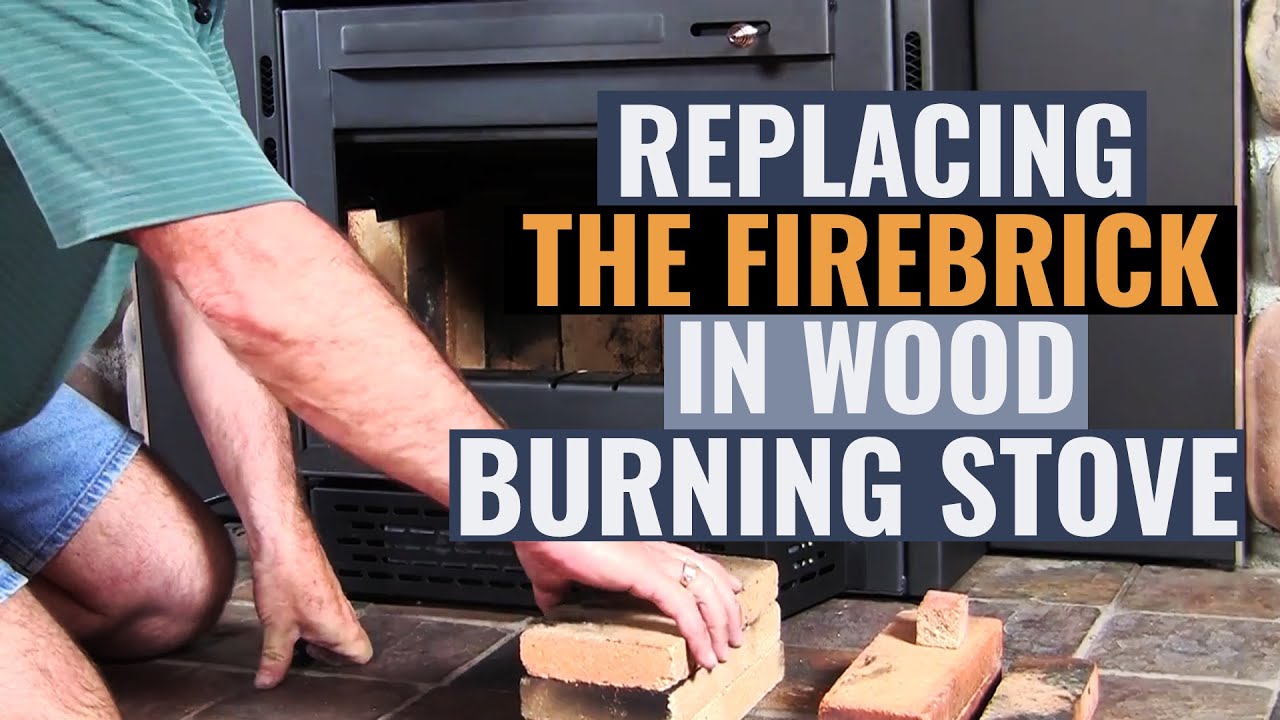
First things first, I let the stove cool down completely. No way was I sticking my hands in a hot stove. Safety first, people! Once it was cool, I started taking out the old bricks. Some of them were really stuck in there, but with a little bit of wiggling, they came out.
Out with the Old
With the old bricks out, I took a look at what I was dealing with. There was a mix of whole bricks, half bricks, and some odd shapes to fit around the corners. I took a few photos with my phone so I’d remember how it all went back together. Trust me, it’s like a puzzle, and you don’t want to mess it up.
In with the New
Next, I went and got myself some new firebricks. I made sure they were the right size and type for my stove. Each type of stove is different, you know? Then it was just a matter of fitting them back into the stove. It’s a bit like playing Tetris, getting all the pieces to fit just right. But I realized I need to keep the air flow space, or the stove will not work well. I carefully arranged the firebricks to ensure there was enough space for air to flow through.
The Finished Product
After a bit of arranging and rearranging, I got all the new bricks in place. Stepped back, and it looked pretty good if I do say so myself. Fired up the stove, and wow, what a difference! It was heating up like a champ again. It made the whole room toasty warm in no time.
So, that’s my little adventure with replacing firebricks. Not the most exciting thing in the world, but it’s satisfying to fix something yourself and see it work like new. Plus, I saved a bit of money doing it myself instead of calling a professional.
- Tip 1: Always let your stove cool down completely before starting.
- Tip 2: Take photos of the old brick arrangement before removing them.
- Tip 3: Make sure the new bricks are the correct size and type for your stove.
- Tip 4: Ensure that there is enough space for air to flow through after placing the new bricks.
Hope this little story helps someone out there. Happy heating, folks!


