Hey everyone, it’s your guy back again with another DIY adventure. Today’s project? We’re talking refractory bricks, specifically the ones you can snag at Menards. I needed to build a small forge for a new metalworking hobby, and let me tell you, getting the right materials was an adventure in itself.
So, first things first, I had to figure out what kind of bricks I needed. I knew I couldn’t just grab any old brick from the pile. These fire bricks are special. They’re made to handle the insane heat of a forge without cracking or melting.


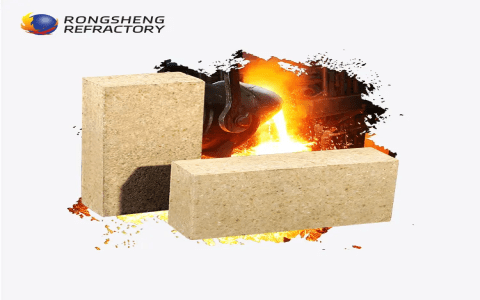
Off I went to Menards. I wandered around the aisles for a bit, feeling a little lost. I finally found them in the building materials section. They had a few different types, but I was looking for refractory bricks, also called fire bricks. I picked up a 6-pack of standard-sized ones, about 4-1/2 x 9 x 1-1/4 inches. They were a bit pricier than regular bricks, but hey, quality costs, right? These bricks are made from some special kind of clay that can withstand super high temperatures. The better the material, the more it costs, and you don’t want to cheap out on something that could literally be a fire hazard.
I also grabbed a tub of Akona Medium-Duty Refractory Mortar. It is kind of like the glue that holds these tough bricks together. You can’t just use regular mortar; it has to be specially made for high heat. Then I took all the stuff home.
Next up, I needed to design the forge. I did some research online, watched a few videos, and sketched out a basic plan. I decided to go with a simple rectangular design, nothing too fancy. Then I started the build process. Laying out the bricks, dry-fitting them first to make sure everything lined up, then taking them apart again to spread the mortar and put it back together was quite work. It’s not rocket science, but you want to make sure you get a good seal to contain the heat.
- Gathered my materials: Refractory bricks, refractory mortar, a trowel, and some water.
- Laid out the base: I started by arranging the bricks for the bottom of the forge.
- Mixed the mortar: Followed the instructions on the tub, adding water until it was like a thick paste.
- Built up the walls: I spread the mortar on each brick and stacked them up, one by one. It was kind of like building with Legos, but way heavier and messier.
- Let it cure: This was the hard part. I had to let the mortar dry completely before firing up the forge. It took a few days, and I was itching to get started, but patience is key.
Here’s a little breakdown of what I did:
Finally, the day came to fire it up. I carefully built a small fire inside, gradually increasing the heat. I was nervous, not gonna lie, but everything held up perfectly! The bricks did their job, containing the heat and getting red hot. I’ve been using the forge for a few weeks now, and it’s working like a charm. I’ve even managed to forge a few small items, though I’m still a beginner. All in all, getting these refractory bricks from Menards was a solid choice. They were good quality, did what they were supposed to, and didn’t break the bank. If you’re thinking about building a forge or anything that needs to withstand high heat, these bricks are definitely the way to go!
Anyway, that’s my refractory brick adventure. Hope this helps anyone out there looking to tackle a similar project. Stay tuned for more DIY escapades!


