Alright, guys, so a few weeks back, I decided it was time to tackle that fireplace project I’d been putting off. We’re talking about a full-on red brick fireplace build, and let me tell you, it was quite the adventure.
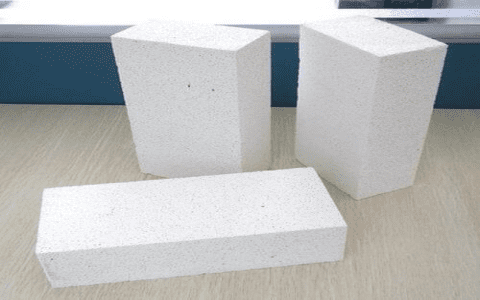
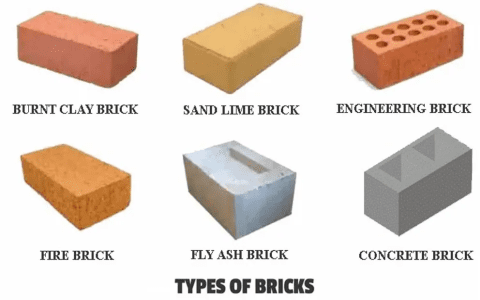
First things first, I gathered all my materials. Now, I’d done a bit of reading beforehand and learned that not all bricks are created equal. You’ve got your regular red bricks, which are pretty common, and then there are these things called firebricks. Firebricks are like the superheroes of the brick world – they can handle crazy high temperatures without falling apart. But here’s the thing, they’re also pricier, and honestly, a bit overkill for a simple fireplace in my opinion.


So, I opted for the good old red bricks. They’re more affordable, and from what I gathered, they do just fine with heat, especially for a fireplace that’s mostly for the cozy vibes rather than industrial-level heating. Plus, they’ve got that classic look I was after.
With my bricks sorted, I got down to building. I started by laying out the base, making sure everything was level and square. This part is crucial, folks, because any mistakes here will only get worse as you go up. I took my time, double-checking my measurements, and used a spirit level like it was my best friend.
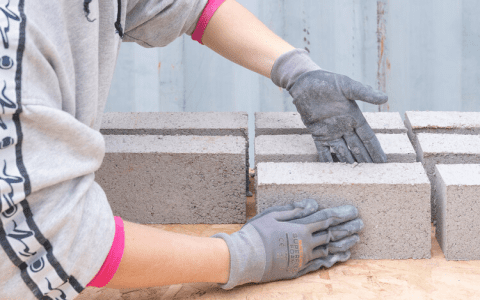
Once the base was solid, I began stacking the bricks. I’d never done this before, so I watched a bunch of those DIY videos online. They make it look so easy! In reality, it’s a bit trickier. Getting the mortar mix just right, spreading it evenly, and then placing each brick perfectly… it’s a whole process. My first few rows were a bit wobbly, but I got the hang of it eventually.
Here’s a tip I learned the hard way: keep your bricks slightly damp. This helps them bond better with the mortar. I soaked mine in a bucket of water for a few minutes before using them. And don’t be shy with the mortar, but also don’t slather it on like you’re icing a cake. There’s a sweet spot you’ll find with practice.
Here’s what I did step-by-step:
- Gathered materials: red bricks, mortar mix, tools.
- Laid out the base, ensuring it was level and square.
- Stacked the bricks, using slightly damp bricks and the right amount of mortar.
- Took breaks to check my work and let the mortar set a bit.
- Built up the fireplace, row by row, following my design.
- Added the finishing touches, like a nice mantelpiece.
As I built higher, I made sure to step back every now and then to check the overall look and make sure everything was still aligned. It’s easy to get tunnel vision when you’re focused on each individual brick. It is a time-consuming thing but do not rush.
After many hours of work, my red brick fireplace was finally done! It’s not perfect, but it’s got character, and it’s mine. We lit our first fire in it last weekend, and it was magical. The red bricks give off this warm, inviting glow, and the heat distribution is just right. It is a good time to enjoy it with my family.
So, if you’re thinking about building a red brick fireplace, I say go for it. Just do your research, take your time, and don’t be afraid to get your hands dirty. It’s a rewarding project, and you’ll end up with a beautiful, functional centerpiece for your home.


