Okay, let’s talk about porous bricks today. I wanted to make some for my garden, so I started by looking up what they are.
I found out that these bricks are pretty common in building stuff, both for homes and big industrial projects. Apparently, they have some pros and cons, but what got me interested was how they’re made.


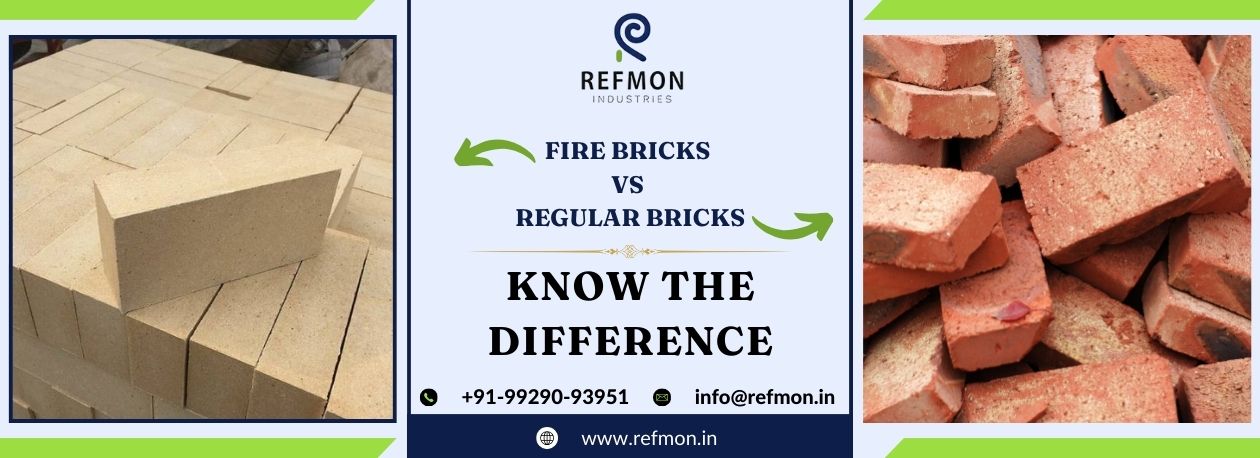
So, I dug a little deeper and discovered there are a bunch of different kinds of porous bricks. One type is called natural cut laterite bricks. They’re naturally porous, which is kind of cool. Then there are fire bricks – they’re like regular bricks but much denser. I also stumbled upon something called “compressed earth bricks”, which are supposed to be cheaper and better for the environment.
I went down a rabbit hole of information, learning about burnt clay bricks, refractory bricks, and so on. It was a bit overwhelming, to be honest. There are so many different types! Refractory bricks, for example, are usually yellowish-white and can handle super high temperatures, while burnt clay bricks are the most common type.
My head was spinning with all these details, but I kept reading. I discovered that common bricks are usually more porous than firebricks, which makes sense. Also, “regular depth bricks” have both concrete and clay in them, and you can use them to build all sorts of walls.
Then I found out about the difference between solid and hollow bricks. Solid bricks are stronger, so they’re good for load-bearing stuff, while hollow bricks are lighter and better for insulation. That’s useful to know!
My DIY Porous Bricks Project
- Gathering materials: Since I wanted to make my own, I figured I needed some clay, sand, and maybe some organic material to create the pores. I found some clay and play sand in my garden.
- Mixing: I mixed the clay, sand, and some chopped-up straw in a big tub, added some water, and mixed everything until it felt like the right consistency for making bricks – not too wet, not too dry.
- Shaping: I used some old plastic containers as molds, packed the mixture in there.
- Drying: Then I put the molds out in the sun to dry. It took a few days for them to get really hard.
- Testing: I tried pouring some water on them to see if it would seep through like I wanted. I did this to test the porousness of my brick.
It wasn’t perfect, but I was pretty happy with my first try. They were definitely porous – the water soaked right in. I used them to make a little border around my flower bed. They look pretty cool, and they seem to be doing a good job of letting water reach the plants’ roots.
This was a fun weekend project. It was cool to learn about all the different types of bricks and then try making my own. Maybe I’ll experiment with different materials next time to see if I can make them even better. Who knows, maybe one day I’ll build a whole shed out of homemade porous bricks! I will share my progress next time if I made any progress!


