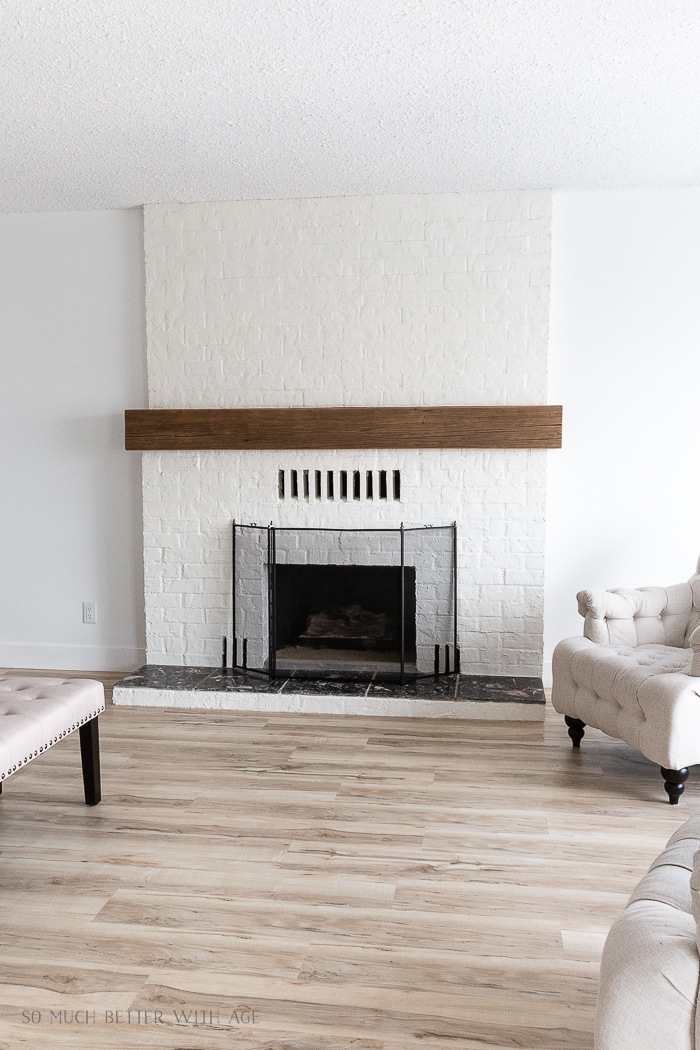
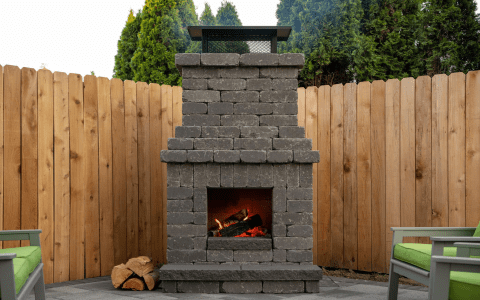
Hey everyone, today I want to share my little adventure with plastering over the brick fireplace in my living room. I’ve always loved the cozy feel of a fireplace, but the old, dated brick look just wasn’t doing it for me anymore. So, I decided to take matters into my own hands and give it a fresh, modern makeover. I’d had this idea for a while, and I finally worked up the courage to make it happen.
Prepping the Area
First things first, I cleared the area around the fireplace. I moved all the furniture, laid down some drop cloths to protect the floor, and taped off the edges where the brick met the wall. Safety first, right? Then I cleaned the brick surface thoroughly with a stiff brush and some soapy water to get rid of any dust, soot, or cobwebs. I let it dry completely before moving to the next step. I also googled the best filler and found Modern Masters Texturing Medium. This stuff is amazing.


Applying the Plaster
I found some ready-mixed plaster that seemed pretty easy to work with. But I still diluted it a bit with water to get a smoother consistency. I also kept a spray bottle handy to mist the surface while working. Applying it with a trowel and used a batten as a guide, I leveled off the plaster. I applied the plaster in sections, making sure to spread it evenly and smooth it out as much as possible. I also used a damp sponge after each section to smooth out any imperfections. It’s actually kind of therapeutic, like icing a giant cake, but way messier. Then I used the trowel to scrape back by 2-3mm of plaster – once this is done ‘key’ the surface using the corner of a trowel to provide a scratch coat.
Letting It Dry
Once the whole fireplace was covered, I let the plaster dry overnight. This was probably the hardest part because I was so excited to see the final result. Patience is not my strong suit, but it’s essential in this case. This stuff is amazing, and it works great on brick.
Finishing Touches
The next day, I used Modern Masters Texturing Medium to fill any gaps and smoothed over the surface. After another round of drying, I finally painted the plastered fireplace with a nice, matte white paint. I chose white because I wanted it to blend seamlessly with the rest of the room. After letting the plaster harden, I was able to add my decorative touches. And voila! It looked like a brand-new fireplace.
Honestly, the whole process was easier than I thought it would be. It took a bit of time and elbow grease, but the result was totally worth it. Now my living room looks so much more modern and chic. If you’re thinking about giving your brick fireplace a makeover, I say go for it! Just remember to prep properly, take your time, and don’t be afraid to get a little messy. Trust me, the transformation is incredible.
Alright, that’s it for my fireplace adventure. Hope this inspires some of you to tackle your own DIY projects. Until next time, happy crafting!


