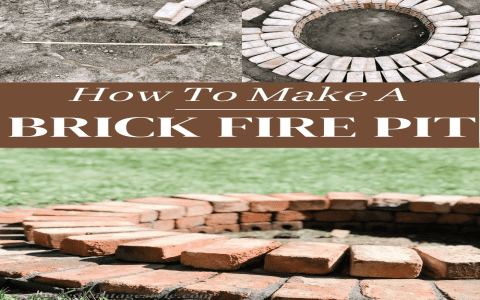
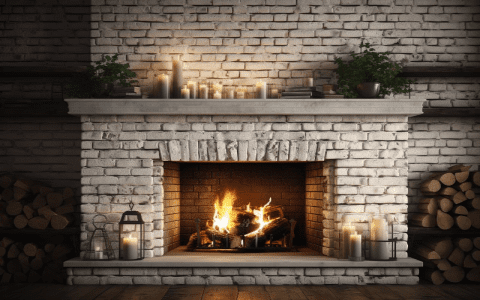
So, I’ve always been a huge fan of pizza, but let’s be real, takeout and frozen just don’t cut it when you’re craving that authentic, wood-fired taste. That’s why I decided to take the plunge and build a brick oven in my backyard. I went with a DIY kit, and let me tell you, it was a journey.
First off, I did a ton of research. I mean, we’re talking hours scrolling through forums and watching videos. I finally settled on a kit that seemed like it had everything I needed without being crazy expensive. One thing I learned is that not all of these kits are the same. Some are more complete than others, and some are definitely higher quality.


Choosing the Kit
I ended up choosing a middle-of-the-road option, figuring it was a good balance between price and quality. It came with all the bricks, the special mortar, the insulation, even a pizza peel.
The Build
The base was the first hurdle. I had to make sure it was super level. We’re not talking rocket science, but it did take some time and effort to get it just right. Then came the fun part – or at least, it was supposed to be fun.
Laying the bricks took way longer than I expected. I’m no bricklayer, that’s for sure. But I followed the instructions, used the mortar mix that came with the kit, and slowly but surely, the oven started to take shape. It’s a kind of hard work. I was sore for days, but it was so satisfying to see it coming together.
There were a couple of times when I messed up and had to redo some of the work. That was frustrating, but hey, that’s part of the learning process, right? I learned that it’s better to take your time and get it right the first time. I tried to cut some corners to do it faster, but the result was that I need to redo it again.
Insulation and Finishing Touches
Once the main structure was up, it was time for insulation. This is a super important step if you want your oven to actually retain heat. I used this special ceramic fiber blanket stuff that came with the kit. It was a bit itchy to work with, but I managed.
After that, it was just a matter of putting on the finishing touches, like a door and a little chimney. I added a few personalized touches, like some tiles around the opening, just to make it my own, you know?
Firing it Up
Finally, the day came to fire it up for the first time. It took a few hours to get it up to temperature, but the wait was totally worth it. I slid in my first pizza, and about 90 seconds later, it was done.
That first bite was amazing. The crust was perfectly crispy, the cheese was all melty and bubbly, and you could really taste that smoky, wood-fired flavor. It was hands down the best pizza I’d ever made, and maybe even the best I’d ever had.


The Result
- It’s a lot of work: Building a pizza oven is no joke. Be prepared to put in some serious time and effort.
- It’s worth it: The pizza is incredible. Seriously, it’s on another level compared to anything you can get from a regular oven.
- It’s a conversation starter: Everyone who comes over is fascinated by it. It’s like having a little piece of Italy in your backyard.
So, if you’re thinking about building your own brick oven, I say go for it. Just be prepared for a bit of a challenge, and make sure you do your research before you start. But trust me, the end result is totally worth it. The delicious pizza makes it all worthwhile. There’s nothing like enjoying a fresh, homemade pizza straight from your own brick oven. I am very happy that I can share my experience with all of you guys.


