Okay, so, the other day I noticed a few cracks in the fire bricks in my stove. This old thing has been with us for years, and it’s seen better days, but I wasn’t ready to part with it just yet. So I thought, why not try fixing it myself? Here’s how it went.
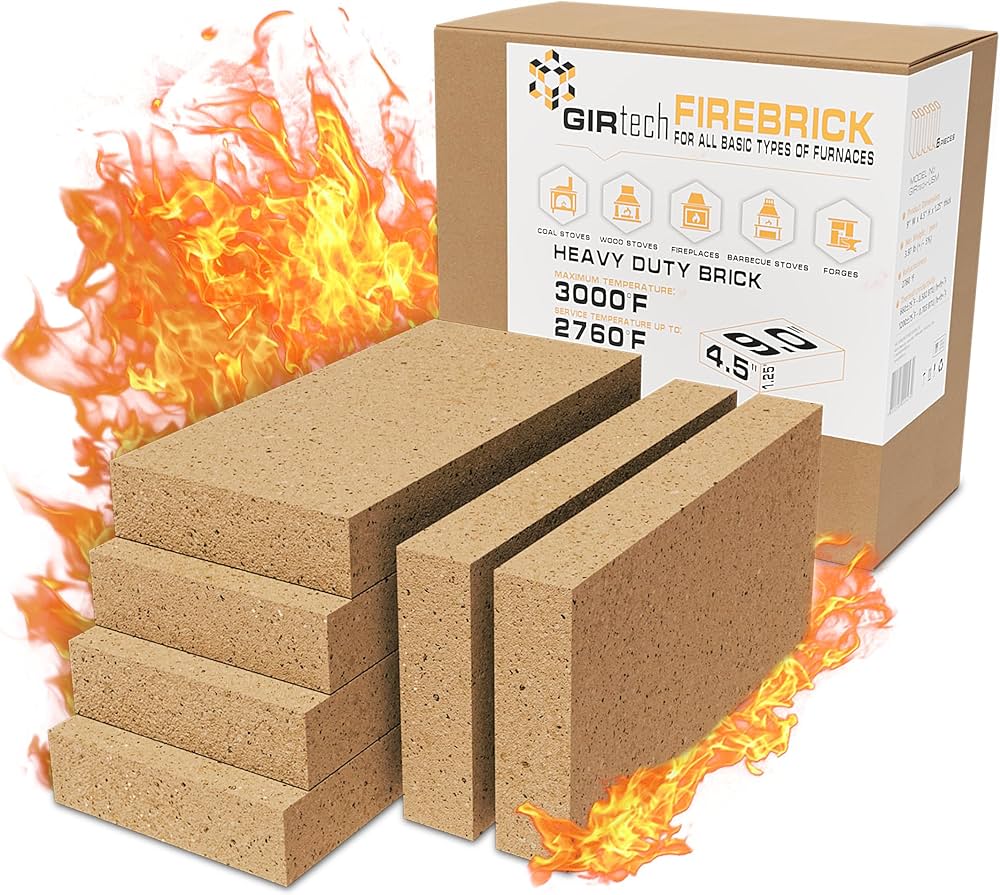
First, I looked up what kind of fire bricks I needed. Turns out, there are a couple of types: hard ones and soft ones. The hard bricks are super tough and used for building things like kilns and stuff, while the soft ones are more for insulation. I figured my stove probably needed the hard kind since they’re more about structure. So, I went to the local hardware store and found some that looked right. They were heavy, I tell ya!


Getting the old bricks out was a bit of a chore. I used a hammer and chisel, gently tapping around the edges. I was not sure whether this is correct way, but I had to try. Some were really stuck in there, but I took my time, and eventually, they came loose. It was dusty work, so I made sure to wear a mask. Safety first, right?
- Chipped out the old bricks carefully.
- Cleaned the area where the new bricks would go. I used a wire brush to get rid of all the loose bits and dust.
Next, placing the new bricks in. They fit pretty well, but there were some gaps. This is where the fun part started. I mixed up some fire clay – it’s like a special kind of cement that can handle high heat. I used a trowel to spread it into the gaps, making sure everything was nice and snug. It was a bit messy, but satisfying to see it all come together.
After setting the bricks, I let the clay dry. It took a couple of days, and I was itching to try out the stove again. Finally, the day came, and I lit a small fire, just to test it out. Success! No smoke leaking out, and it felt like the stove was heating up better than before. I was a bit nervous, to be honest, but it seemed like I’d done a decent job.
Reflecting on it, it wasn’t as hard as I thought it would be. Sure, it took some elbow grease and a bit of patience, but I managed to fix my stove without spending a fortune. Plus, I learned something new. I can’t say that I can fix every kind of stove, but at least I can make sure my stove can work well.
What I learned
- Always check for cracks in your fire bricks. That’s a sign they need replacing.
- There are different types of fire bricks, so make sure you get the right ones.
- Patience is key when removing old bricks. Take your time to avoid damaging the stove.
- Fire clay is your best friend when filling in gaps.
So, that’s my little adventure with fire bricks. It’s not every day you get to play with heavy bricks and fireproof cement. But, if you’re ever in a similar situation, don’t be afraid to give it a go. You might surprise yourself with what you can achieve!


