Okay, so I wanted to share a little project I did with my wood stove. I got this old stove, and it was working okay, but I figured it could be better. That’s where the fire bricks came in.
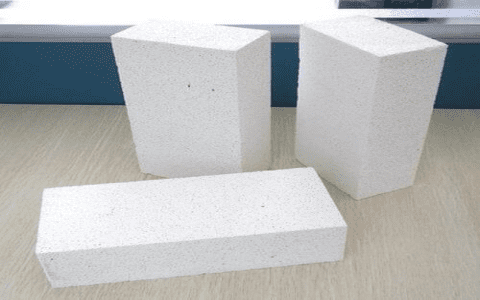
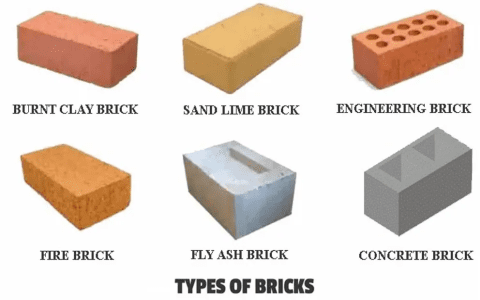
First off, I made sure to get the right kind of bricks. These are special bricks made to handle the high heat inside a stove. They’re different from regular bricks, so you gotta make sure you get the right stuff. Got those from a store nearby.


Next, I cleaned out the inside of the stove. Took out all the old ash and made sure it was as clean as I could get it. It was a bit of a dirty job, but I got it done. After cleaning, I started putting the new bricks in. I laid them out on the bottom first. Made sure they were fitting together well, no big gaps.
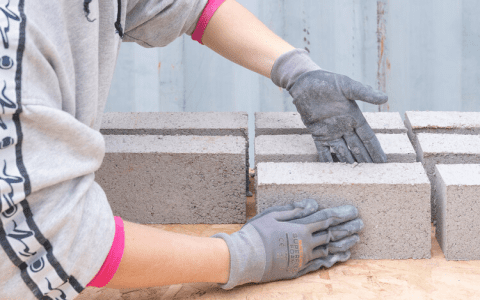
I used a wooden block and a rubber mallet. Why? To make sure the bricks were snug. I put the wooden block on the brick and gave it a few gentle taps with the mallet. This way, the bricks settled in nicely without cracking.
- Cleaning the Stove: I removed all the old ash.
- Placing the Bricks: Carefully arranged them on the bottom and the sides.
- Securing the Bricks: Used a wooden block and a mallet to make sure they were snug.
After I got the bottom done, I started on the sides. Same deal, put the bricks in and made sure they fit right. It was like putting together a puzzle, but not too hard. I kept going until all the damaged old bricks were replaced with new ones. It felt good to see it all coming together.
Now, why go through all this trouble? Well, these fire bricks do a couple of important things. They hold the heat in, which makes the stove work better. Plus, they protect the stove from getting too hot, which can mess it up if it’s made of cast iron. So it’s like, keeping the stove healthy and making it burn wood more efficiently.
So, after getting all the bricks in place, I let everything settle for a bit. Then, I started a small fire to test it out. I used some dry wood and kindling. Opened the air vents to get the fire going. It was cool to see how well it worked. I could adjust the vents to control the fire, just like you’re supposed to.
The stove is definitely working better now. It heats up the place quicker, and I don’t have to use as much wood. It’s a good feeling, knowing I did this myself and it actually made a difference. Plus, I think the stove will last longer now, which is great.
So, that’s my story about putting fire bricks in a wood stove. It wasn’t too hard, and it was worth the effort. If you got an old wood stove, maybe you can try this too. Just make sure you get the right bricks and take your time with it. You might be surprised how much better your stove works after.


