Okay, so I’ve always been a huge fan of pizza, especially the kind you get from those fancy Italian restaurants with the big brick ovens. I mean, who doesn’t love a perfectly crispy crust with just the right amount of chewiness? I thought, “Why not try to make my own brick oven at home?” Sounds ambitious, right? But trust me, it’s totally doable, and the results are so worth it.
First thing I did was a ton of research. I watched videos, read articles, and even joined a few online forums dedicated to DIY brick ovens. I wanted to make sure I knew what I was getting myself into. After gathering all the info, I started to plan out the project. The key is to have a solid plan before you even touch a single brick. I sketched out the design, decided on the size, and made a detailed list of all the materials I needed.


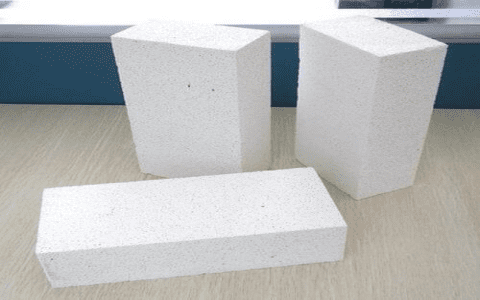
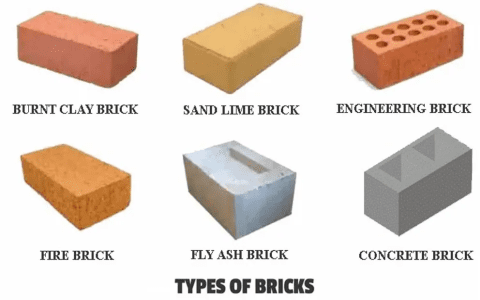
Next up was gathering the materials. This was a bit of a scavenger hunt. I needed firebricks for the inside of the oven, regular bricks for the outside, refractory mortar, sand, cement, and a bunch of other stuff. I visited several hardware stores and even a few specialty suppliers to get everything. It was quite the process, but it felt good to check things off my list.
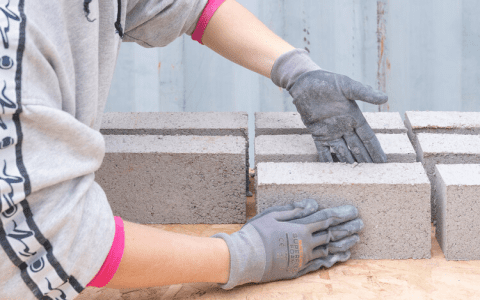
With all the materials ready, I started building the base. This is the foundation of the whole oven, so it had to be super sturdy. I dug a shallow pit, filled it with gravel, and poured a concrete slab. Once the concrete set, I laid down the first layer of bricks, making sure everything was level. Building the base took a couple of days, and honestly, my back was killing me, but I kept at it.
The next step was building the dome. This is where things got tricky. I built a wooden frame to support the dome while the mortar dried. Then, I carefully started laying the firebricks in a circular pattern, slowly building up the walls. It was like putting together a giant 3D puzzle. Each brick had to be perfectly placed and mortared. I took my time with this part because I knew the dome was crucial for heat retention.
- Day 1-2: Build the base
- Day 3-5: Construct the dome
- Day 6: Add the chimney and door
- Day 7-14: Let it cure
Once the dome was done, I added a chimney and a door. The chimney helps with airflow, and the door keeps the heat in while the pizza is cooking. I also added an outer layer of regular bricks for insulation and to give it a nice look. This part was a bit easier than the dome, but it still required a lot of attention to detail.
After everything was built, I had to let the oven cure for a couple of weeks. This means letting the mortar dry completely. It was the longest two weeks of my life! I was so eager to fire it up and make my first pizza. While waiting, I built a small fire inside the oven every few days to help with the curing process. This also gave me a chance to practice controlling the temperature.
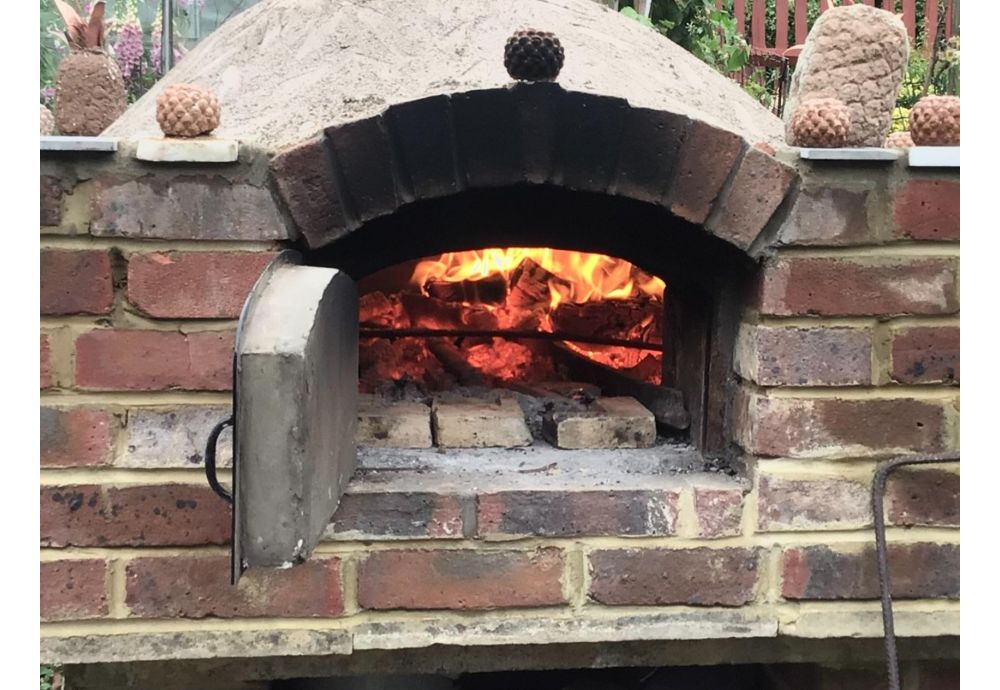
Finally, the big day arrived! I lit a fire in the oven and let it heat up for a few hours. It takes a while for those bricks to get hot, but once they do, they hold the heat like crazy. I slid in my first homemade pizza, and it was pure magic. It cooked in just a couple of minutes, and the crust was perfect—crispy on the outside, soft on the inside.
The First Pizza
The first bite was heavenly. All that hard work paid off. It was the best pizza I’d ever had, and I made it myself! I’ve been using the oven regularly ever since. I’ve experimented with different toppings, dough recipes, and even tried baking bread in it. It’s been such a fun and rewarding project.
If you’re thinking about building your own brick pizza oven, just do it! It’s a lot of work, but the satisfaction of making your own delicious pizza in your backyard is unbeatable. Plus, it’s a great conversation starter when you have friends over. Just be prepared to get your hands dirty and have a lot of patience. Trust me, it’s all worth it in the end.
