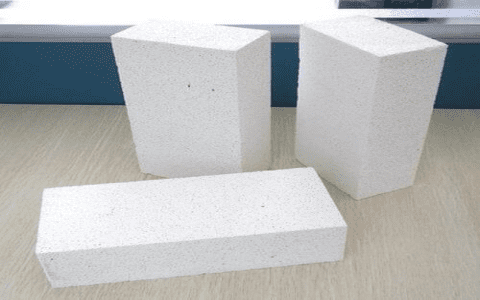
Okay, so, I had to do a little work on my wood burner recently. I noticed a few of the fire bricks inside were cracked. Not cool. Time to swap those bad boys out. First thing I did was wait for the whole thing to cool down. Don’t want to burn myself, right?
Once it was cool enough to touch, I started pulling out the busted bricks. Some came out easy, just with my fingers. A couple were stubborn, so I grabbed a flathead screwdriver and gently pried them loose. Gotta be careful not to damage the good ones.


- Pulled out the cracked bricks.
- Used a screwdriver to pry out the stubborn ones.
- Cleaned up the mess.
After I got all the broken pieces out, there was a bunch of ash and debris in there. My wife had just used our shop vac, so I borrowed it and sucked all that junk out. Way easier than trying to scoop it out by hand.
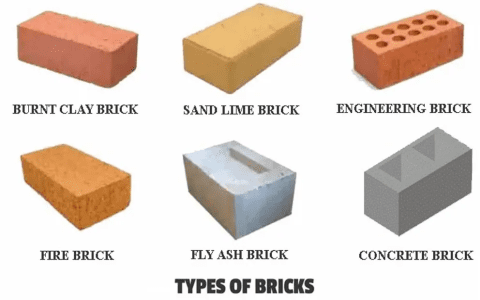
Now, I’ve heard some folks say you can use ceramic tiles instead of real fire bricks. They say it’s cheaper. I guess that’s true, they are made from clay and are baked in an oven, but I just went ahead and bought some actual fire bricks. I figure, they’re made for this, so might as well use the right stuff. My wood burner is old, and I don’t want to mess around with anything that might not hold up.
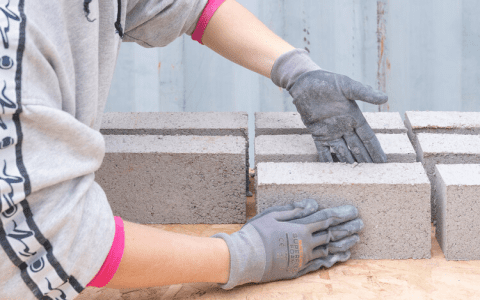
I measured the space where the old bricks were, just to double-check the size of the new ones. Then I carefully placed the new bricks into the stove. It was like a little puzzle, making sure they all fit snugly.
It took me a little while, but I managed to replace all the cracked bricks. Now my wood burner is all set for winter. It’s a good feeling, fixing something yourself. Plus, I saved a bunch of money not having to call a repair guy! Now we have a nice and well-function wood burner for the upcoming winter, we all love it!


