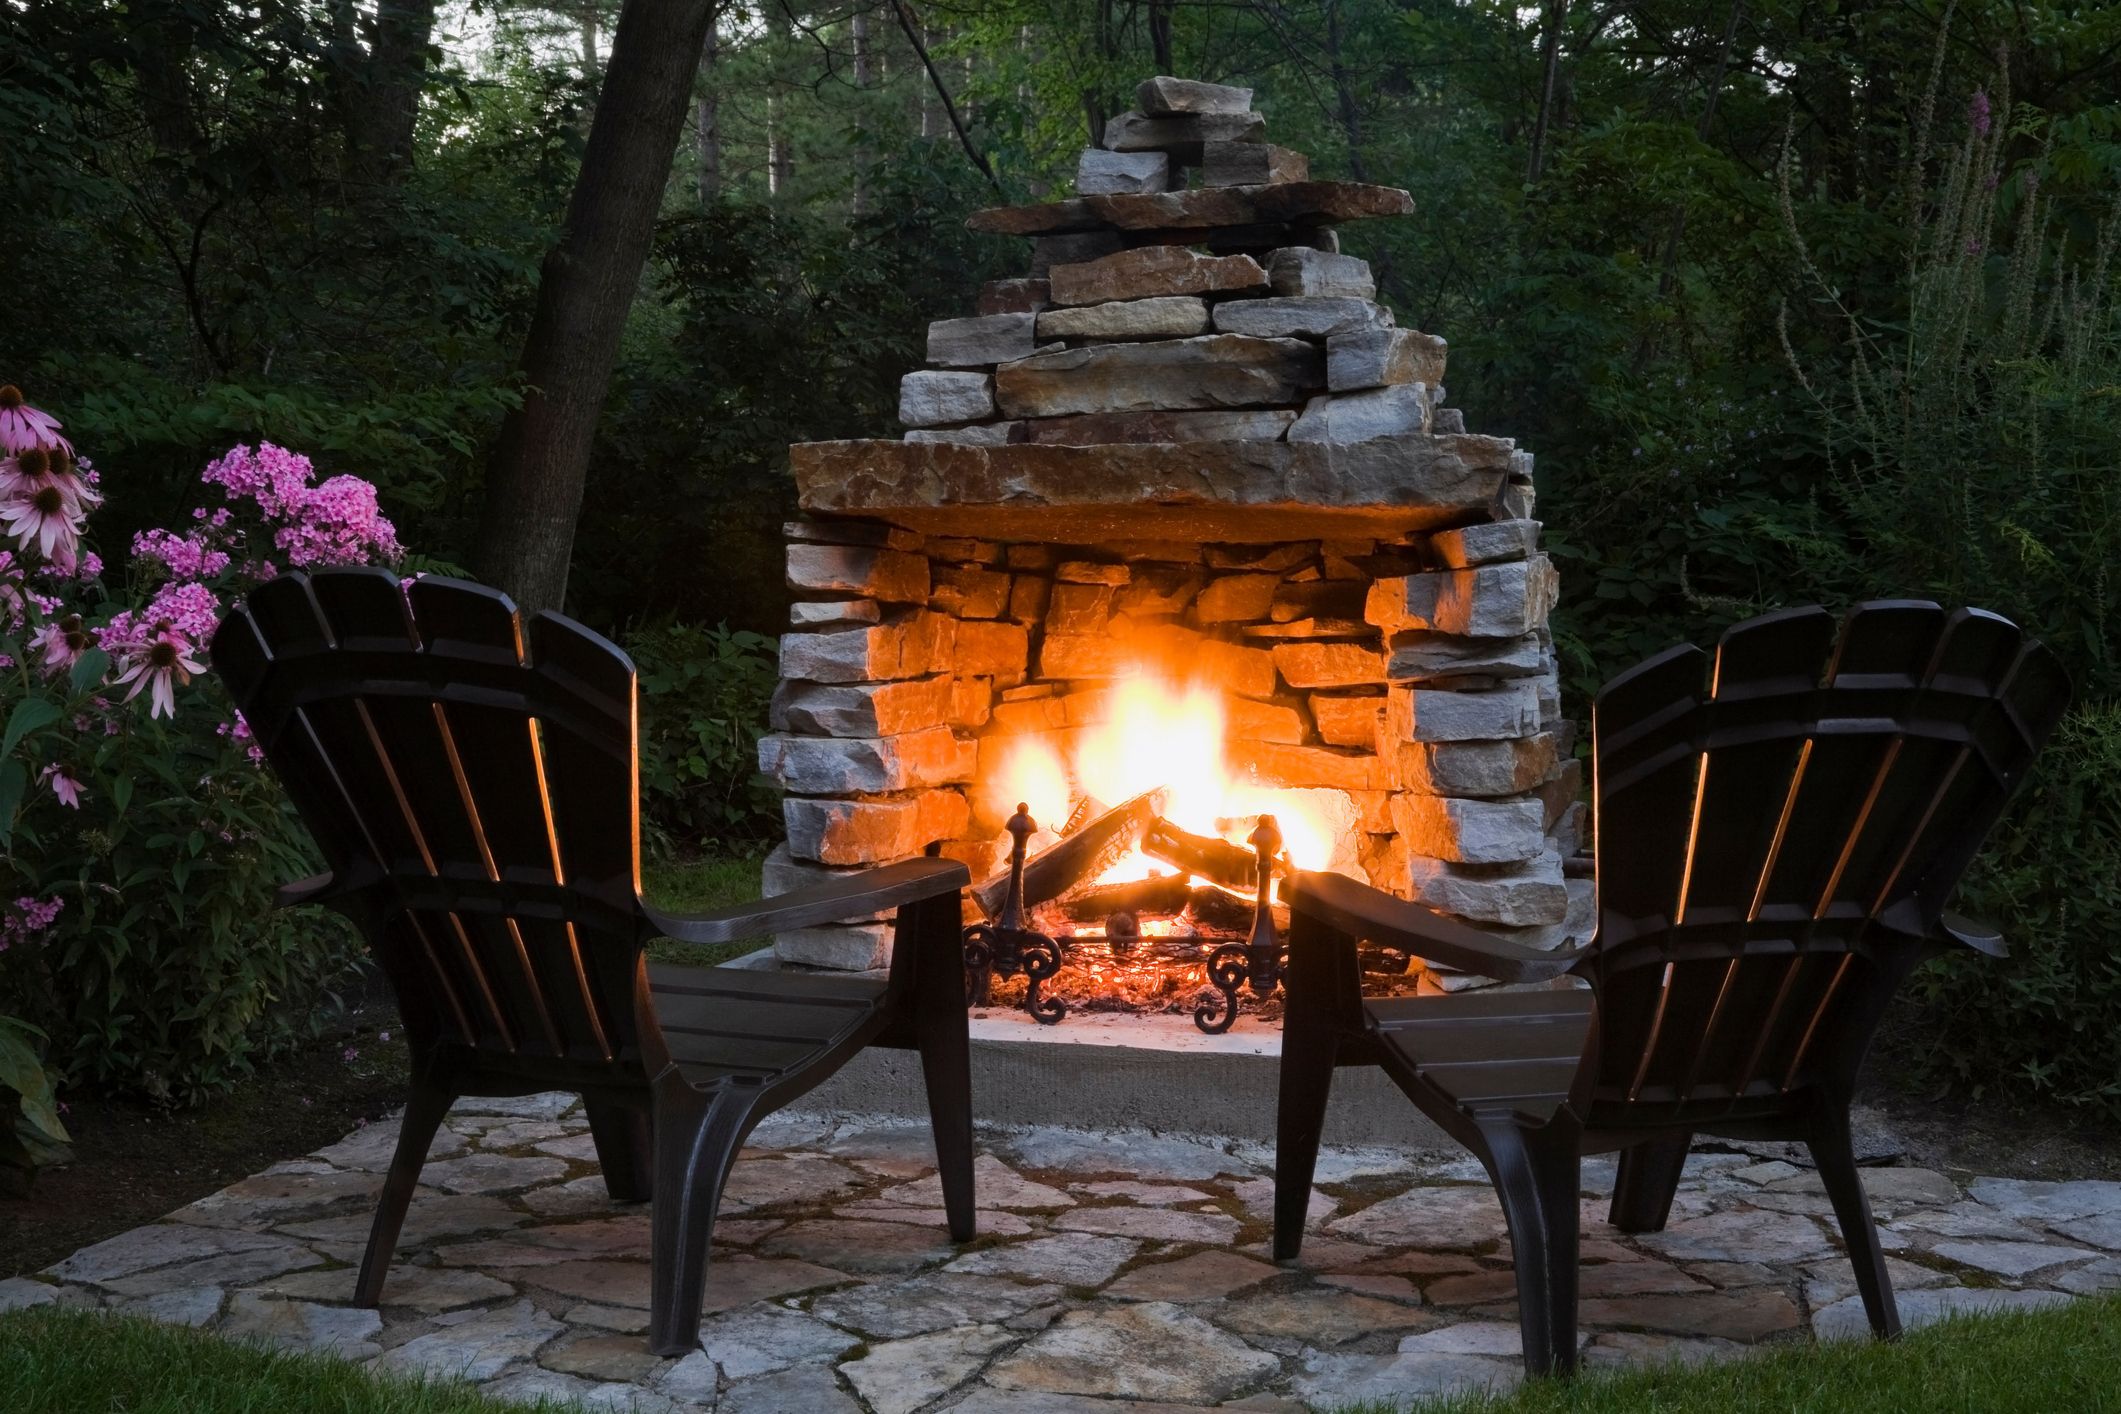
Hey everyone, so I decided to take on a project recently that I’ve been wanting to do for a long time – building an outdoor fireplace. I’ve always loved the idea of having a cozy spot in my backyard where I could gather with friends and family, and a brick fireplace just seemed like the perfect addition. So, I rolled up my sleeves and got to work.
First things first, I needed to figure out what kind of bricks I wanted to use. I did a little digging and found out that landscaping patio stones are a good choice for this kind of thing. The best ones for fire pits are these special pie-shaped ones that can form a full circle. They have a radius on the inside and outside, making them fit together perfectly. I managed to find some of these at my local hardware store, and they looked pretty sturdy.


Next up was creating a solid base for the fireplace. I knew that a concrete slab was the way to go, but I also read that the base should be tailored to the type of soil in my area. I have some pretty heavy clay soil, so I made sure to dig a bit deeper and added a layer of gravel for better drainage. Then, I poured the concrete, reinforced it with some rebar, and let it cure for a few days. It was a bit of a workout, but I wanted to make sure this thing was stable.
Once the base was ready, I started laying the bricks. This was where those pie-shaped stones really came in handy. I started from the outside and worked my way in, making sure each brick was level and snug against the others. I used mortar to hold them together, and slowly but surely, the fireplace started to take shape. It was a bit like putting together a giant puzzle, but it was satisfying to see it come together.
I built the fireplace up to about waist height, and then I started working on the firebox. This was a bit trickier, as I needed to create an opening for the fire and a chimney for the smoke to escape. I used some firebricks for the inside of the firebox, as they can withstand high temperatures. I also added a metal liner to protect the surrounding bricks.
- Laying the Bricks:
- Started from the outside and worked my way in.
- Ensured each brick was level and snug.
- Used mortar to hold bricks together.
- Building the Firebox:
- Used firebricks for the inside.
- Added a metal liner for protection.
- Creating the Chimney:
- Built the chimney upwards, ensuring a slight taper.
- Added a chimney cap to prevent rain and debris from entering.
For the chimney, I continued laying bricks, making sure it tapered slightly as it went up. I also added a chimney cap at the top to keep rain and debris out. It was a bit of a challenge to get the chimney straight, but I took my time and made sure it was secure.
Finally, after a few weeks of work, the fireplace was finished. I let the mortar cure for a few more days, and then it was time for the inaugural fire. I gathered some firewood, lit it up, and watched as the flames danced in the firebox. It was such a rewarding feeling to see something I had built with my own hands come to life like that.
The Finish
Now, my outdoor fireplace is the centerpiece of my backyard. We’ve already had some great evenings gathered around it, roasting marshmallows and sharing stories. It’s not just a source of warmth, it’s a place where memories are made. I’m really glad I took on this project, and I’m excited to enjoy it for years to come. If you’re thinking about building your own outdoor fireplace, I say go for it. It’s a lot of work, but it’s definitely worth it in the end.


