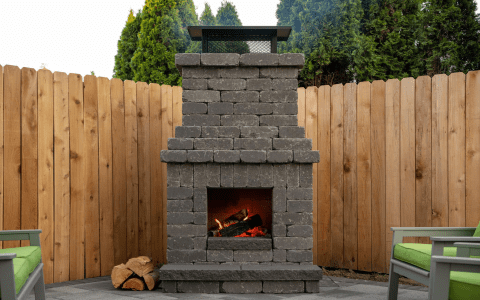
Okay, so I’ve always wanted a cool brick grill in my backyard. I mean, who doesn’t? So, I finally decided to just go for it and build one myself. Here’s how it all went down.
First off, I gathered all my stuff. I needed a bunch of bricks – ended up getting around 120, just to be safe. I also picked up a grilling set, you know, with the coal tray and at least one grill grate. No fancy tools, just the basics.


I started by laying out the first layer of bricks where I wanted the grill to be. I didn’t use any mortar at first, just wanted to get a feel for the size and shape. Once I was happy with the layout, I started mortaring the bricks together. It was kinda messy, but hey, it’s a grill, not a fancy wall.
Layer by layer, I built up the walls of the grill. It took a while, and my back was definitely feeling it, but seeing it take shape was pretty awesome. I made sure to leave space for the coal tray and the grill grate. It’s important to get these measurements right, or else the whole thing is useless.
- After getting the walls to a height I liked, I put in the coal tray.
- Then, I added the grill grate on top.
- Simple enough, right?
The Final Touches
I let the mortar dry for a day or two. You don’t want to rush this part, or the whole thing could fall apart. Once it was solid, I fired it up for the first time. The feeling of grilling on something you built yourself? Amazing.
It wasn’t perfect, and there were definitely a few hiccups along the way, but I ended up with a solid, functional brick grill. And let me tell you, the food tastes even better when you’ve cooked it on a grill you made with your own hands. If I can do it, anyone can. Just be prepared for some hard work and a bit of a learning curve.


