Alright, so I decided it was time to get a fire pit going in my backyard. I’ve always wanted one, and I figured, why not just build it myself? It seemed like a fun weekend project. I didn’t want anything too fancy, just a simple brick fire pit that would do the trick for roasting marshmallows and hanging out with friends.
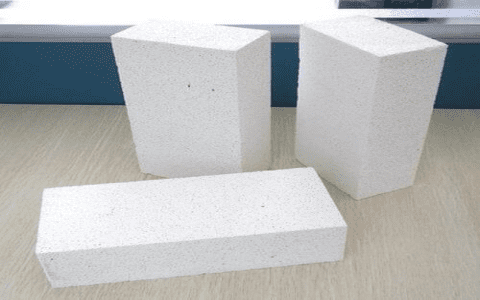
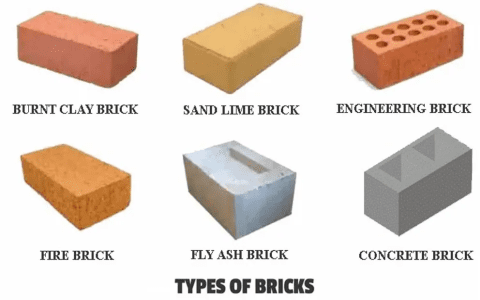
First things first, I had to gather my materials. I did some quick research online and figured I’d need a bunch of bricks, some gravel, sand, and a few other things. I went with 96 bricks, I don’t know what type exactly, but they were red and looked like they could make a circle, so that was good enough for me. I made a trip to the local hardware store and loaded up my car. It was a bit of a workout, but I got everything back home in one piece.


Next up, I started prepping the area. I picked a spot in the yard that was far enough from the house and any trees, safety first, you know. I laid down some filter fabric on the ground. I then made a rough outline of where the fire pit would go using a wood frame. I shoveled a layer of fine gravel onto the fabric inside the frame to make a nice, even base. After that, I placed an old bucket right in the center to help shape the pit, and poured some river rock around the outside of the bucket for that rustic look.
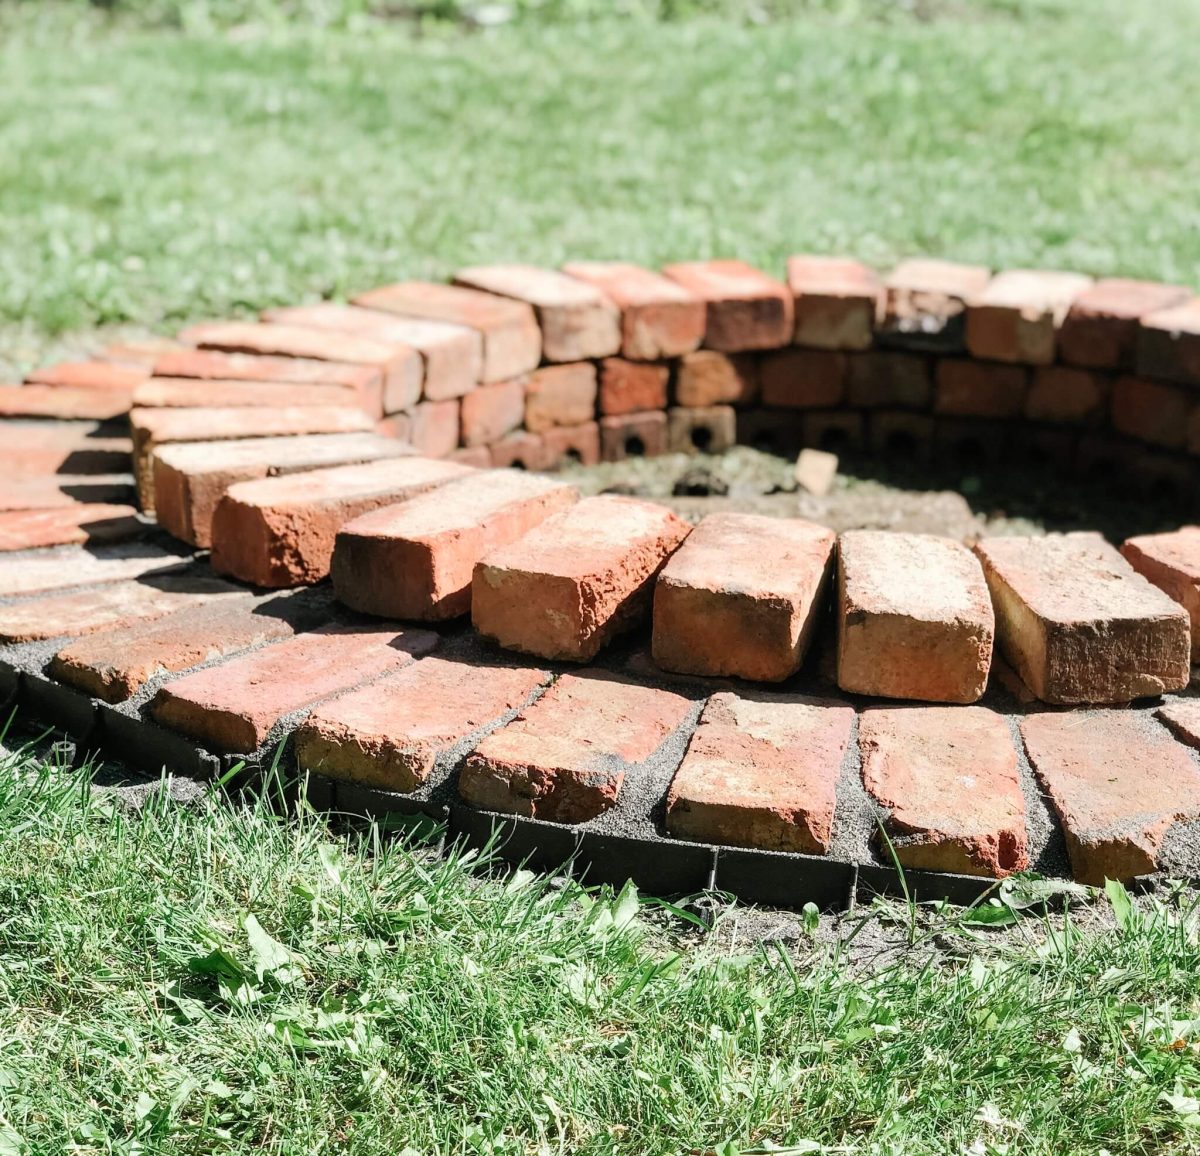
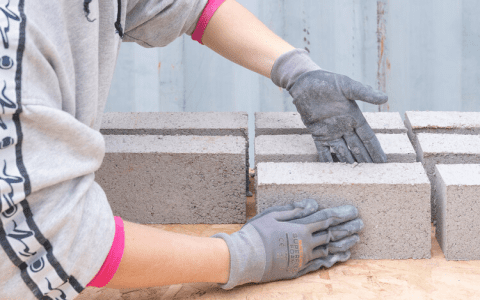
Then I started working with the bricks, laying them in a circle around the bucket, making sure it was all snug. I built it up layer by layer, and it actually started to look like a fire pit! It was kind of satisfying, seeing it come together like that. I also poured some sand inside the bucket to keep it all weighed down and stable, I guess.
- First layer: Getting the base right was crucial. I made sure each brick was level and secure.
- Building up: I added layer after layer, stepping back every now and then to make sure it looked okay.
- Top layer: I finished it off with a nice top layer of bricks, making sure it was all sturdy and looked decent.
Once the bricks were all set, I removed the bucket and filled the bottom of the pit with some more gravel and then a layer of lava rock, ’cause why not? It looked pretty cool. And that was it! I threw in some firewood, lit it up, and bam, I had a working fire pit.
It wasn’t perfect, a bit rough around the edges, but it was mine. I built it with my own two hands, and it felt pretty awesome. We’ve already had a few fires in it, and it’s been great. It’s the perfect spot to chill out, tell stories, and just enjoy the outdoors. Plus, it didn’t cost me an arm and a leg, I think I spent around fifty bucks total, not too shabby, if I say so myself.
What I Learned
- Planning is key: Having a rough idea of what I wanted made things go smoother.
- Take your time: Rushing would’ve just led to mistakes.
- It’s okay to improvise: I went with the flow and made adjustments as needed.
So, if you’re thinking about building a fire pit, I’d say go for it! It’s a rewarding project, and you end up with something really cool that you can enjoy for years to come. Just be prepared to get your hands dirty and have a good time doing it.


