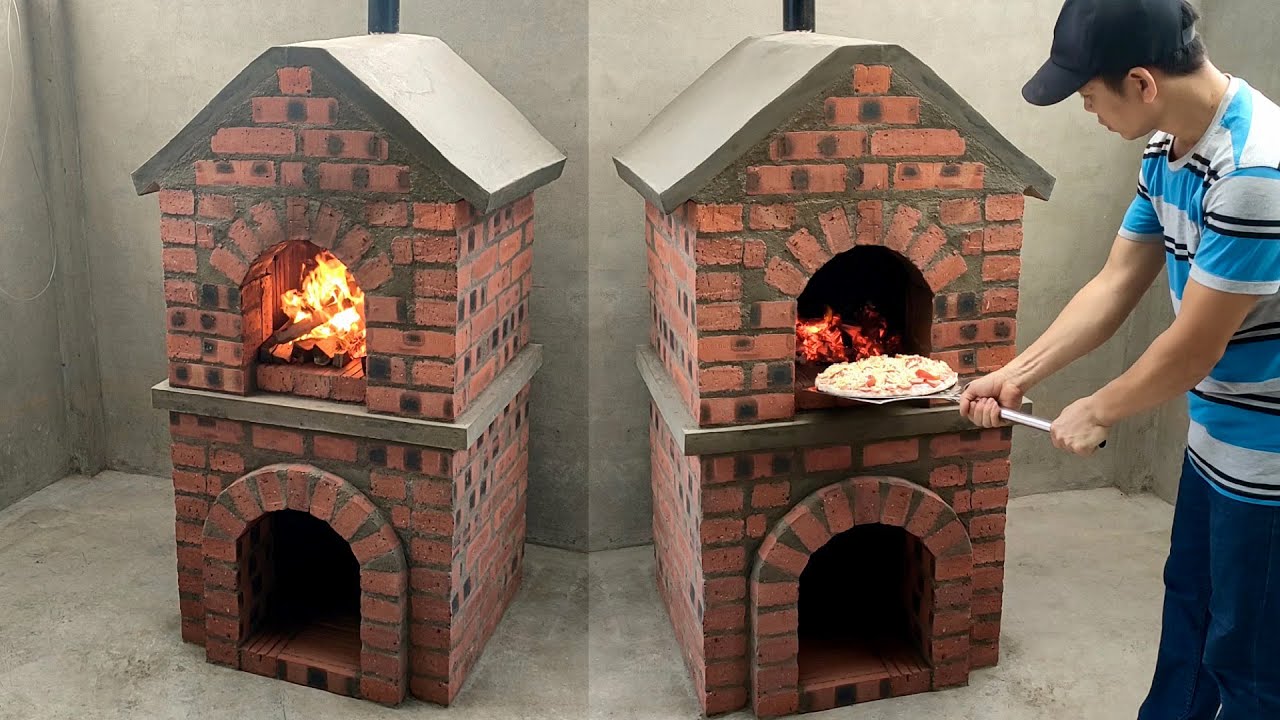
Okay, guys, let’s talk about something I did a while back – building a brick bread oven in my backyard. It sounded super cool at first, you know, the whole rustic, homemade bread vibe. I figured, how hard could it be? Turns out, a bit harder than I thought, but hey, I got it done!
First off, I had to decide where this thing was going. I picked a spot that was a decent distance from the house, not too close to any trees, and had enough space around it. Then came the fun part – digging! I had to clear the area and make sure the ground was level. This is important, folks, because you don’t want your oven leaning like the Tower of Pisa.


Next up, the foundation. I went with concrete because it’s tough. I mixed a bunch of it and poured it into a wooden frame I built. I’m no concrete expert, but I watched some videos and figured it out. I made sure it was thick enough to support the weight of the oven. After pouring, I let it set for a few days. This waiting part was tough – I was itching to get to the next step!
Building the Base
Once the foundation was solid, I started on the oven’s base. This is basically a stand for the oven floor. I used cinder blocks for this – they’re cheap and easy to work with. I stacked them up, using mortar to keep them together. It was like playing with giant LEGOs, but way heavier. I built it up to waist height, which seemed like a good height for baking.
Making the Oven Floor
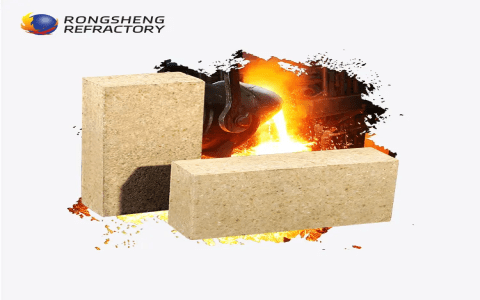
Now for the oven floor. This is where the bread actually sits, so it has to be able to handle heat. I used firebricks for this. They’re special bricks that can withstand high temperatures without cracking. Laying these was a bit tricky – I had to make sure they were level and tight together. No gaps allowed! I used a special kind of mortar for firebricks, which can also handle the heat.
Building the Dome
Here comes the most challenging part – building the dome. This is the top part of the oven, and it’s what makes it look like an oven. I used regular bricks for the dome, but I had to cut some of them into wedges to make them fit the curve. This was a pain, I won’t lie. I used a brick saw, which is a tool specifically for cutting bricks. It took a lot of time and patience, but slowly but surely, the dome started to take shape.
I built the dome around a form made of sand. Basically, I piled up a bunch of sand in the shape of the dome, then laid the bricks over it. Once the mortar was dry, I scooped out the sand, and voila, a dome! This was a cool trick I found online, and it worked like a charm.
Insulation
- After building this dome, I need to keep the heat in. So I cover it with insulation.
- I used a mixture of clay, sand, and straw. It’s like making a giant mud pie.
- I slapped this mixture all over the dome, making sure it was thick enough to keep the heat.
Finishing touches
Almost there! I let the whole thing dry for a few weeks. This was the hardest part – waiting. After it was dry, I built a little door for the oven opening. I just used some metal and hinges I found at the hardware store. Then, I fired it up! I built a small fire inside and gradually increased the temperature. This is called curing the oven, and it’s important to do it slowly so the oven doesn’t crack.
Finally, the moment of truth – baking bread! It took some trial and error to get the temperature and timing right, but eventually, I was baking some pretty decent loaves. They had that awesome smoky flavor and a nice, crispy crust. It was definitely a lot of work, but man, it was worth it. There’s nothing like pulling a fresh loaf of bread out of your own homemade brick oven. Plus, it’s a great conversation starter when you have people over. It is a really rewarding project, Highly recommend if you have space and time.


