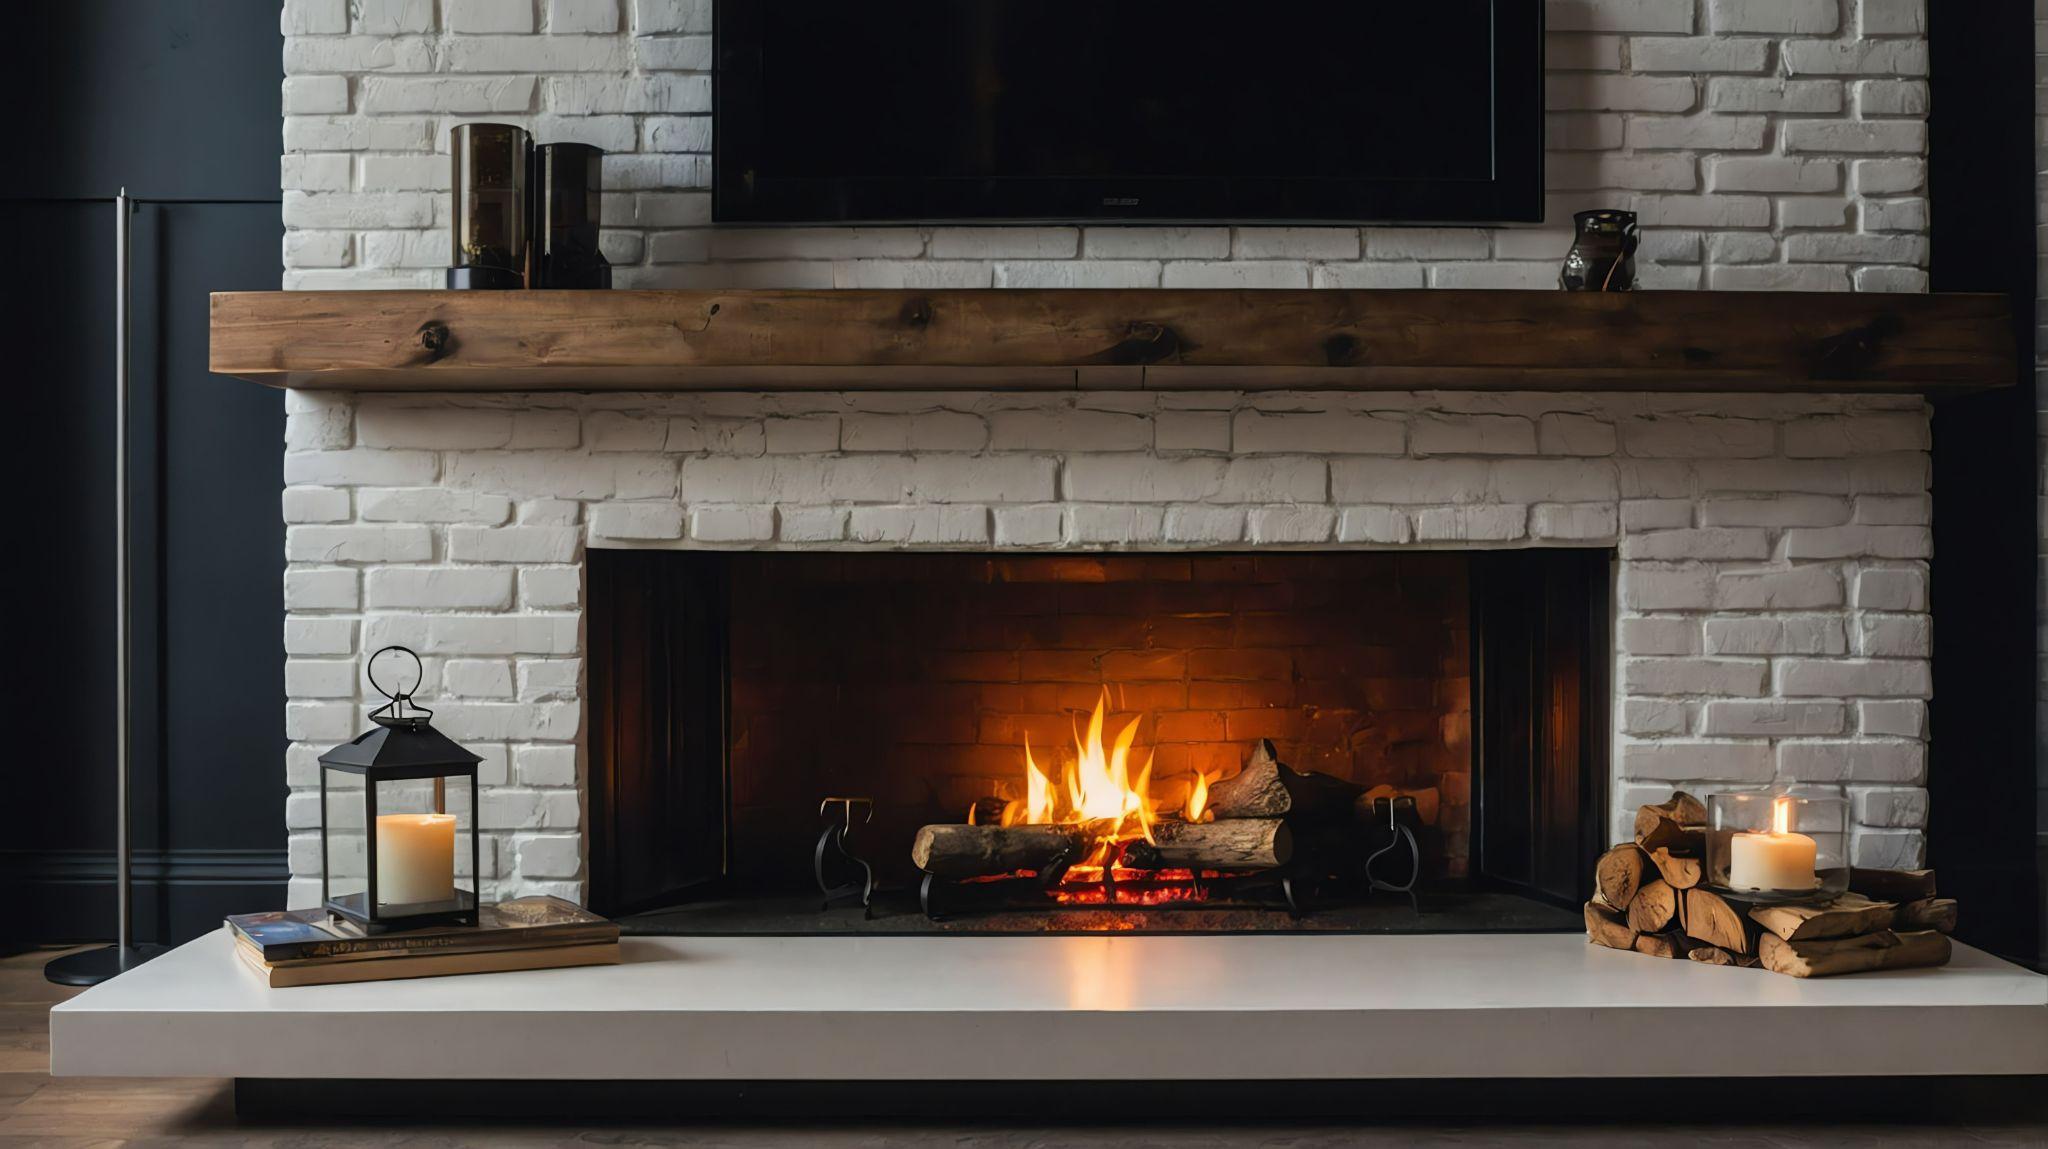
Okay, so I finally did it – I hung my TV above my brick fireplace. It was a bit of a project, but totally worth it in the end. I wanted to share how I did it because, honestly, it wasn’t as hard as I thought it would be.
First off, I spent a good chunk of time just staring at the fireplace, trying to figure out the best spot for the TV. You know, not too high, not too low. Once I had a general idea, I started gathering my tools. I already have some power tools.


Then, I cleaned the brick where I was going to hang the TV. It was pretty dusty, and I didn’t want that to mess anything up. I just used a wet rag and some soap and scrubbed it down real good. Then I made sure it was totally dry.
- The first thing I did was locate the studs in the wall behind the fireplace. I used my trusty stud finder to find them.
- Once I knew where the studs were, I marked them with a pencil. This was super important because you really want to be drilling into those studs, not just the brick.
- Then I measured everything out, like, a million times. I wanted to make sure the TV would be centered and level. I used a level and a tape measure. Marking the holes on the brick where I’d be drilling, I used a pencil for this.
Now, for the actual drilling. I got a masonry drill bit, which is made for brick. I drilled pilot holes into the brick, going slow and steady. Then, I switched to a bigger bit to make the holes the right size for the mounting screws.
Next, I grabbed the mounting brackets for my TV. These are the metal things that actually hold the TV to the wall. I lined them up with the holes I drilled and screwed them in. This part was a little tricky, just making sure everything was lined up perfectly. I ended up asking my buddy to come help with this project, and he helped me hold it up to get it screwed in.
Finally, it was time to hang the TV! With my friend’s help, we lifted the TV and hooked it onto the brackets. And that was it! We stepped back and admired our work. It looked great!
The last thing I did was hide the wires. I didn’t want a bunch of cords hanging down and ruining the look. I ran them behind the wall through some little holes I made. It took some patience, but it was worth it to have a clean, wire-free setup.
Honestly, the whole thing took an afternoon, and it was a fun little project. If you’re thinking about doing this yourself, just make sure you take your time, measure everything carefully, and don’t be afraid to ask for help. You got this!


