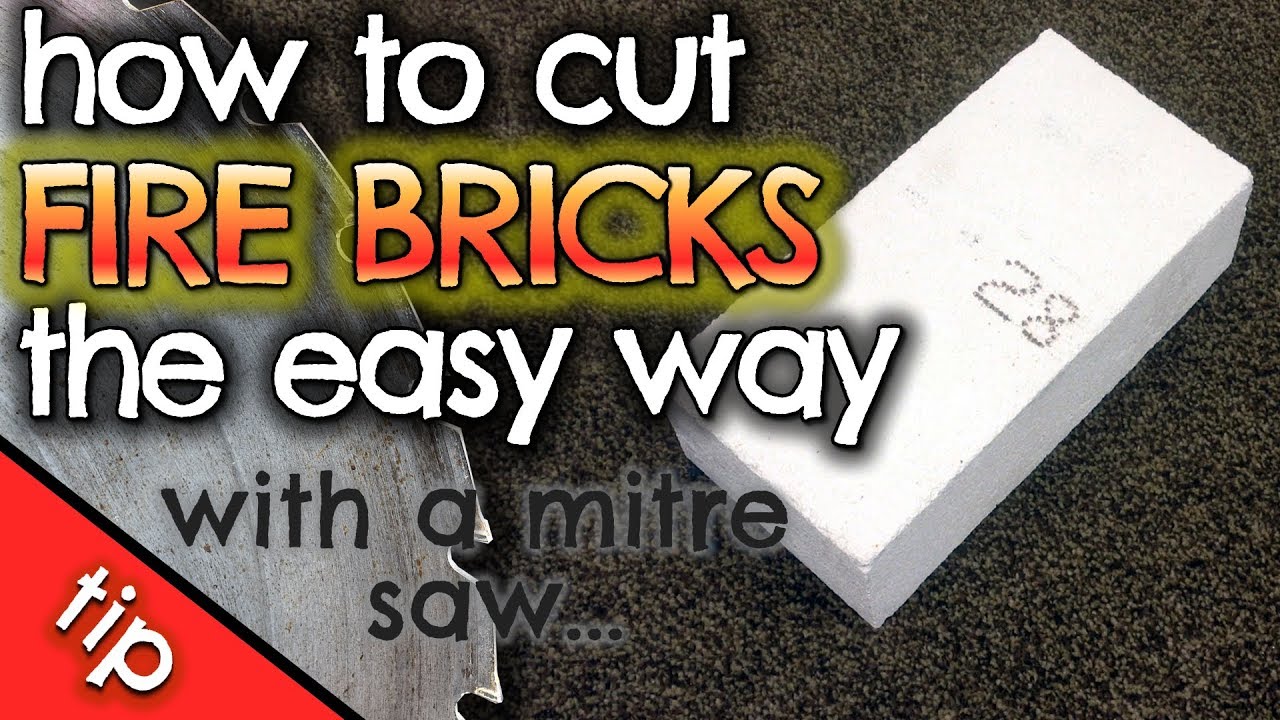
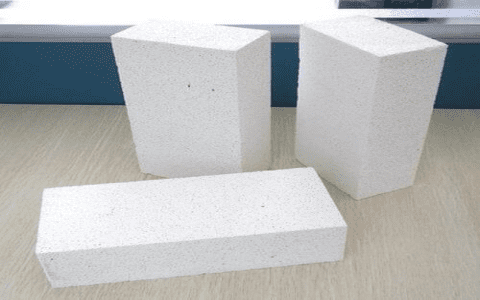
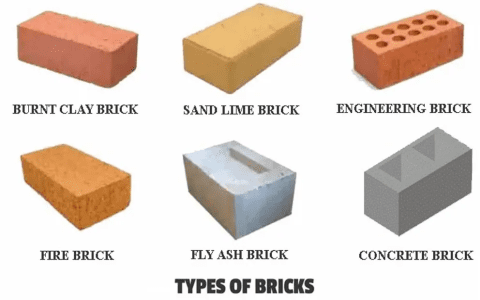
Okay, so, I had this project, right? Needed to cut some fire bricks. Now, fire bricks, they’re not your everyday kind of brick. They’re made to handle some serious heat, so they’re tough cookies. But, I found out that cutting them isn’t as hard as it seems. Let me tell you how I went about it.
Getting Started
First thing I did was to gather my tools. Nothing fancy, just some basic stuff. I got myself a saw – a regular handsaw, the kind you’d use for wood. But, here’s a little tip: make sure it’s an old, rusty one. Why? Because cutting fire bricks will dull your saw pretty quick. I also grabbed a masonry blade for my circular saw, just in case, and a good old chisel and hammer.


Marking and Soaking
Next, I marked the bricks where I wanted to cut them. A pencil or a marker works fine for this. Just draw a straight line where you want the cut to be. Then, I soaked the bricks in water for a minute or so. This little trick helps a lot with the dust. Trust me, you don’t want that fire brick dust flying everywhere. It’s not fun to breathe in.
Cutting with a Handsaw
Now, for the cutting part. I started with the handsaw. I placed the brick on a stable surface and started sawing along the marked line. It was slow going, but it worked. The trick is to apply steady pressure and let the saw do the work. No need to force it. Just keep sawing back and forth, and eventually, you’ll get through.
Using a Circular Saw
If you have a circular saw and a masonry blade, that’s even better. It’s faster and makes cleaner cuts. I switched to my circular saw after a while, and it was like cutting through butter compared to the handsaw. Just make sure to follow the marked line and keep the blade steady.
Chisel and Hammer Method
If you don’t have any saw, you can use a chisel and hammer. It’s more work, but it’s doable. I tried this method too, just to see how it goes. First, I scored the brick along the marked line with the chisel. I went around all four corners, then did the same on each face. Once I had a good score line, I gave it a sharp tap with the hammer. The brick should break along the score line, but it won’t be as clean as a saw cut.
Finishing Up
After cutting all the bricks, I cleaned up the edges a bit with the chisel to make them look neater. And that’s pretty much it. Not too bad, right? Cutting fire bricks might seem intimidating at first, but with the right tools and a bit of patience, anyone can do it.
So, there you have it. That’s how I tackled cutting fire bricks for my project. It was a bit of a learning experience, but I got it done. Hope this little walkthrough helps you out if you ever need to do something similar. Remember, take your time, be safe, and don’t worry too much about making mistakes. You can always fix them later!


