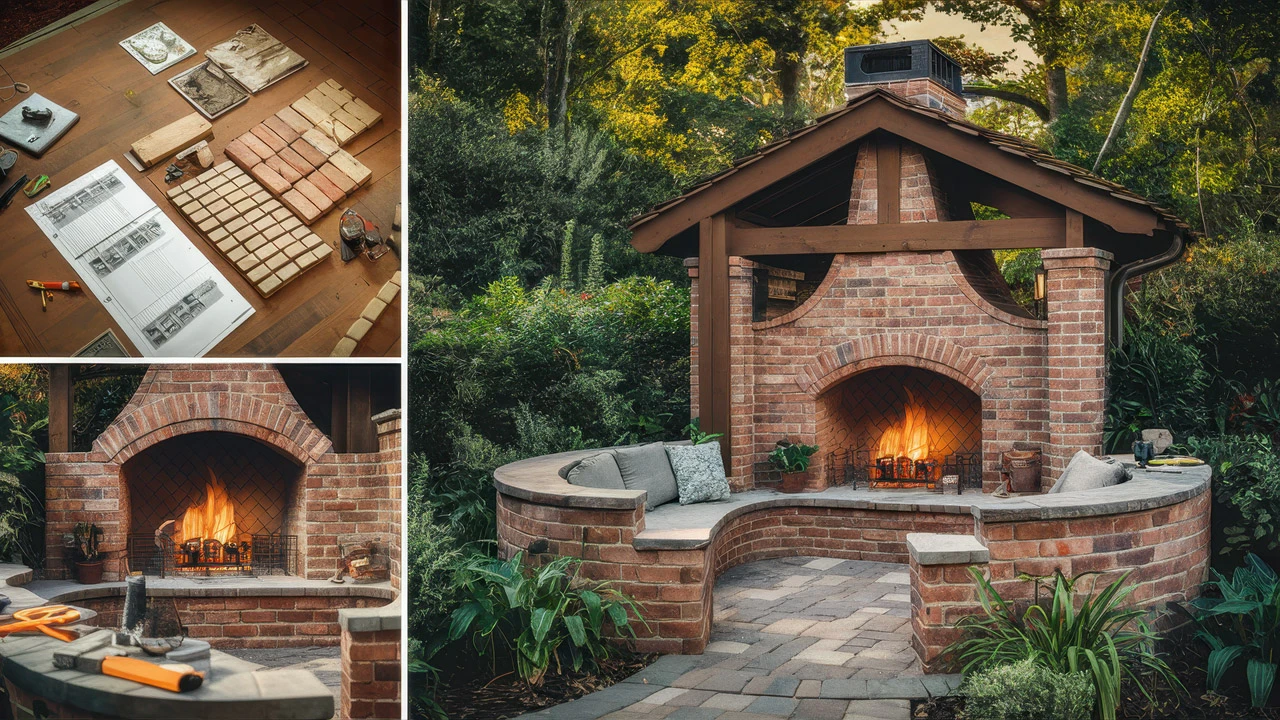
Man, I’ve always wanted a fireplace outside, you know? Somewhere to chill with a cold one, maybe roast some marshmallows. So, I finally decided to build one myself. A brick one, ’cause it just looks so much better. I did some research, looked up some guides, and got started.
Laying the Groundwork
First things first, I had to pick a spot. I wanted it far enough from the house for safety, but not so far that I’d freeze walking to it. After measuring out the area, I got to digging. Now, the guides said to use a reinforced concrete slab as a base. Something about soil type, freeze/thaw conditions, and the weight of the fireplace. I admit, I had no clue what most of that meant, but I followed the instructions anyway. I mixed the concrete – man, that stuff is heavy – and poured it into the area I dug out. Then I leveled it and let it cure for a few days. It was a bit of a waiting game, but I didn’t want to rush it.


Building it Up
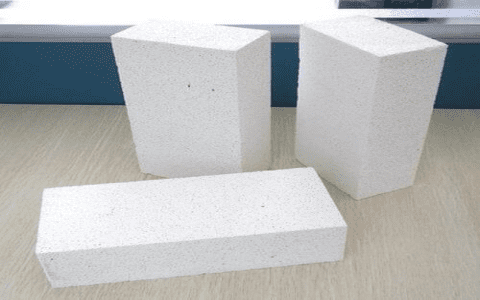
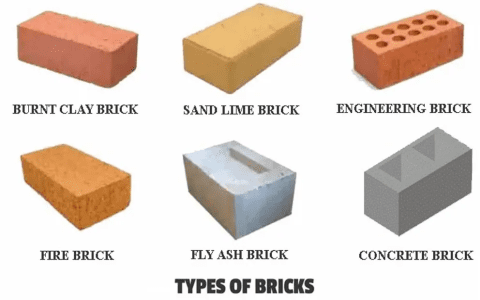
Next up, the bricks. The guides talked about using fire bricks, or refractory bricks. Apparently, they’re denser and can handle high temperatures better. They’re also bigger and thicker than regular bricks. So, I got a whole bunch of those and some mortar. I started laying the bricks, one by one, using the mortar to stick them together. I made sure to stagger the joints, like I saw in the guides. It was slow going, but kinda therapeutic, you know? Seeing it take shape, brick by brick, was pretty cool. I made sure to leave space for the firebox, where the actual fire would go. Oh man, I messed up the first few layers so many times. Had to redo it like 3 or 4 times till I got the shape right!
The Chimney
Then came the chimney. This was a bit trickier. I had to make sure it was tall enough to draw the smoke away, but not so tall that it would look weird. I kept laying bricks, making the chimney narrower as I went up. It’s important to keep it straight, which is harder than it looks! I used a level to check it every few layers. I ended up doing the chimney over a weekend cause I didn’t want to stop halfway. But boy was I sore after that.
The Finishing Touches
Once the main structure was done, I added a few finishing touches. I put a nice mantel above the firebox, so I’d have somewhere to put my drinks. I also added a hearth at the bottom, just for looks, really. Finally, I cleaned off any excess mortar and let the whole thing cure for a couple of weeks. After I was certain it was good and dry, I tried lighting a small fire just to test it out. Worked like a charm!
Building the fireplace took a lot of time and effort, but it was worth it. Now I have a great spot to hang out, enjoy the outdoors, and have a few beers with friends. Plus, I built it myself, which is a pretty good feeling. It’s not perfect, a little wonky here and there, but it’s mine. I’m pretty proud of it, I’m not gonna lie.
- I spent way more time than I thought I would.
- Learned a lot about bricks!
- It’s a great addition to my backyard.
If you’re thinking about building one yourself, I’d say go for it. Just be prepared to put in the work, and don’t be afraid to make mistakes. It’s all part of the process. And hey, if I can do it, you probably can too.


