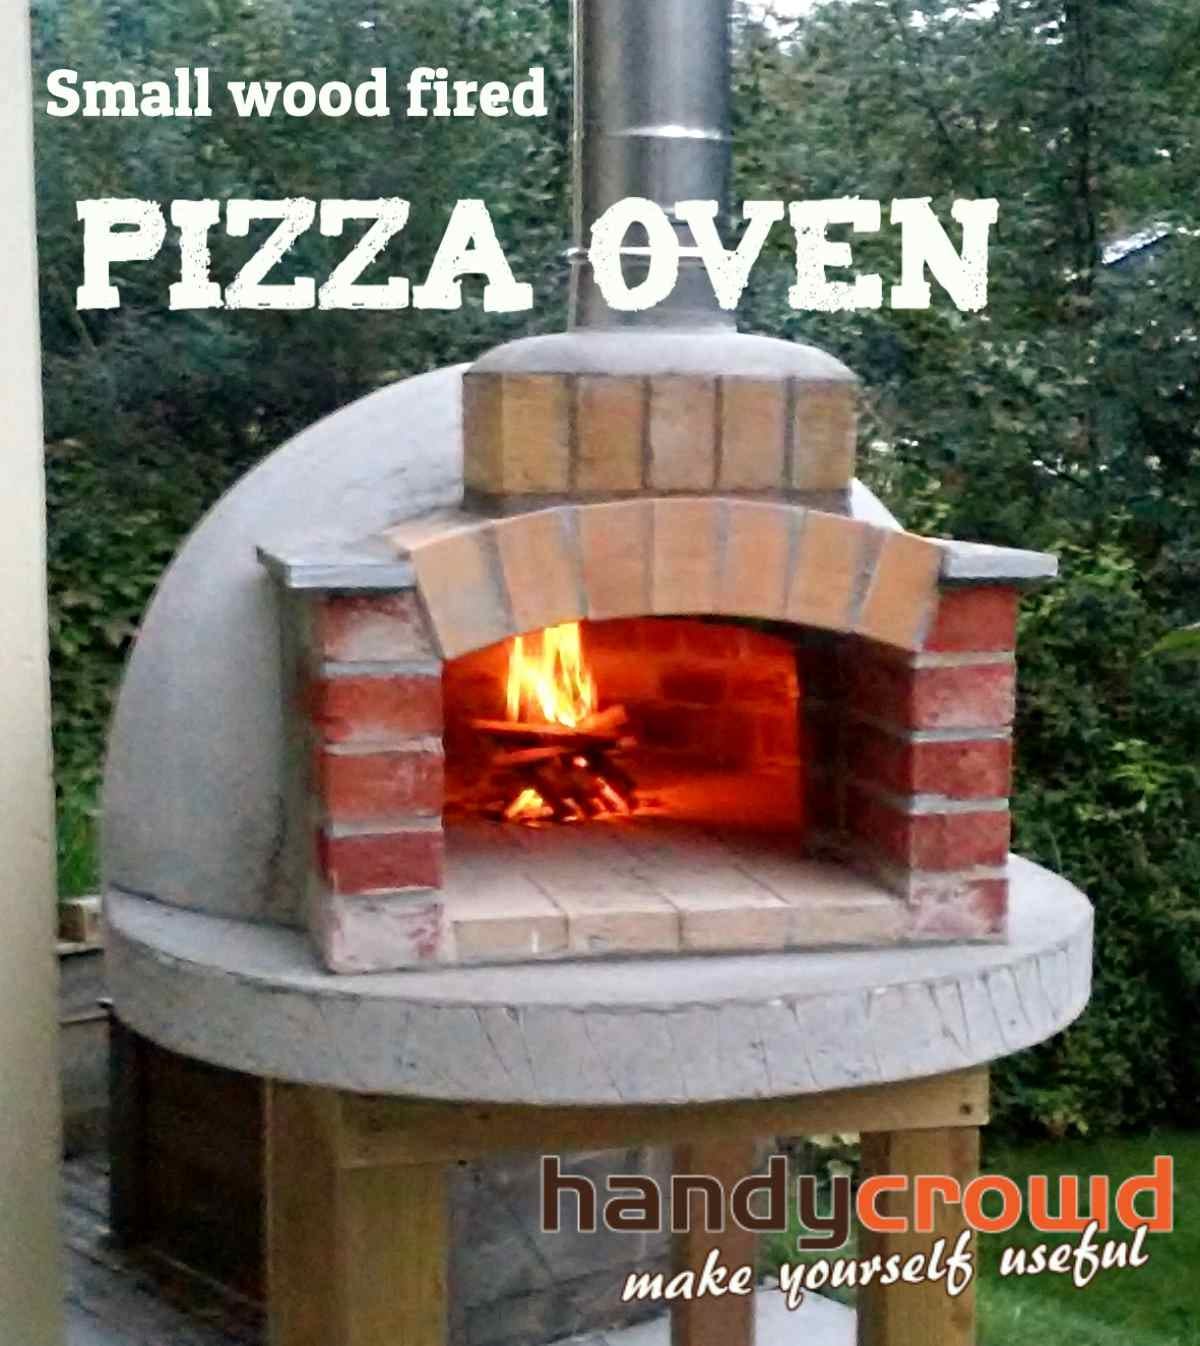
Okay, so, I’ve always wanted a pizza oven, you know, the kind that makes those crispy, delicious pizzas just like the ones from a real pizzeria. I figured, why not try building one myself? I mean, how hard could it be, right? Turns out, it’s a bit of a project, but totally worth it. So, here’s my journey of building a brick pizza oven, start to finish.
Getting Started: The Foundation
First things first, I had to pick a good spot in my backyard. It needed to be away from the house, not too close to any trees, and on level ground. Once I found the perfect location, I started digging. I dug a pretty big hole, about eight feet long, to create a pad. Then, I built a wooden frame out of some 2x10s for the concrete pad. It was a little wonky, but it did the job. I mixed up a bunch of concrete – let me tell you, that was a workout! – and poured it into the frame. Then I smoothed it out and let it sit there to cure for a few days. Patience is key, they say, but I was just excited to get to the next step.


Building Up: The Base and Oven Floor
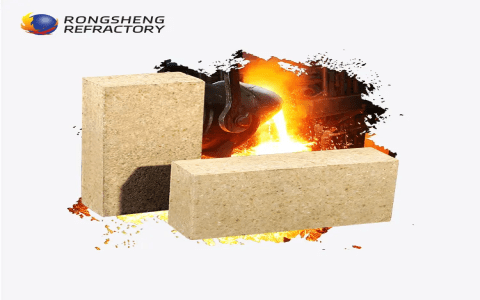
With the foundation nice and solid, it was time to start building up. I used concrete blocks to build the base of the oven. I stacked them up, using mortar to stick them together. It kinda felt like playing with giant LEGOs, except way heavier and messier. On top of this base, I laid down firebricks to create the oven floor. These bricks can handle super high heat, which is exactly what you need for a pizza oven. I made sure to lay them nice and flat because this is where the pizzas would be cooking, and no one wants a wonky pizza.
Forming the Dome: A Bit of a Challenge
Now, here comes the tricky part – building the dome. The advice I found was to use sand to make a dome shape on top of the firebricks. So I piled up a mound of sand to form the inner dome shape. I took my time with this, patting it down, making sure it was the right shape and size. Once the sand dome was ready, I started laying more firebricks on top, using a mix of fireclay, sand, and cement as mortar. It was slow going, like, really slow. Each brick had to be carefully placed and held in position until the mortar started to set. It was a test of my patience, for sure. I worked in sections, letting each part dry before moving on to the next.
Finishing Touches: Making It Pretty
After what felt like forever, the dome was finally complete! I carefully removed the sand from inside, and there it was – a beautiful brick dome. But it wasn’t quite done yet. I added a layer of insulation around the dome to help keep the heat in. Then, I covered it all with a layer of regular bricks and mortar, just to make it look nice and sturdy. I also built a little chimney at the front to let the smoke out. It was starting to look like a real pizza oven!
First Fire: The Moment of Truth
Once everything was dry and set, it was time for the first fire. I built a small fire in the center of the oven using some kindling, a couple of fire starters, and some dry wood. I was so nervous, hoping it would all work out. Slowly, the oven started to heat up. It took a while, but eventually, it got really, really hot. This was it! Time to make some pizza!
Pizza Time: Finally!
I slid my first homemade pizza onto the hot oven floor. The smell was amazing as it started to cook. In just a few minutes, the crust was golden brown and crispy, and the cheese was all bubbly and melted. I pulled it out, let it cool for a bit (the hardest part!), and took a bite. It was incredible! All that hard work had paid off. The pizza was delicious, with that perfect smoky flavor you can only get from a wood-fired oven.
So, there you have it. My adventure in building a brick pizza oven. It was a lot of work, a lot of sweat, and a few frustrating moments, but it was totally worth it. Now, I can make amazing pizzas anytime I want, and it’s become the centerpiece of my backyard. If you’re thinking about building your own, I say go for it! Just be prepared for a bit of a challenge, and a lot of fun along the way.


