Alright, so the other day I decided to build a fireplace in my backyard. You know, one of those brick ones you see in magazines. I figured, “How hard could it be?” Well, let me tell you, it was a bit more involved than I thought.
First things first, I had to pick a spot. I walked around my backyard for a good hour, trying to find the perfect location. I finally settled on a nice, open area away from the house and any trees. Safety first, right? Then I got this idea to look up some designs online. There were tons of them! After a couple of hours scrolling, I found one I liked. Simple, but classy.


Next, I had to gather my materials. I made a list and headed to the local hardware store. Bricks, mortar, some tools I didn’t even know the names of… my shopping cart was full. And heavy! I definitely got a workout pushing that thing around. The guy at the checkout gave me this look, like, “Does this dude even know what he’s doing?”
Once I got everything home, it was time to start building. I laid out the base first, using some concrete. I’m not gonna lie, mixing concrete is tougher than it looks. I had to get my neighbor, old man Johnson, to help me out. He’s built a few things in his day, so he knew what he was doing.
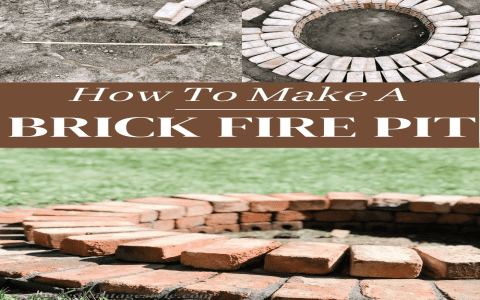
After the base dried, I started laying the bricks. This was the fun part, but also super tedious. I had to make sure each brick was level and lined up properly. I used regular bricks for the outside, but for the inside, where the fire goes, I used these special fire bricks. They’re thicker and can handle the heat better. I learned that the hard way when I tried to use regular bricks for a fire pit last year. Didn’t end well.
- Laying the Foundation: The foundation had to be solid. I dug a hole, filled it with gravel, and then poured a concrete slab. I made sure it was level.
- Building the Firebox: This is where the fire actually burns. I used firebricks for this part because they can withstand high temperatures. I learned that regular bricks will crack under intense heat, so firebricks it is.
- Constructing the Walls: Once the firebox was in place, I started building the surrounding walls with regular bricks. I made sure to stagger the joints for added strength. It is important to use a level to ensure everything was straight.
- Adding the Chimney: The chimney was a bit tricky. I had to make sure it was tall enough to create a good draft. I also added a chimney cap to keep rain and debris out.
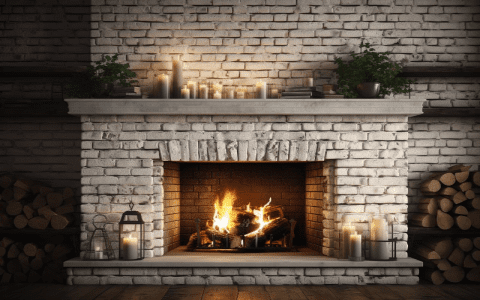
It took me a few weekends, but I finally finished it. I even added a little mantel on top for decoration. My wife was skeptical at first, but even she had to admit it looked pretty good. We’ve already had a few fires in it, and it’s been amazing. There’s just something about sitting around a fire on a cool evening, you know?
If you’re thinking about building one yourself, I’d say go for it. Just be prepared for some hard work, and don’t be afraid to ask for help. And maybe watch a few tutorial videos online before you start. Trust me, it’s worth it in the end.


