Alright, guys, let’s talk about the outdoor brick fireplace project I just wrapped up. It was a bit of a doozy, but I’m stoked with how it turned out. So, let me walk you through what I did.
Getting Started
First off, I picked a spot in my backyard that was far enough from the house and any trees. Safety first, right? Then, I sketched out a rough design. Nothing fancy, just a simple, classic fireplace look. I’m no architect, but it gave me a good idea of what I was aiming for.


Laying the Foundation
This was the most crucial part. I dug a hole about a foot deep and a bit wider than the base of my planned fireplace. I filled it with gravel and then poured a concrete slab on top. I made sure it was level because, you know, a wonky foundation is no good for anything. I learned that a solid foundation to put the fireplace on top of is the first and most important step!
Building the Firebox
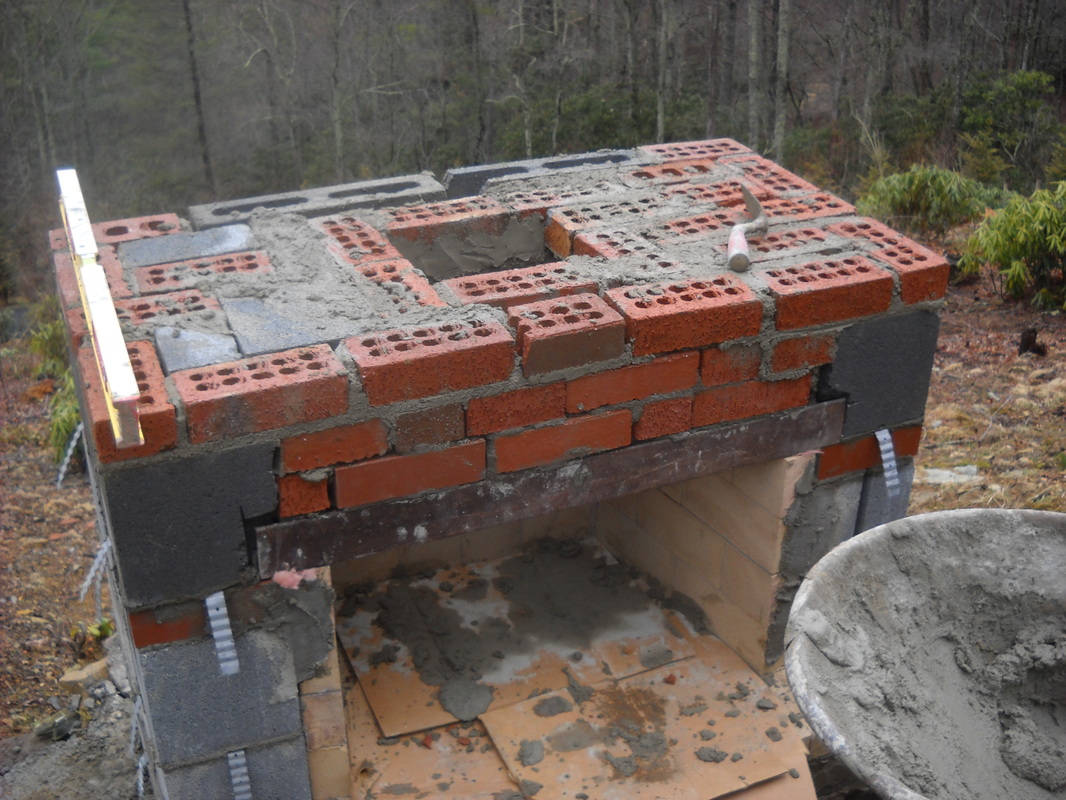
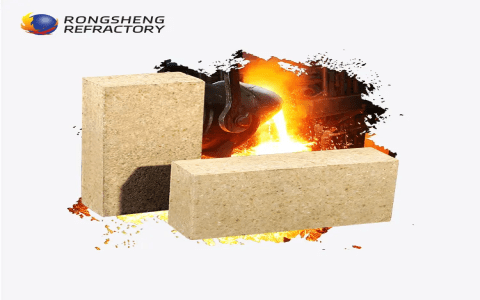
Next up, the firebox. I used firebricks for this because they can handle the heat. I started laying them out, using mortar to stick them together. It was like a big, heavy puzzle. I took my time, making sure each brick was secure and level. I made a rectangular box, leaving the front open, of course. This took the longest, but it was satisfying to see it take shape.
Raising the Walls
Once the firebox was solid, I started on the outer walls with regular bricks. These were easier to work with. I laid them in a staggered pattern, again with mortar. I built the walls up around the firebox, leaving space for a chimney. This part went a bit faster since it was more about aesthetics than heat resistance.
Constructing the Chimney
The chimney was a bit tricky. I continued with the regular bricks, narrowing it as I went up. I had to make sure it lined up with the firebox opening. I also installed a flue liner for safety. This was probably the most challenging part, ensuring the draft would work correctly.
Finishing Touches
After the main structure was up, I added a mantel above the firebox opening. Just a simple wooden beam, but it added a nice touch. I also cleaned up any excess mortar and let everything cure for a few days. Patience is key, my friends.
The First Fire
Finally, the moment of truth! I lit a small fire to test it out. The draft worked perfectly, and the fire burned beautifully. It was such a rewarding feeling, seeing all that hard work pay off.
Material Considerations
- Firebricks: Used for the firebox due to their heat resistance.
- Regular Bricks: Used for the outer walls and chimney. I probably used around 200 bricks in total. They say a 3-foot pit requires 80-200 bricks, but my fireplace was a little bigger than that.
- Mortar: Essential for binding the bricks together.
- Gravel and Concrete: For the foundation.
- Wooden Beam: For the mantel.
- Flue Liner: Installed in the chimney for safety.
So, there you have it. My DIY outdoor brick fireplace. It was a lot of work, but totally worth it. Now I’ve got a cozy spot to enjoy those chilly evenings. If you’re thinking about tackling a project like this, go for it! Just be prepared for some heavy lifting and a bit of a learning curve. Happy building, folks!


