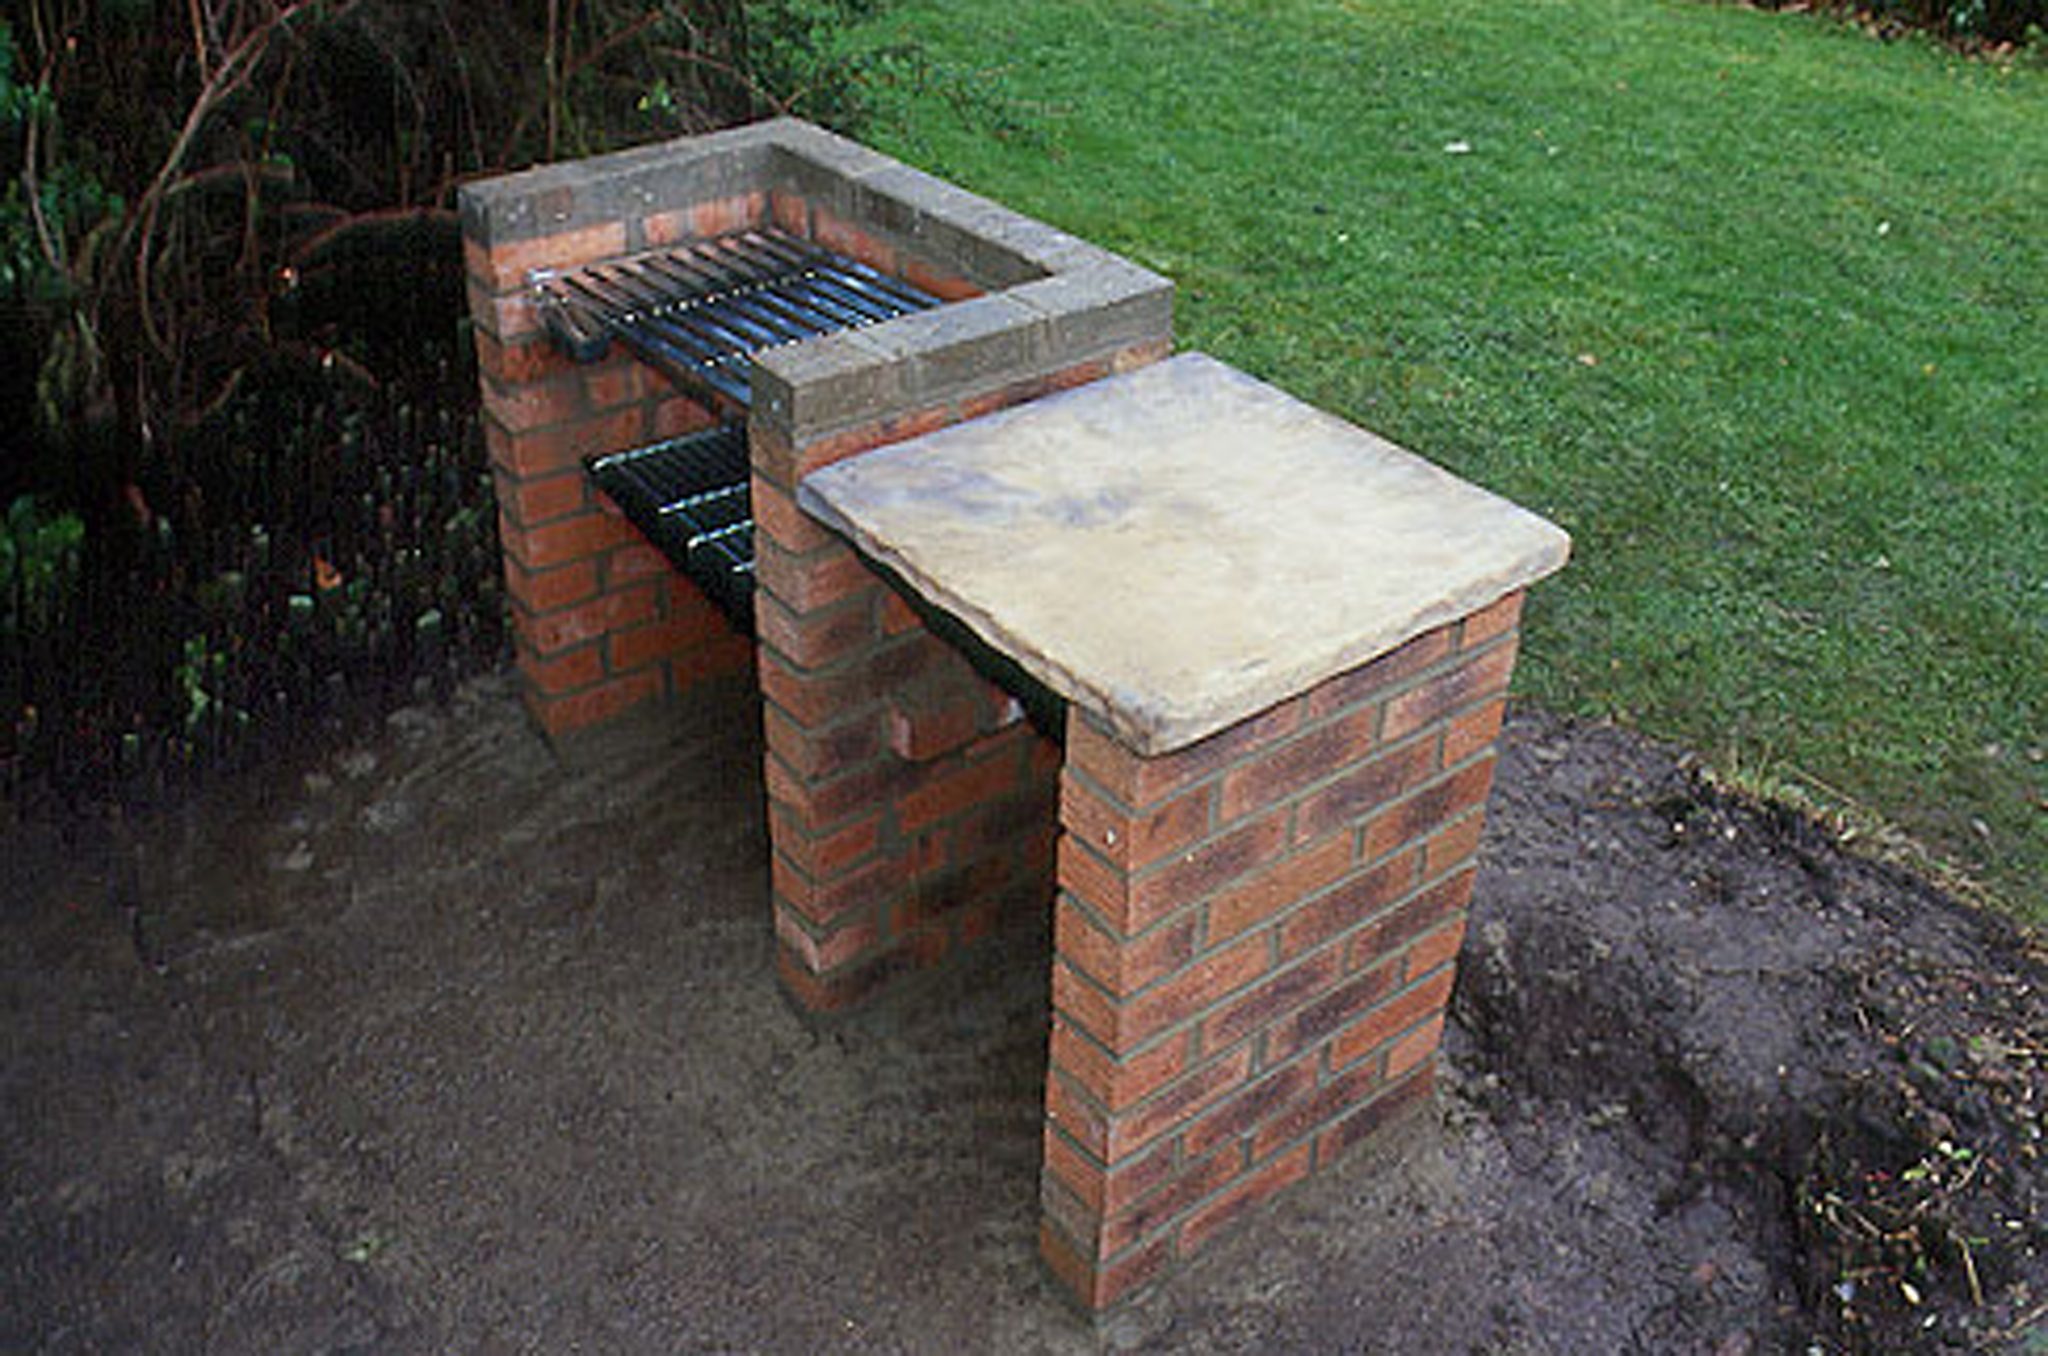
Okay, let’s talk about how I built my own brick gas grill. It was a fun project, not too hard, and now I have a sweet grill in my backyard.
First, I thought about what I wanted. I sketched a simple design on paper, nothing fancy, just a basic box with a space for the grill and a little countertop. I figured I needed around 100 bricks, maybe a few more, to make it the size I wanted.


Next, I got my materials. I picked up regular bricks from a home improvement store. And made sure to grab some special mortar that can handle high heat – regular stuff won’t cut it for a grill. I also bought a gas grill insert, which is the part that actually cooks the food.
Laying the Foundation
I started by laying out the bricks in the shape of the base, just to see how it would look. Then, I mixed the mortar according to the instructions. I spread a layer of mortar on the ground and started placing the bricks, one by one, pressing them down firmly. I used a level to make sure everything was straight and even.
Building the Walls
Once the base was done, I started building up the walls. I applied mortar to the edges of each brick and stacked them, staggering the joints for strength. It was like putting together a big puzzle. I kept checking with the level to make sure the walls were plumb.
- Mix mortar.
- Apply mortar to bricks.
- Stack bricks, staggering joints.
- Check level regularly.
Installing the Grill
When the walls were the right height, I left a space for the grill insert. I carefully placed the insert into the opening, making sure it was level and secure. This was probably the trickiest part, but I managed to get it in there just right.
Finishing Touches
After the grill was in, I added a few more layers of bricks to create a countertop. Then, I let the whole thing dry for a few days. I know the mortar instructions say how long to wait, but I waited a couple of extra days just to be sure. It was probably overkill, but I wasn’t taking any chances with my new grill! Finally, I hooked up the gas and fired it up. It worked like a charm!
Building a brick gas grill was a great experience. It was a bit of work, but it was totally worth it. Now I have a custom grill that looks great and cooks like a dream. All in all, it probably cost me around $500, which is way cheaper than buying a fancy pre-made grill. If you’re thinking about building your own, I say go for it! Just take your time, follow the steps, and you’ll have a grill you can be proud of.


