Hey everyone, I am back with another DIY project. Today, I am going to show you how I built a brick rocket stove. It was a fun and rewarding experience, and I can not wait to share it with you all.
Getting Started
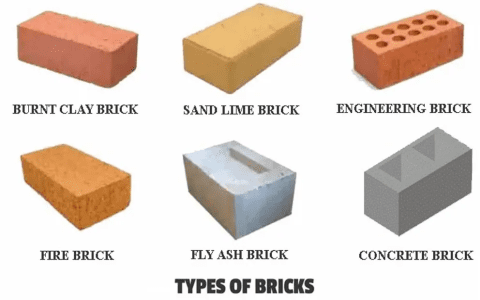
First things first, I gathered all the materials I needed. The main thing here is the bricks. You want the soft red clay bricks, the kind you can draw on the sidewalk with. Apparently, these were the original bricks Ianto Evans used way back when, so I figured they must be good. I managed to find some at a local hardware store. They were not too expensive, which is always a plus.

Building the Base
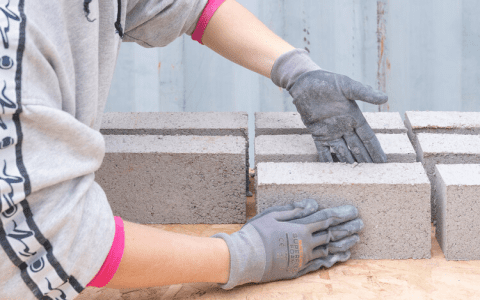
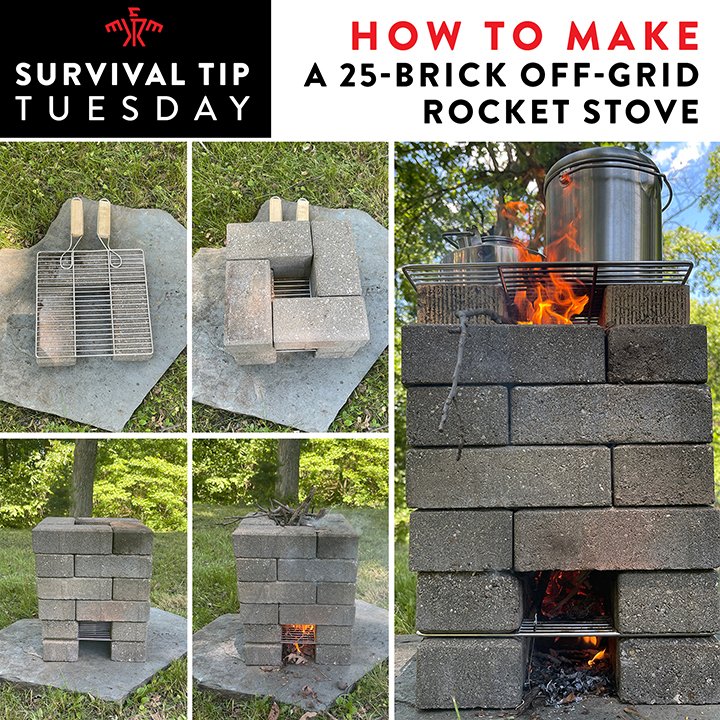
I started by laying out the bricks to form the base of the stove. I made a rectangular shape, leaving an opening at one end for the fuel feed. I did not have a specific plan, just kind of eyeballed it. I laid the bricks flat, making sure they were nice and snug against each other. It was like putting together a puzzle, but with bricks instead of puzzle pieces.
Creating the Combustion Chamber
Next, I started building up the walls of the combustion chamber. I stacked the bricks, staggering the joints like you see in brick walls. This helps with stability, you know? I made the chamber tall enough to create a good draft. It is important to get this part right because the draft is what makes the rocket stove work so well. I kept adding bricks until I was happy with the height.
Adding the Fuel Shelf
Inside the combustion chamber, I added a fuel shelf. This is where the wood sits as it burns. I used a few smaller pieces of brick to create a ledge about halfway up the chamber. It is kind of like a little shelf inside the stove. This shelf helps the air flow underneath the wood, making it burn more efficiently. It is a neat little trick I picked up from reading about rocket stoves.
Constructing the Chimney
After the combustion chamber and fuel shelf were done, I built the chimney. The chimney is basically a continuation of the combustion chamber, but narrower. I stacked more bricks, making sure to keep the joints staggered. The chimney helps to direct the smoke and heat upwards. It also creates more draft, which is crucial for a good burn.
Finishing Touches
Once the main structure was complete, I added a few finishing touches. I made sure all the bricks were securely in place and that there were no gaps where air could escape. I also smoothed out any rough edges. I wanted it to look nice, not just be functional. It is always good to take pride in your work, even if it is just a simple brick stove.
Testing It Out
Finally, the moment of truth: testing the stove. I gathered some dry twigs and small pieces of wood. I placed them on the fuel shelf, lit a fire, and watched. It took a few minutes, but soon the fire was roaring. The draft was strong, and the flames were shooting up the chimney. Success! The stove worked just as I had hoped.
Cooking on the Stove
Of course, I had to try cooking on it. I placed a pot of water on top of the chimney and waited. It did not take long for the water to start boiling. It is amazing how much heat this little stove can generate. I even cooked some food on it, and it turned out great. There is something satisfying about cooking over a fire you built yourself.
Reflections
Building this brick rocket stove was a great experience. It was not too difficult, and the materials were easy to find. Plus, it is a very efficient way to cook outdoors. I am really happy with how it turned out. If you are looking for a fun weekend project, I highly recommend giving this a try. You might be surprised at how well it works.
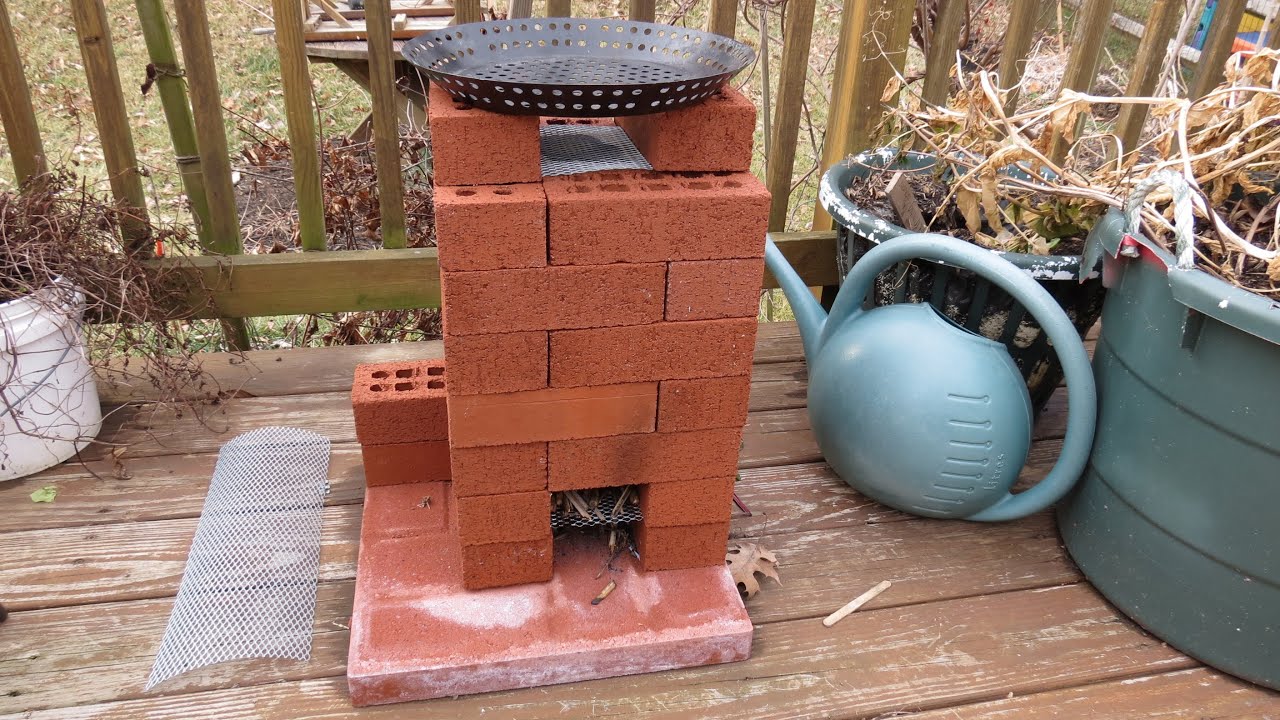

So, there you have it, folks. That is how I built my brick rocket stove. I hope you found this walkthrough helpful and maybe even inspiring. Until next time, happy building!
