Alright, folks, gather ’round. Today, I’m gonna tell you about the time I built a brick fire table in my backyard. It was a bit of a wild ride, but we got there in the end. So, here’s how it all went down.
First things first, I picked out a nice spot in my backyard. I wanted it to be somewhere we could all chill out, but not too close to the house, you know, safety first and all that. Once I had the spot, I grabbed my shovel and started digging. Nothing too crazy, just a shallow pit, maybe about 8-10 inches deep. This was gonna be the base for my fire table, so I made sure it was nice and level.


Next up, I filled that pit with gravel. Why gravel, you ask? Well, it helps with drainage. You don’t want water pooling around your fire table, trust me. So, I dumped a bunch of gravel in there and spread it around, making sure it was all even. This was going to be the foundation, so it had to be solid.
- Dig a shallow pit about 8-10 inches deep.
- Fill the pit with a base layer of gravel.
- Ensure the gravel layer is level and provides a solid foundation.
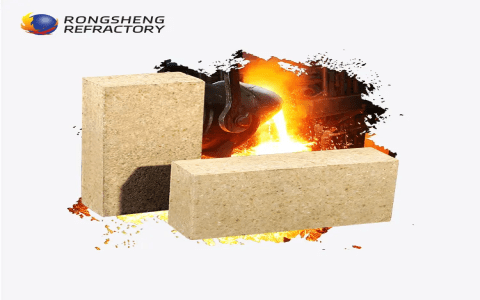
Now came the fun part – laying the bricks. I’m no bricklayer, but how hard could it be, right? I got myself a bunch of bricks from the local hardware store, some mortar mix, and a trowel. I mixed up the mortar according to the instructions – it was kind of like baking, but messier. Then, I started laying the bricks around the edge of the pit, one by one. I slapped some mortar on each brick, stuck it in place, and tapped it down with the trowel. It was slow going, and my back was definitely feeling it, but I kept at it.
I built up the walls of the fire table, layer by layer. It wasn’t perfect, a bit wobbly in places, but it was starting to look like something. I left a gap on one side for the propane tank – yeah, I decided to go with propane because it seemed easier than dealing with wood all the time.
Once the walls were up, I let the mortar dry for a couple of days. It was tough waiting, but I knew it was important. While I waited, I picked up a metal fire bowl and a burner kit online. I also got some lava rocks to put around the burner – they look cool and help distribute the heat.
Final Touches
After the mortar was good and dry, I placed the fire bowl in the center of the brick structure. It fit perfectly, like it was meant to be. I connected the burner to the propane tank, tucked the tank into the gap I’d left, and filled the bowl with lava rocks. It was finally coming together!
The moment of truth – I turned on the gas and lit the burner. And guess what? It worked! Flames danced around the lava rocks, and it looked awesome. I grabbed some chairs, invited some friends over, and we spent the evening sitting around the fire table, roasting marshmallows and telling stories. It was the perfect way to break it in.
So, there you have it – the story of my DIY brick fire table. It was a bit of a project, but totally worth it in the end. Now, we have a sweet spot to hang out in the backyard, and it’s all thanks to a little bit of elbow grease and a whole lot of bricks.


