Man, building a brick bread oven was quite the adventure, let me tell you. I’ve always been a fan of that authentic, wood-fired taste in my bread, so I thought, why not give it a go? Plus, I love a good DIY project. It took a while, but it was so worth it.
First thing I did was plan it out. I did some Googling, read a few articles, and sketched out what I wanted. It felt a bit overwhelming at first, to be honest, but I figured if other folks could do it, so could I.


Next up, I had to get the foundation ready. This was crucial – no one wants a wonky oven, right? I dug a bit, leveled the ground, and poured a solid concrete slab. I used some gravel for the base, just to make sure it was extra sturdy. This part took a full weekend, and my back was definitely feeling it!
- Digging and leveling
- Pouring concrete
- Adding gravel for stability
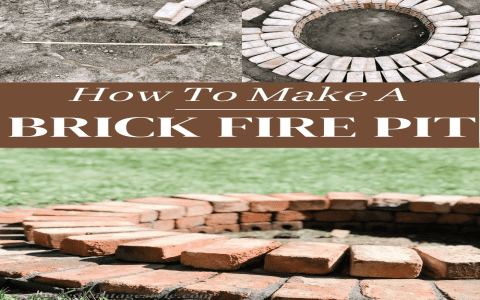
Then came the fun part – laying the bricks! I started building up the walls, one brick at a time. I used a basic running bond pattern because it looked simple enough. It was like a giant, heavy puzzle. I gotta say, mortar gets everywhere, so don’t wear your good clothes for this part.
Once the walls were up, I needed to create the dome. This was the trickiest part, no doubt. I built a wooden frame to support the bricks while the mortar dried. It was slow going, making sure each brick was angled just right. I kept checking and re-checking, making sure it was all symmetrical. When that wooden frame came out, and the dome stood on its own, I felt like a king.
After the dome, I added a layer of insulation. I used this stuff called vermiculite – it’s super lightweight and apparently does a great job at keeping the heat in. Spread that all over the dome, about 2 inches thick. Looked like I was making a giant baked Alaska.
Finishing Touches
Finally, I built a little chimney and an arched entrance. These were more for looks than anything, but hey, gotta have that classic brick oven aesthetic. I added a door too, just a simple metal one I picked up from the hardware store. It’s not airtight or anything, but it does the job.
The whole project, from start to finish, took me about a month, working on it mostly weekends and some evenings. It cost me way less than buying a pre-made one. I saw some online that were going for like $5,000 or more. I probably spent around $1,000 on materials, maybe less. Plus, doing it yourself gives you that sense of pride, you know? Now, every time I bake a loaf of bread, I get that delicious smoky flavor and a slightly charred crust. It’s pure heaven. And I can say, “Yeah, I built that.”
If you’re thinking about building your own, I say go for it! Just make sure you do your research, take your time, and don’t be afraid to get your hands dirty. It’s a heck of a project, but the results are totally worth it.


