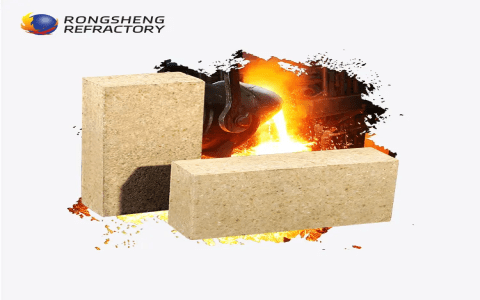
So, the other day I decided my backyard was missing something—a proper barbecue pit. I mean, sure, I had one of those portable grills, but I wanted the real deal, you know? Something solid, something that says, “This guy knows how to barbecue.” So, I figured, why not build one myself? Let me tell you, it was quite the adventure.
Getting Started
First thing I did was hit up the local hardware store. I grabbed around 120 bricks—better safe than sorry, right? And, of course, some high-heat resistant mortar. Regular stuff just wouldn’t cut it for this project. Sakrete had the heat resistant mortar so I took it. I also picked up a barbecue grilling set with a coal tray and a couple of grills. No point in building a pit if you can’t actually grill on it.


Laying the Foundation
Next, I cleared out a nice spot in my backyard. It took some time to level the ground, but I wanted a solid base, so I took my time to do it. I laid down the first layer of bricks, making sure everything was level and square. This part was crucial—get the foundation wrong, and the whole thing could be a mess. I applied that high-heat mortar between the bricks, slapping it on there and pressing each brick into place. It was messy work, but kind of satisfying, like building with giant LEGOs.
Building Up
Once the base was set, I started building up. Layer by layer, I added bricks, staggering the joints for strength. I kept checking the level and making sure the walls were straight. Every few layers, I’d step back and admire my handiwork. It was starting to look like a real barbecue pit!
- Apply mortar to the top of the laid bricks.
- Place the next layer of bricks, staggering the joints.
- Tap each brick into place with the handle of your trowel.
- Check for level and adjust as needed.
- Repeat until the desired height is reached.
The Grilling Surface
Now, for the important part—the grilling surface. I left spaces in the brickwork to slide in the coal tray and grills. It was like a puzzle, figuring out where to leave gaps so everything would fit just right. I added an extra layer of bricks around the top for a nice finish and to give the grill a bit more support.
Finishing Touches
After letting the mortar set for a couple of days, it was time for the final test. I stuffed some newspaper and wood shavings between the charcoals, lit it up, and let the flames do their thing. Once the flames died down, I had a nice bed of ashen coals—perfect for cooking. I threw some burgers and hot dogs on the grill, and they cooked up perfectly.
The Result
The first meal off my new brick barbecue pit was amazing. There’s just something about cooking over coals in a pit you built yourself. It felt like a real accomplishment. Plus, it’s a great conversation starter when friends come over. “Yeah, I built that,” I get to say casually.
So, that’s the story of how I built my brick barbecue pit. It was a lot of work, but totally worth it. If you’re thinking about doing something similar, I say go for it. Just be prepared to get your hands dirty and have a blast doing it.


