Alright, let’s talk about making fire bricks, you know, those things for keeping the heat in your stove or fireplace. I ain’t no fancy expert or nothing, but I’ve been around long enough to know a thing or two about getting things done without spending a whole lot of money.
First off, you gotta find the right stuff. They call it “fire clay” or some such. It’s gotta be tough, ya know? The kind that can stand the heat without crumbling like a dry biscuit. Look for clay that’s got this “alumina” and “silica” stuff in it. Sounds fancy, I know, but it just means it’s strong. Some folks say “kaolinite” is good too. Whatever you call it, just make sure it feels heavy and ain’t got too many rocks or sticks in it. You can sometimes find it near creeks or places where the ground is kinda red or yellowish.


Now, you can just dig up the clay and use it straight, like they did in the old days, but it’s better if you mix it up a bit. Think of it like making a good pie crust – you gotta add some stuff to make it hold together better. Some folks use something called “grog”. It’s just clay that’s already been fired and ground up. You can also use sand or even broken-up pieces of old bricks if you got ’em. This helps the new bricks from shrinking and cracking when you fire ’em up.
- Get your clay ready: If it’s wet, you gotta dry it out some. Spread it out on a tarp or something and let the sun do its work. Then, smash it up good and get rid of any big chunks or rocks.
- Mix it up: This is where you add your grog or sand. How much you add depends on how strong you want the bricks to be, but a good rule of thumb is to use about one part grog to three parts clay. Mix it all together real good, like you’re kneading dough. Add just enough water to make it stick together, but not too much that it gets all goopy. You want it kinda like stiff mud.
- Shape your bricks: You can make molds out of wood or just use your hands. Pack the clay mixture into the molds real tight, or if you’re making them by hand, just pat them into the shape you want. Try to make them all about the same size, so they stack up nice and even. Don’t make ’em too big, or they’ll take forever to dry and might crack.
- Dry the bricks: This is important, so don’t rush it. Let the bricks air dry for a few days, or even a week, depending on how wet they were. Keep them out of the direct sun and turn them over every now and then, so they dry evenly. If you dry them too fast, they’ll crack for sure.
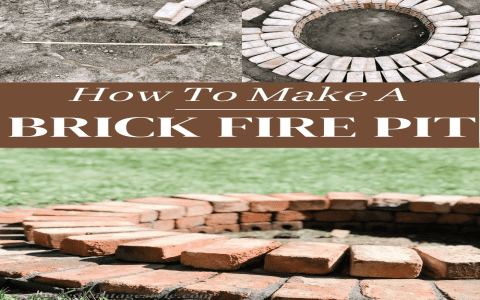
- Fire the bricks: This is the part where you gotta be careful. You need a really hot fire to turn the clay into a brick. If you got a kiln, that’s the best way to do it. But if not, you can build a fire pit and stack the bricks in it. The important thing is to heat them up slowly at first, then gradually increase the heat. You gotta get them really hot, like, hot enough to make them glow red, and hold them at that temperature for a few hours. Then, let them cool down slowly. Don’t go pouring cold water on them!
What temperature do you need? Well, some folks say them fancy bricks get up to 1500 degrees or even more. That’s hotter than your kitchen oven, that’s for sure. But if you’re just using them for a regular fireplace or wood stove, you don’t need them to be quite that hot. Just get ’em good and hot, and they’ll hold the heat just fine.
Now, making your own fire bricks ain’t the easiest thing in the world. It takes time and patience, and you might mess up a few times before you get it right. But if you’re willing to put in the work, you can save yourself some money and have the satisfaction of knowing you did it yourself. And that’s worth something, ain’t it?
Why bother with all this? Well, good fire bricks can make a big difference in how well your stove or fireplace works. They keep the heat in and help the fire burn longer. Plus, if you got a good source of clay, you can make ’em for practically nothing. Saves you a trip to the store and a few dollars in your pocket, which is always a good thing in my book.
So, there you have it. That’s my two cents on making fire bricks. It ain’t rocket science, just good old-fashioned common sense and a little bit of elbow grease. Give it a try, and you might be surprised at what you can do. And remember, patience is the key! You don’t want to rush things and end up with a pile of cracked bricks. Take your time, do it right, and you’ll have bricks that will last for years to come.
Tags: [fire bricks, diy, clay, refractory, homemade, fireplace, stove, heat, fire clay, making fire bricks]


