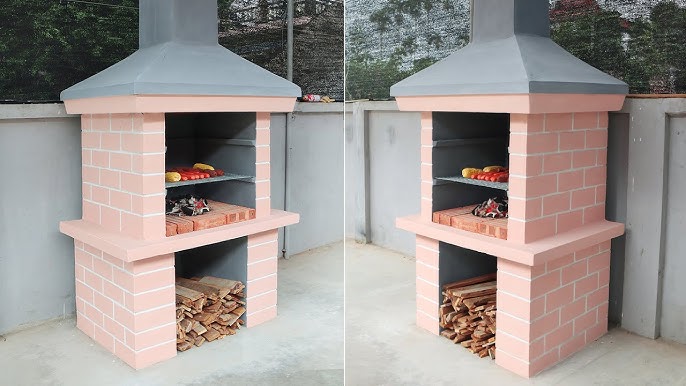
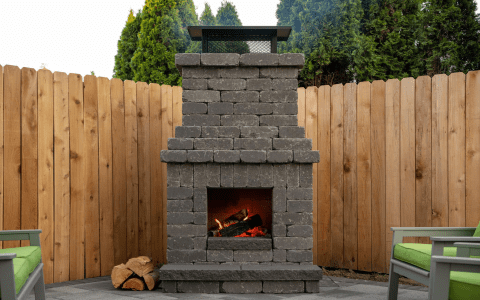
Hey everyone, today I’m gonna share my little project of building a brick grill in my backyard. I’ve always loved the idea of having a proper grill, and store-bought ones are never quite right, you know? So, I thought, why not just make one myself? It sounded like a fun challenge, and I’m pretty happy with how it turned out.
Getting Started
First things first, I needed a plan. I’m no architect, so I just sketched out a simple design on a piece of paper. Nothing fancy, just a basic U-shape. Then came the shopping. I hit up the local hardware store and grabbed about 120 bricks. I also made sure to get a couple of grill grates – one for the actual grilling and another to hold the charcoal. Oh, and I picked up some fire-resistant bricks for the inside where the fire would be. Safety first, right?


Laying the Foundation
I started by clearing out a nice spot in the yard. Leveled the ground as best as I could – didn’t want a leaning tower of grill, haha. Then, I laid down the first layer of bricks, just to get a feel for the size and shape. Once I was happy with the layout, I started mixing up some mortar. Let me tell you, mixing mortar is a workout! But, it’s pretty straightforward, just follow the instructions on the bag.
Building it Up
With the mortar ready, I started laying the bricks, one by one. It was slow going, making sure each brick was level and the mortar was spread evenly. I used a trowel to put the mortar on and a level to keep things straight. It’s a bit like building with giant LEGOs, but way messier. I worked my way up, layer by layer, leaving an opening in the front for the charcoal tray.
- First layer: This is your base, so take your time.
- Mortar: Not too thick, not too thin. Like peanut butter.
- Level it out: Check after each brick, or you’ll have a wonky grill.
Adding the Grates
Once the walls were high enough, I placed the charcoal tray and then put some fire-resistant bricks around where the fire would be. Then I laid some more regular bricks on top to create a little shelf for the grilling grate. I left some gaps between the bricks on the top layer for airflow – gotta let that fire breathe!
Finishing Touches
After letting the mortar dry for a couple of days, I fired it up for a test run. Worked like a charm! The smoke flowed nicely, and the heat was just right. I’ve used it a bunch of times now, and it’s been great. There’s something really satisfying about cooking on something you built with your own two hands.
So, that’s my DIY brick grill story. It wasn’t the easiest project, but it was definitely rewarding. If you’re thinking about doing something similar, I say go for it! Just be prepared for some hard work, and don’t forget to enjoy the process. Happy grilling, everyone!


