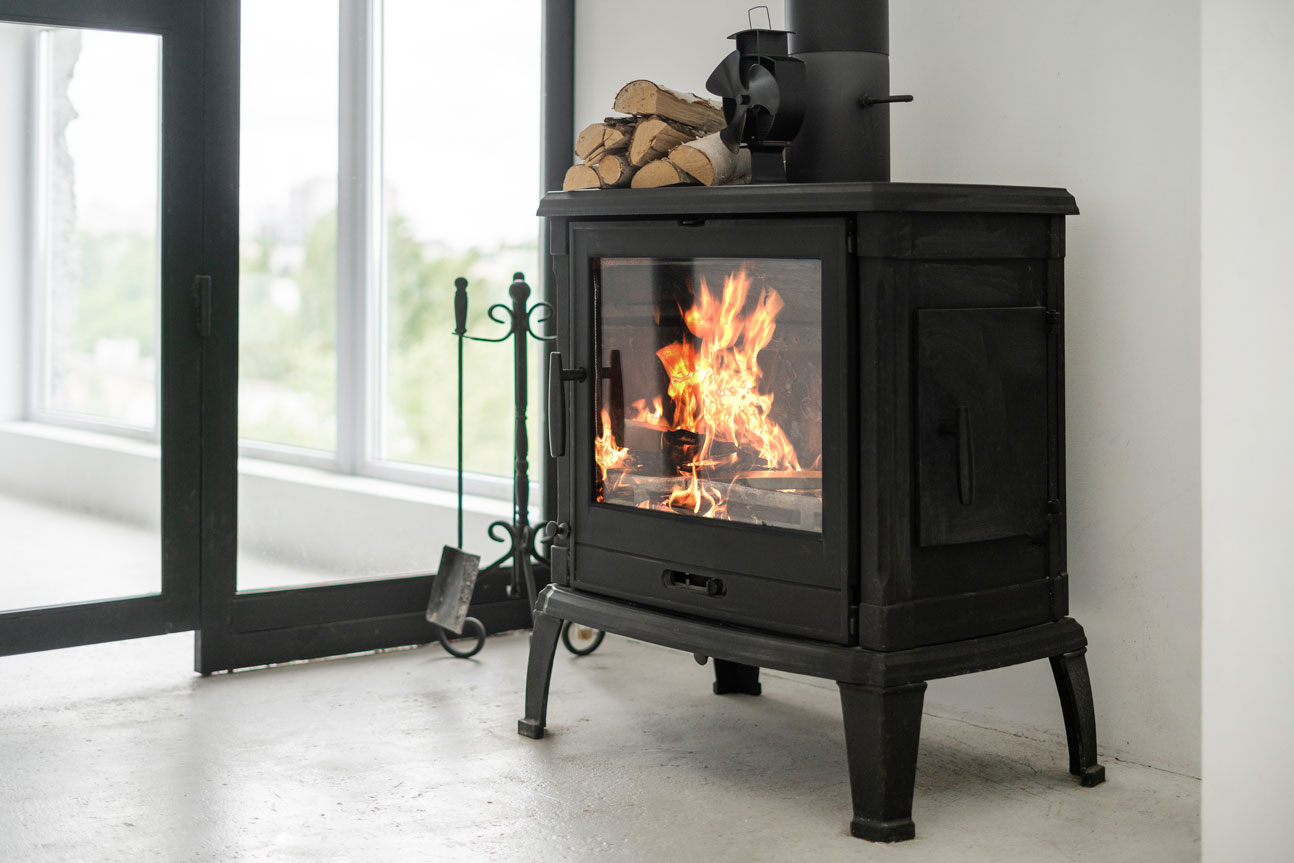
Okay, so, I got this idea to beef up my wood stove with some fire bricks, right? I was thinking it might make it last longer and maybe even burn better. So, I started looking into it, did some reading and all that. Turns out, using these fire bricks can actually protect your stove from all that intense heat. Makes sense, I guess.
Getting Started
First thing I did was measure the inside of my stove. I wanted to make sure I got the right amount of bricks, you know? No point in buying too many and wasting them, or too few and not doing the job right. I grabbed my trusty tape measure and jotted down all the dimensions.


Buying the Bricks
Next up, I hit up the local hardware store. They had a whole section of fire bricks, which was pretty cool. I picked out the ones that looked like they’d fit my stove the best and, based on my measurements, figured out how many I needed. Ended up grabbing a few extra, just in case I messed up or needed to replace some later on.
Prepping the Stove
Before I started laying down the bricks, I gave my stove a good cleaning. Took out all the old ashes, scraped off any built-up gunk. I wanted a nice, clean surface for the bricks to sit on. It was a bit of a messy job, but gotta do what you gotta do.
Laying the Bricks
Now for the fun part – putting in the bricks. I started at the bottom, laying them flat and making sure they were snug against each other. Then, I worked my way up the sides, kinda like building a little wall inside the stove. I made sure to cover as much of the inside as I could, especially the areas that get the hottest.
- The bottom: I laid them flat, nice and snug.
- The sides: Built them up like a little wall.
- Coverage: Got as much of the inside as possible, especially the hot spots.
Testing it Out
After all the bricks were in, I decided to fire it up and see how it did. I started with some smaller pieces of wood, like the folks online recommended. It took a bit to get going, but once it did, man, it burned hot! I kept adding wood and poking at it to keep the air flowing. Had to play with the vent a bit too, to get it just right.
I noticed the stove seemed to hold the heat better, which is awesome. And, it felt good knowing I was protecting my stove from getting all messed up from the heat. Hopefully this means it will last me for years to come. I even heard somewhere that if the bricks turn pink, that means you’ve been burning it too hot. Will keep that in mind.
Maintenance
I know I gotta keep an eye on things, so I set a reminder on my phone to check the stove every week. I need to clear out the ashes regularly, which I learned is a good thing for wood stoves. Also, I’ll be doing regular checkups like those articles suggested, making sure everything’s in tip-top shape.
All in all, I’m pretty stoked about how this little project turned out. It wasn’t too hard, and I think it’s gonna make a big difference in how my stove works. Plus, it’s kind of cool to know I did it all myself.


