Okay, folks, let’s talk about this little project I got into – building a pizza oven with a brick kit.
Getting Started
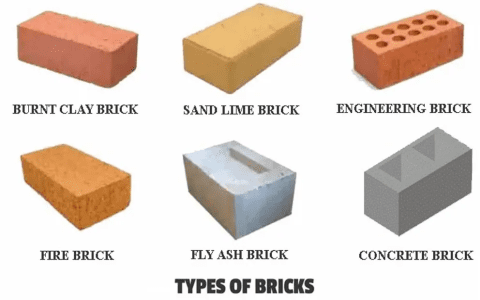
So, I saw these pizza oven brick kits online and thought, “Why not? I love pizza!” Picking out the right kit was the first step. There are a bunch of them out there, so I spent some time reading reviews and comparing prices. It’s kind of like shopping for anything else, you want to make sure you’re getting your money’s worth.
The Prep Work
Once the kit arrived, it was time to get my hands dirty. First, I had to prepare the base. I made sure it was level and could handle the weight of the oven. This involved some digging and pouring concrete, which was a bit of a workout, but nothing too crazy. Then I got to laying some bricks.
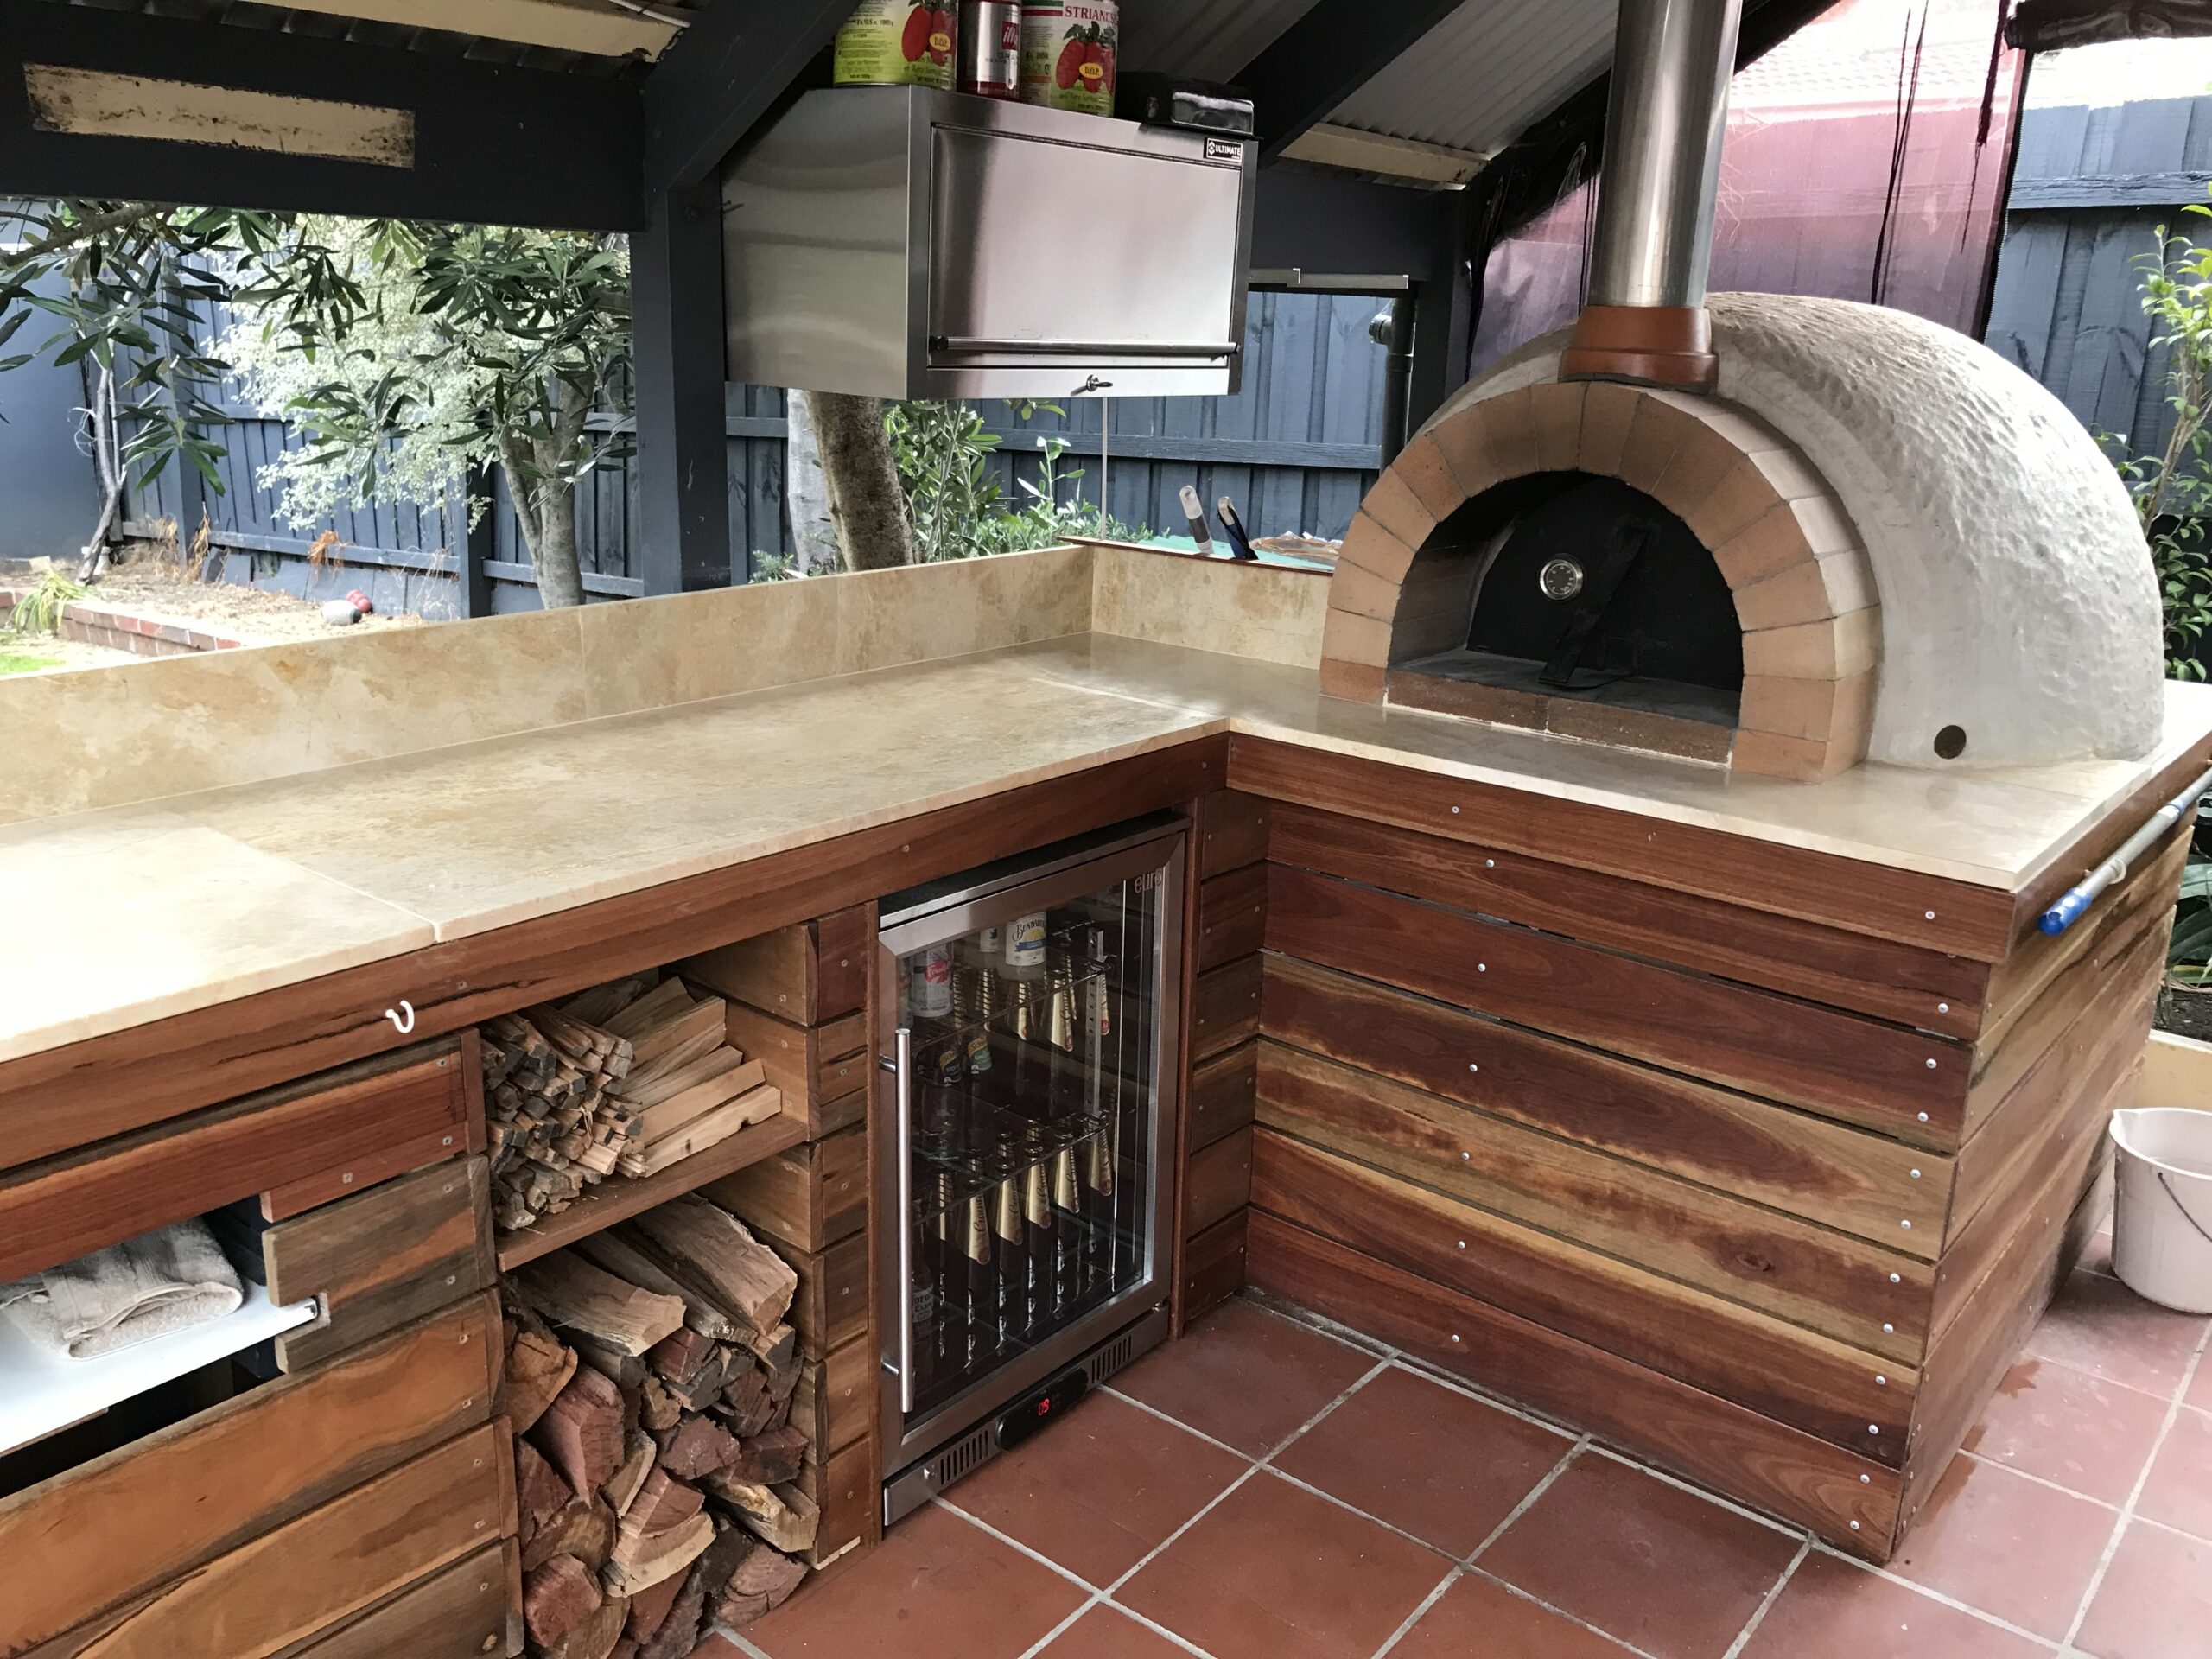
Building the Oven
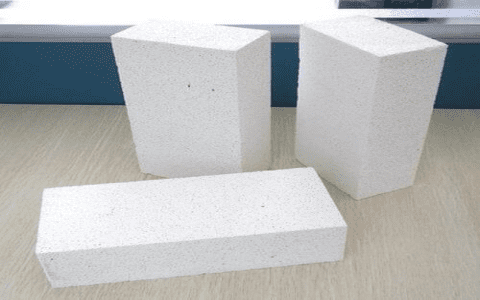
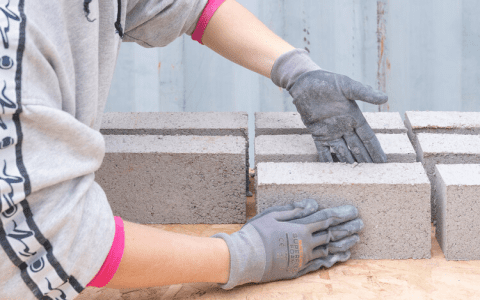
The kit came with instructions, thank goodness. Following them step-by-step, I started building the oven walls. Laying the bricks was actually kind of fun, like putting together a giant 3D puzzle. The bricks in the kit were these special heat-resistant ones, not just your regular bricks.
The Dome
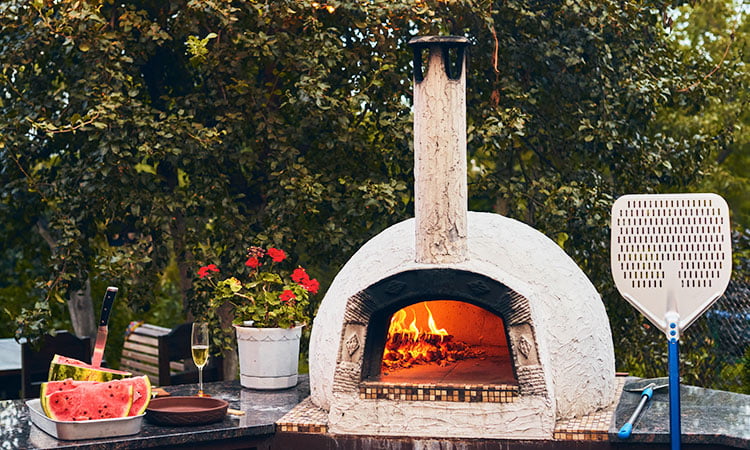
Here comes the tricky part – building the dome. It was a bit challenging to get the shape right. But hey, that was the most interesting part! I had to cut some bricks to make them fit, which was a learning experience in itself. I used a basic brick saw, and it took some practice to get the cuts right. I definitely messed up a few times, but I got the hang of it eventually. It wasn’t perfect, but slowly and steadily, I got it up.
Finishing Touches
After the dome was up, I added a chimney and a door. The chimney was easy, just stacking a few more bricks. The door was a bit more involved, but the kit came with a metal one, so I just had to secure it in place. And then I thought, it can’t just look like a pile of bricks, right? So I covered the whole thing with some heat-resistant mortar. It gave the oven a nice, finished look.
The First Bake
Finally, the moment of truth – the first bake! I let the oven cure for a few days, then fired it up. It took a while to get to the right temperature, but once it did, I slid in my first homemade pizza.
The Result
Man, that first pizza was something else! It cooked so quickly and evenly, and the crust had that perfect crispy-chewy texture. All that hard work definitely paid off.
So, that’s my pizza oven story. It was a fun project, and now I can make awesome pizza whenever I want. If you’re thinking about building one, I say go for it! Just be prepared for some hard work, and don’t be afraid to make mistakes – that’s how you learn.
- Choose the right kit: Do your research.
- Prep the base: Make it strong and level.
- Follow the instructions: They’re there for a reason.
- Take your time: Especially with the dome.
- Enjoy the process: It’s a rewarding experience.
And most importantly, enjoy the pizza!