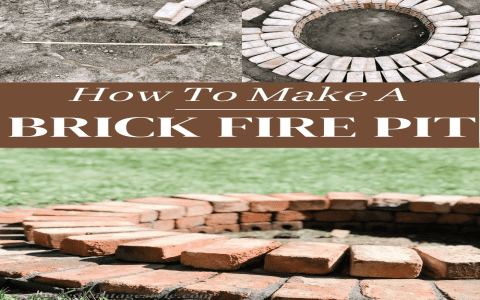
Okay, so I’ve always wanted a sweet brick grill in my backyard. You know, the kind you see in those fancy outdoor kitchen setups? Well, I finally decided to just go for it and build one myself. Let me tell you, it was a bit of a journey, but totally worth it in the end.
First things first, I had to figure out where this bad boy was going to go. I picked a spot in my yard that was far enough from the house, but still convenient. Then, I started digging. I made a hole for the foundation. This part was a real workout, let me tell you. After I had a decent-sized hole, I poured in some concrete.


While the concrete was setting up, I started playing around with the brick layout. I wanted a simple, classic design, so I went with a basic rectangular shape. Once the foundation was solid, I got to work laying the bricks. This was actually kind of fun, like putting together a giant puzzle. I used mortar to hold the bricks together, and I had to make sure everything was level as I went. It was slow going, but I just took my time and kept at it.
I built up the walls layer by layer, leaving space for the grill grates and a little chimney. I’m not gonna lie, there were a few times when I messed up and had to redo a section. But hey, that’s all part of the learning process, right? Eventually, I had a solid brick structure that was starting to look like a real grill.
After the mortar dried, I added the grill grates and a little chimney cap. Then came the moment of truth – firing it up for the first time! I built a nice charcoal fire, and the smell of that smoky goodness was amazing. I threw some burgers on the grill, and they cooked up perfectly. Let me tell you, food just tastes better when it’s cooked on a grill you built yourself.
This project was definitely a challenge, but it was also super rewarding. Now I have an awesome brick grill that I can show off to all my friends and family. Plus, I learned a ton about working with concrete and bricks. If you’re thinking about building your own grill, I say go for it! It’s a lot of work, but the feeling you get when you cook your first meal on it is unbeatable.
- Dig a hole for the foundation.
- Pour concrete into the hole.
- Lay bricks to create the grill’s shape.
- Build up the walls, leaving space for grates.
- Add grill grates and chimney.
- Fire it up and enjoy!
Trust me, it’s not as hard as it looks. Just take it one step at a time, and you’ll be grilling in no time!


