Alright, folks, gather ’round, let me tell you about the time I decided to get my hands dirty and build a brick fireplace in my backyard. I’d always wanted one of those cozy outdoor fireplaces, you know, the kind you see in movies where everyone’s roasting marshmallows and telling stories. So, I thought, “Why not?” and dove headfirst into this project.
First things first, I needed a solid plan. No way was I going in blind. I did some reading online, watched a bunch of videos, and even sketched out a rough design on a napkin. I am not an engineer, so the plan is rough. After I felt like I had a decent idea of what I was doing, it was time to gather my supplies.

I made a list and hit up my local hardware store. Here’s what I picked up:
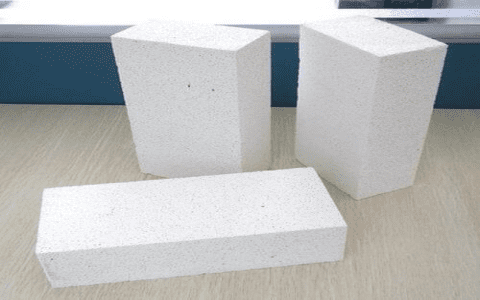
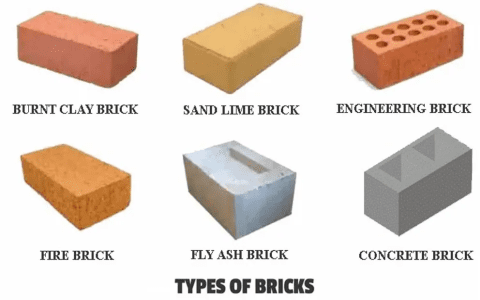
- Bricks: Tons of them. I chose some nice, sturdy clay bricks that had a bit of that rustic, worn look to them.
- Mortar Mix: This is the stuff that holds the bricks together. You mix it with water, and it becomes like a thick paste.
- Concrete: I needed this for the base. A fireplace is heavy, so it needs a strong foundation.
- Gravel: Also for the base, to help with drainage.
- Tools: Trowel, level, shovel, measuring tape, the works. You name it, I probably had it in my arsenal.
With all my materials ready, I started with the foundation. I dug a hole where I wanted the fireplace to be, about a foot deep and a bit wider than the fireplace’s base. I poured in a layer of gravel and then mixed up a batch of concrete. It’s heavy and hard to pour, and it took a lot of effort, but I poured the concrete over the gravel and made sure it was level. This was important—I didn’t want a leaning fireplace!
I let the concrete set for a few days. Patience is key in these projects. Once it was solid, I was ready to start laying bricks.
Laying the Bricks
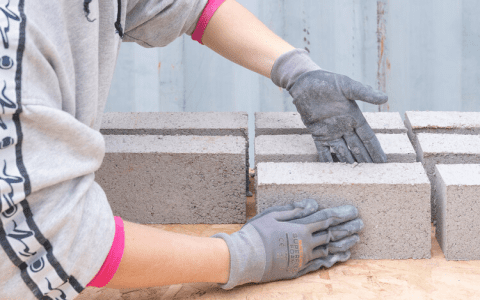
This was the fun part, but also the most tedious. I mixed up the mortar mix according to the instructions on the bag. It should be like a thick paste, not too runny. I spread a layer of mortar on the concrete base and started placing the bricks, one by one. I used a trowel to apply mortar to the sides of each brick before placing the next one.
I kept going, row by row, making sure each brick was level and aligned with the others. It was like a giant, three-dimensional puzzle. I took my time, checked my level constantly, and made adjustments as needed. It’s amazing how quickly you can get into a rhythm once you get the hang of it.
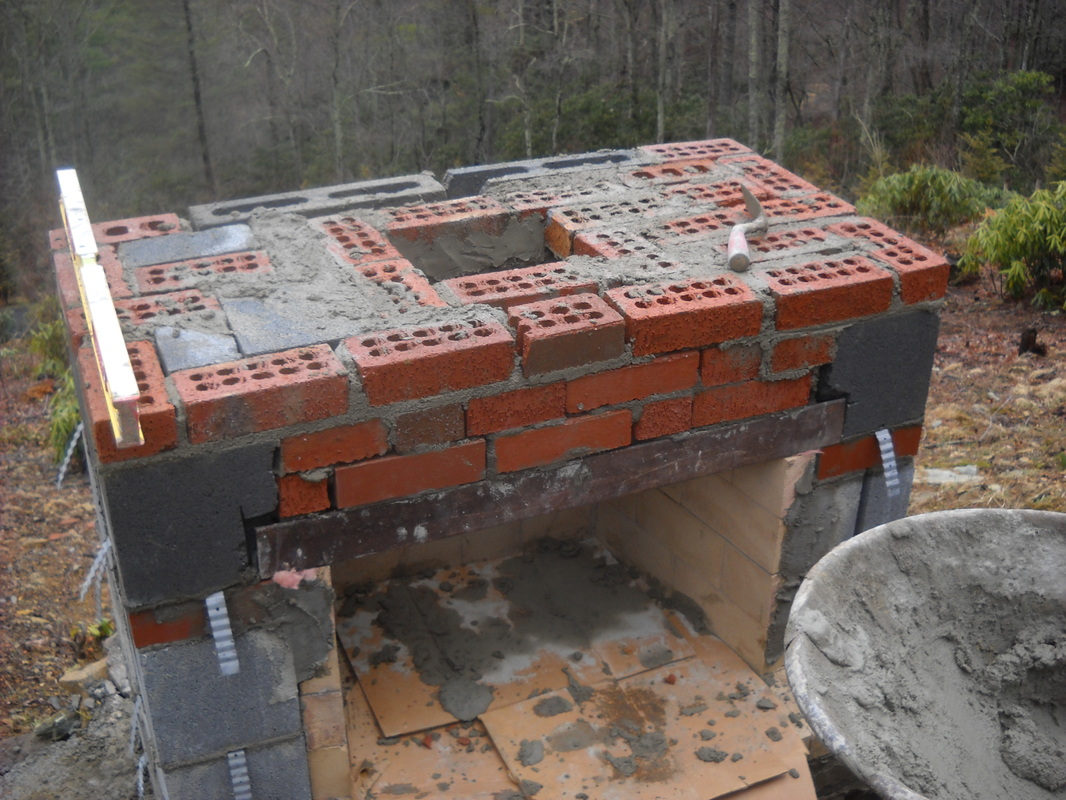
As I built up the walls, I started forming the firebox, which is where the fire actually goes. I made sure to leave an opening at the back for the chimney. Speaking of the chimney, that was the next challenge. I continued laying bricks, narrowing the structure as I went higher to create the chimney shape.
After many hours and a whole lot of bricks, the fireplace was starting to look like, well, a fireplace! I stepped back to admire my work every now and then, and let me tell you, it’s a great feeling to see something you’ve built with your own hands taking shape.
Finally, after all the bricks were laid and the mortar had dried, I added a little capstone on top of the chimney for a finishing touch. I let everything cure for a few more days, just to be sure it was all set and solid.
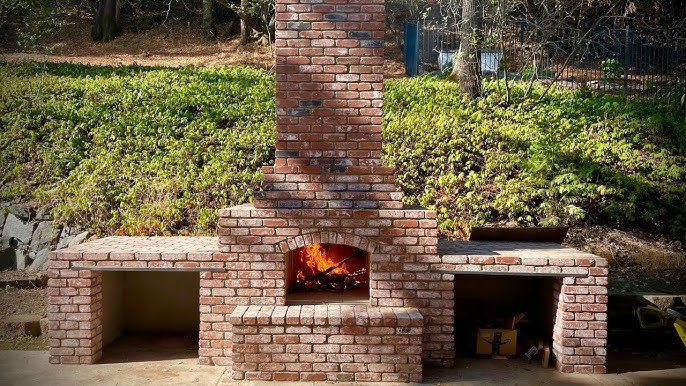

And there it was, my very own outdoor brick fireplace. It wasn’t perfect, but it was mine. I’ve since spent many evenings sitting by the fire, enjoying the warmth and the satisfaction of knowing I built it myself. If you’re thinking about tackling a project like this, I say go for it. It’s a lot of work, but the reward is well worth it. Just remember to plan carefully, take your time, and enjoy the process!
