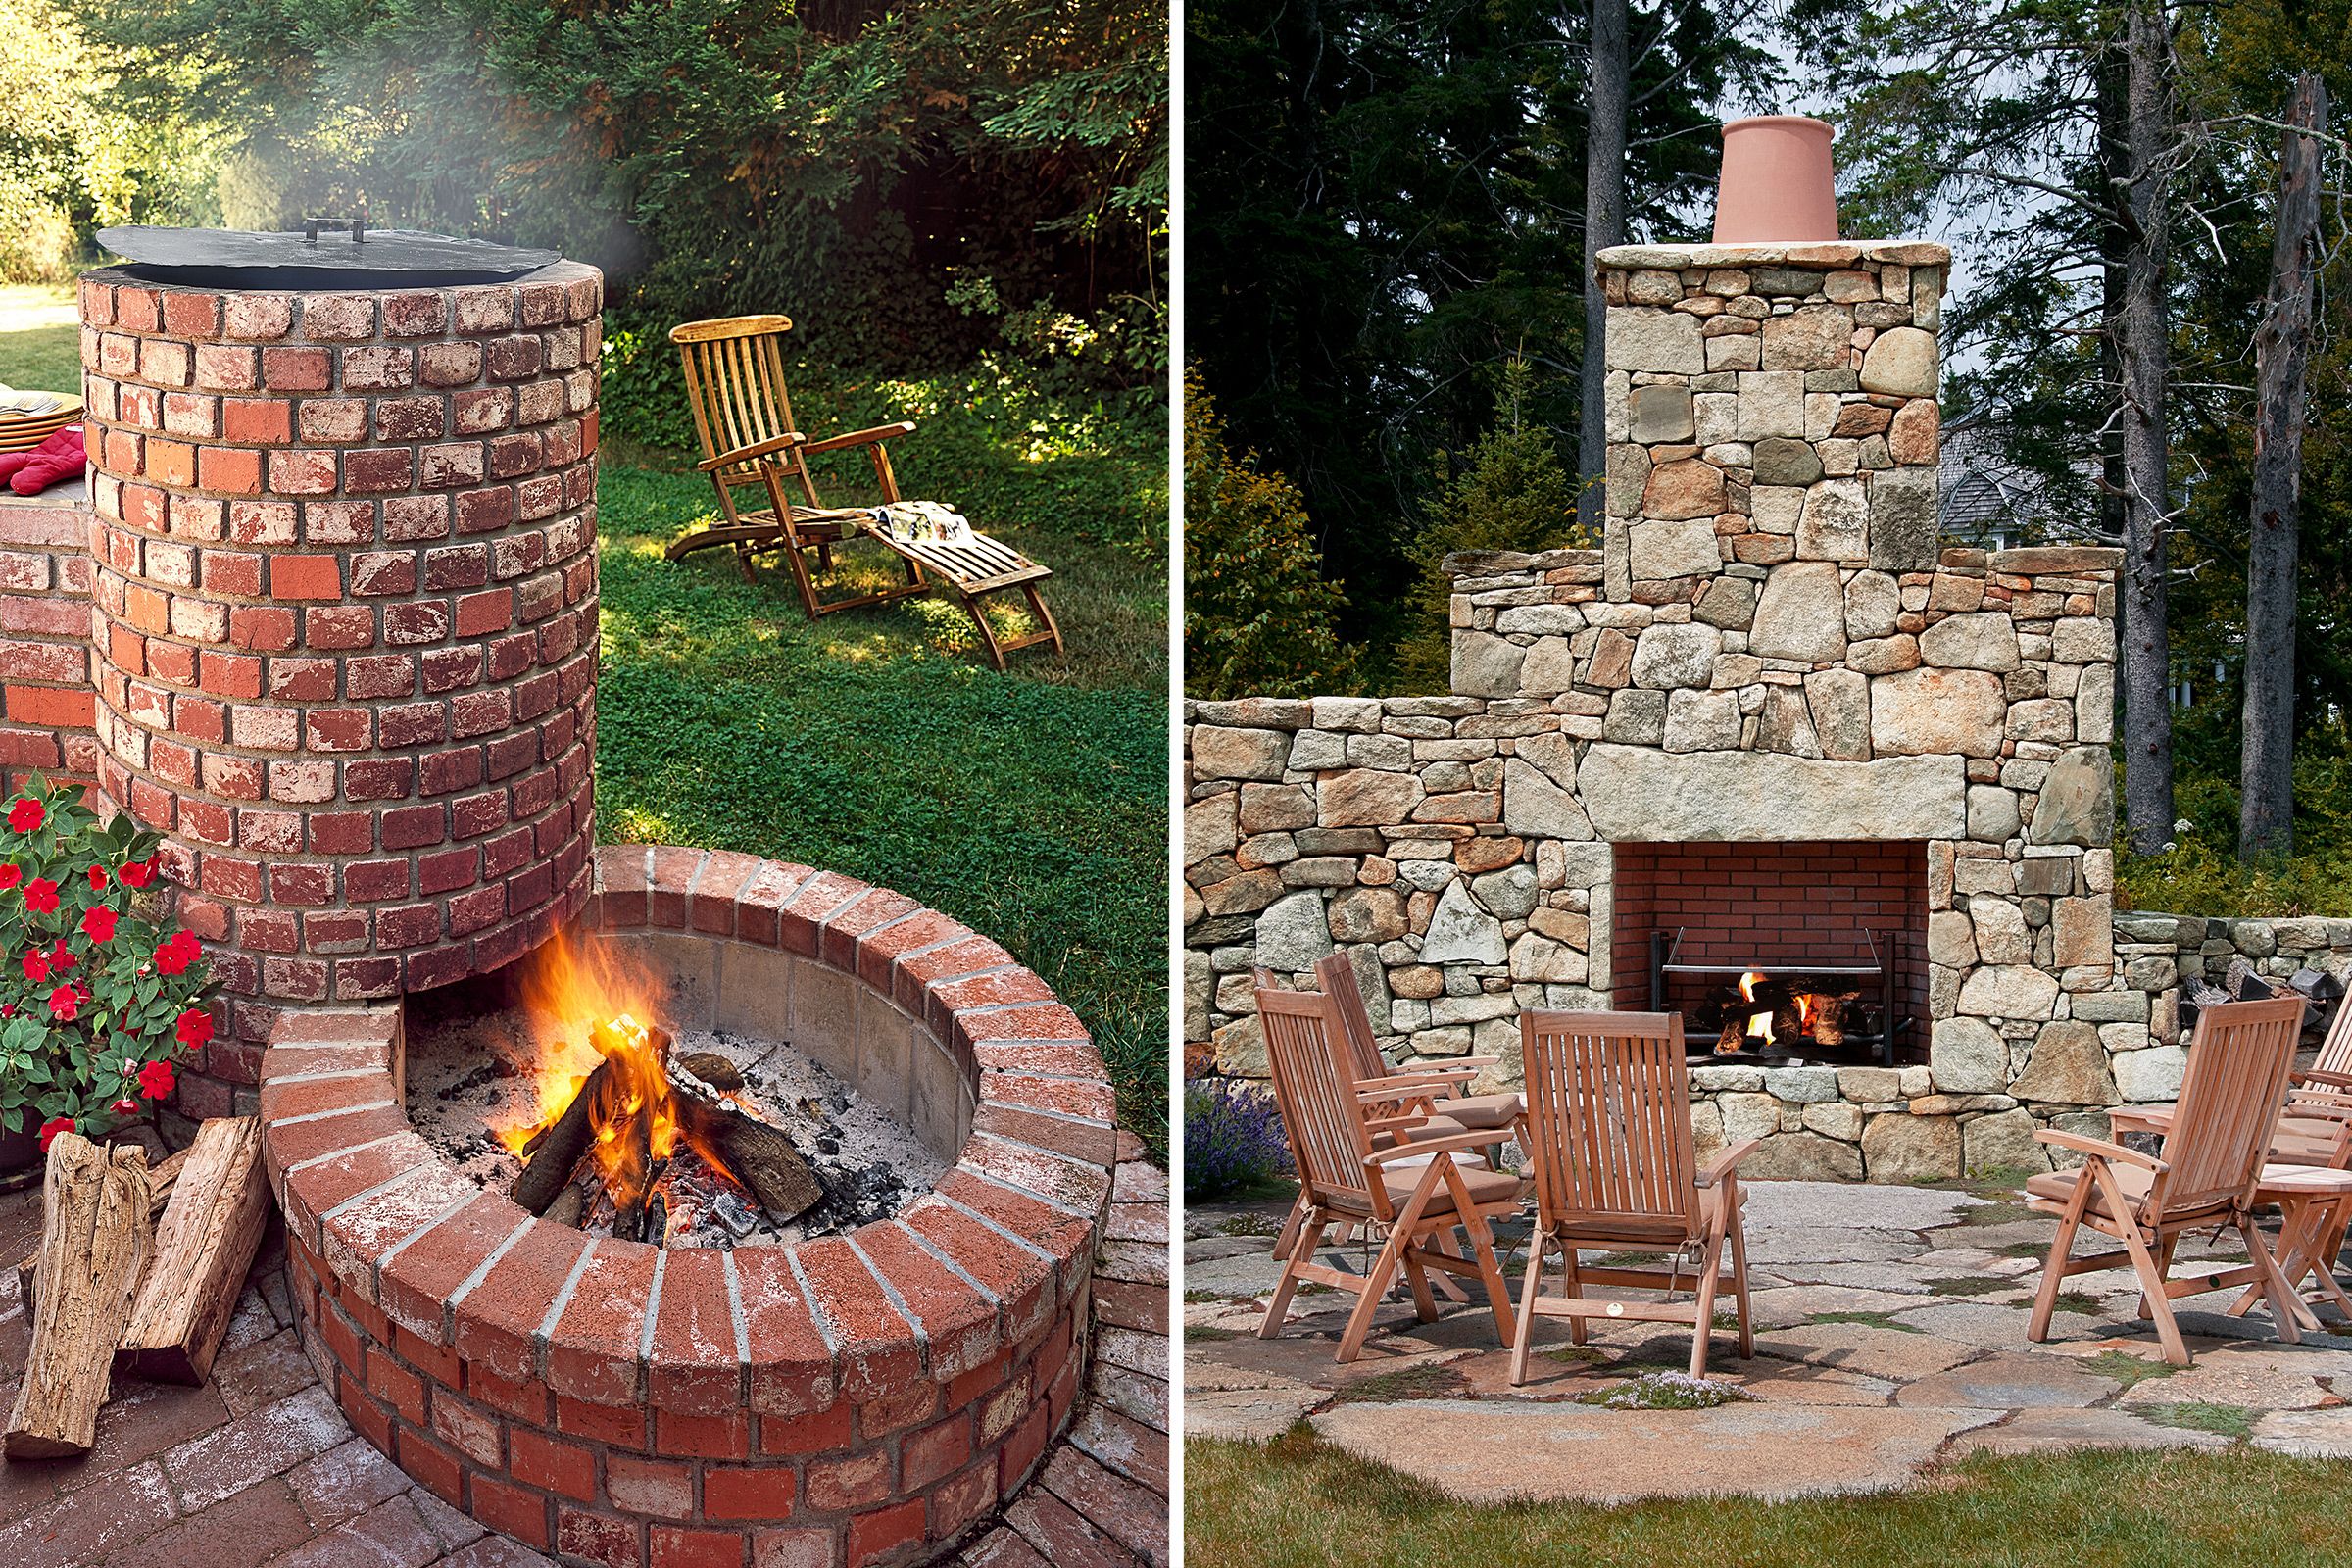
Today, I decided to get my hands dirty and build something I’ve always wanted – a brick grill. I ain’t no professional builder, but I’ve got a bit of DIY spirit in me, and I figured, why not? So, I gathered my tools and materials and got to work.
Planning and Gathering
First things first, I needed a plan. I sketched out a simple design, nothing too fancy, just a basic rectangular grill. I figured I’d need around 100 to 150 bricks, depending on how tall I wanted it. I also needed a grilling set with a tray for coals and at least one grill grate, maybe two if I wanted a warming rack.


I did some research on the type of bricks to use. Some folks online were saying regular bricks would be fine, while others recommended firebricks. I decided to play it safe and went with half firebricks. They were a bit more expensive, around two bucks each, but I figured it’s better to be safe than sorry. I didn’t want any exploding bricks ruining my grilling fun.
Laying the Foundation
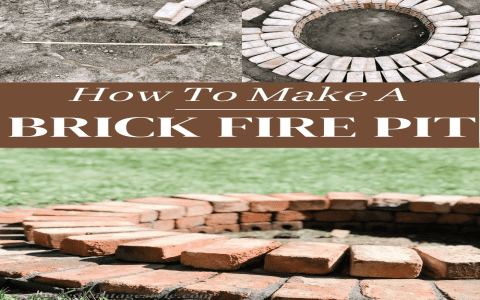
With my materials gathered, I started by laying out the first layer of bricks on the ground, forming the base of the grill. I used a level to make sure everything was nice and even. It was a bit tricky, but I took my time and got it right.
Building the Walls
Next, I started building the walls, one brick at a time. I used a high-heat resistant mortar, mixing it with water until it was the right consistency. I applied the mortar to the bricks and carefully placed them on top of each other, staggering the joints like I’d seen in tutorials. It was slow going, but I enjoyed the process.
I got into a rhythm, laying brick after brick, checking the level every now and then. I watched as the walls slowly started to rise, and I could see my grill taking shape. It was like building a giant puzzle, and I was determined to put all the pieces together.
- Apply mortar to the bottom and one side of the brick.
- Place the brick on the wall, aligning it with the string line.
- Tap the brick gently with a trowel to settle it into place.
- Scrape off any excess mortar.
- Continue laying bricks, staggering the joints.
Adding the Grill Grates
Once the walls were high enough, I placed the metal supports for the grill grates. I made sure they were level and secure before continuing with the bricks. I left some spaces between the bricks on the top layer to allow for airflow, which I figured would be important for getting a good fire going.
Finishing Touches
Finally, I finished laying the last few bricks and let the mortar cure for a couple of days. I cleaned up any excess mortar and admired my handiwork. It wasn’t perfect, but it was mine, and I was proud of it. I can say that the whole project cost me around $500 for the materials, not bad for a built-in BBQ.
I can’t wait to fire it up and grill some delicious food for my family and friends. It’s not just a grill; it’s a testament to what you can achieve with a little bit of effort and a whole lot of heart. Who knew building a brick grill could be so satisfying? Now, if you’ll excuse me, I’ve got some burgers to flip.


