So, I’ve always been a big fan of smoked meats. The flavor, the texture, it’s all just so darn good. I’d been thinking about building a smoker for a while, and I finally decided to take the plunge. I did a bunch of research online, watched a ton of videos, and read a lot of articles. Turns out, building a smoker out of bricks is not only cheap, but also pretty effective!
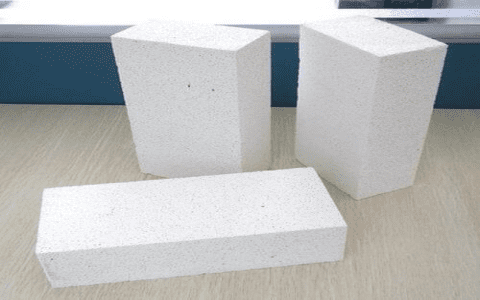
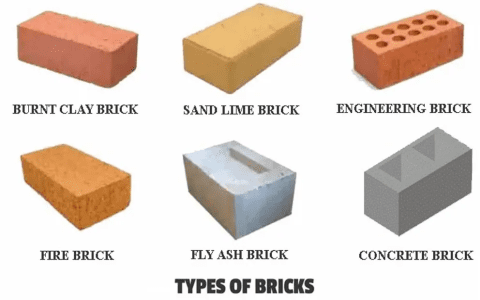
First, I had to gather my materials. I needed a good number of bricks, obviously. I found some old ones for cheap at a local salvage yard, which was perfect. Fireproof bricks or cinder blocks are ideal for this because they won’t crack under high heat. I also got some stuff to make mortar, like sand and cement, though some folks said you can make a smoker without mortar at all! Just stack ’em up real neat, they said. You will also need a gas burner and a heavy cast iron pan.


Next up, the design. I went with a simple rectangular box shape, like most folks do, ’cause it’s easy and it works. I sketched it out on paper first, just to get a good idea of the dimensions and how many bricks I’d need. I planned on having a separate firebox, which is a smaller chamber connected to the main smoking chamber, where the heat and smoke get generated.
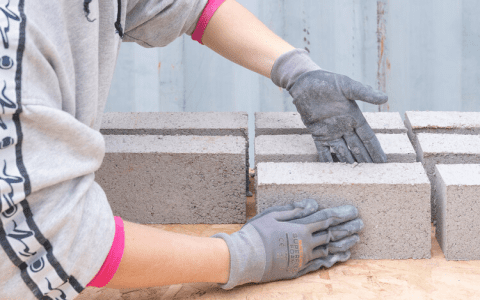
Then came the actual building part. I laid out the first layer of bricks on the ground, making sure everything was level. Then I started mixing the mortar and laying more bricks, one by one. It was slow going, but kinda therapeutic in a way. I kept checking with my level to make sure the walls were straight. It is important to leave some gaps between some of the bricks in the firebox to allow for airflow.
Once the main chamber and the firebox were done, I built a small roof using more bricks and mortar. I also left a hole on the top, where I would later install a chimney. The chimney is super important for controlling the airflow and temperature inside the smoker.
I made a simple door for the firebox and smoking chamber using some scrap metal and hinges I found lying around. I attached a gas burner in the firebox and a heavy cast iron pan on top of it to put my wood chips in. I also put a couple of metal grates inside the main chamber to hold the meat.
After letting the mortar cure for a few days, it was finally time to test it out! I started a small fire in the firebox, put some wood chips in the cast iron pan, and watched as smoke started to fill the chamber. I used a meat thermometer to monitor the temperature inside, adjusting the airflow by opening and closing the chimney and the door. My first smoke was a whole chicken. Chicken is pretty easy and forgiving for beginners like me. I seasoned it with some herbs and spices, and let it smoke for several hours. The result? Absolutely delicious! The chicken was juicy, tender, and had that amazing smoky flavor I was after.
Since then, I’ve smoked all kinds of stuff in my brick smoker – ribs, brisket, pork shoulder, you name it. Baby back ribs are a great choice if you’re just starting out, by the way. It’s been a real learning experience, and I’m still figuring out new techniques and recipes. But that’s part of the fun, right?
Building a smoker out of bricks was definitely a rewarding project. It wasn’t too difficult, it didn’t break the bank, and now I can enjoy delicious smoked meats whenever I want. If you’re a fan of BBQ and you’re looking for a fun DIY project, I highly recommend giving it a shot!


