Okay, folks, gather ’round! I’ve got a story for ya – a tale of sweat, bricks, and the best darn pizza you ever did taste. It’s the saga of how I built my very own outdoor brick pizza oven.
Now, I ain’t no bricklayer, but I’ve always been a hands-on kind of guy. And let me tell you, the idea of having a wood-fired pizza oven in my backyard? That’s been a dream of mine for years! So, I finally decided to roll up my sleeves and make it happen.


First thing’s first, I hit up the internet, browsed some forums, and watched a bunch of videos, and I gotta say, it seemed like everyone and their grandma had a different way of doing it. I picked out the parts I liked and kinda mashed them together into my own plan. I sketched out a rough design, nothing fancy, just enough to get me started. I measured out the space in my backyard, making sure I had enough room for the oven and a little prep area.
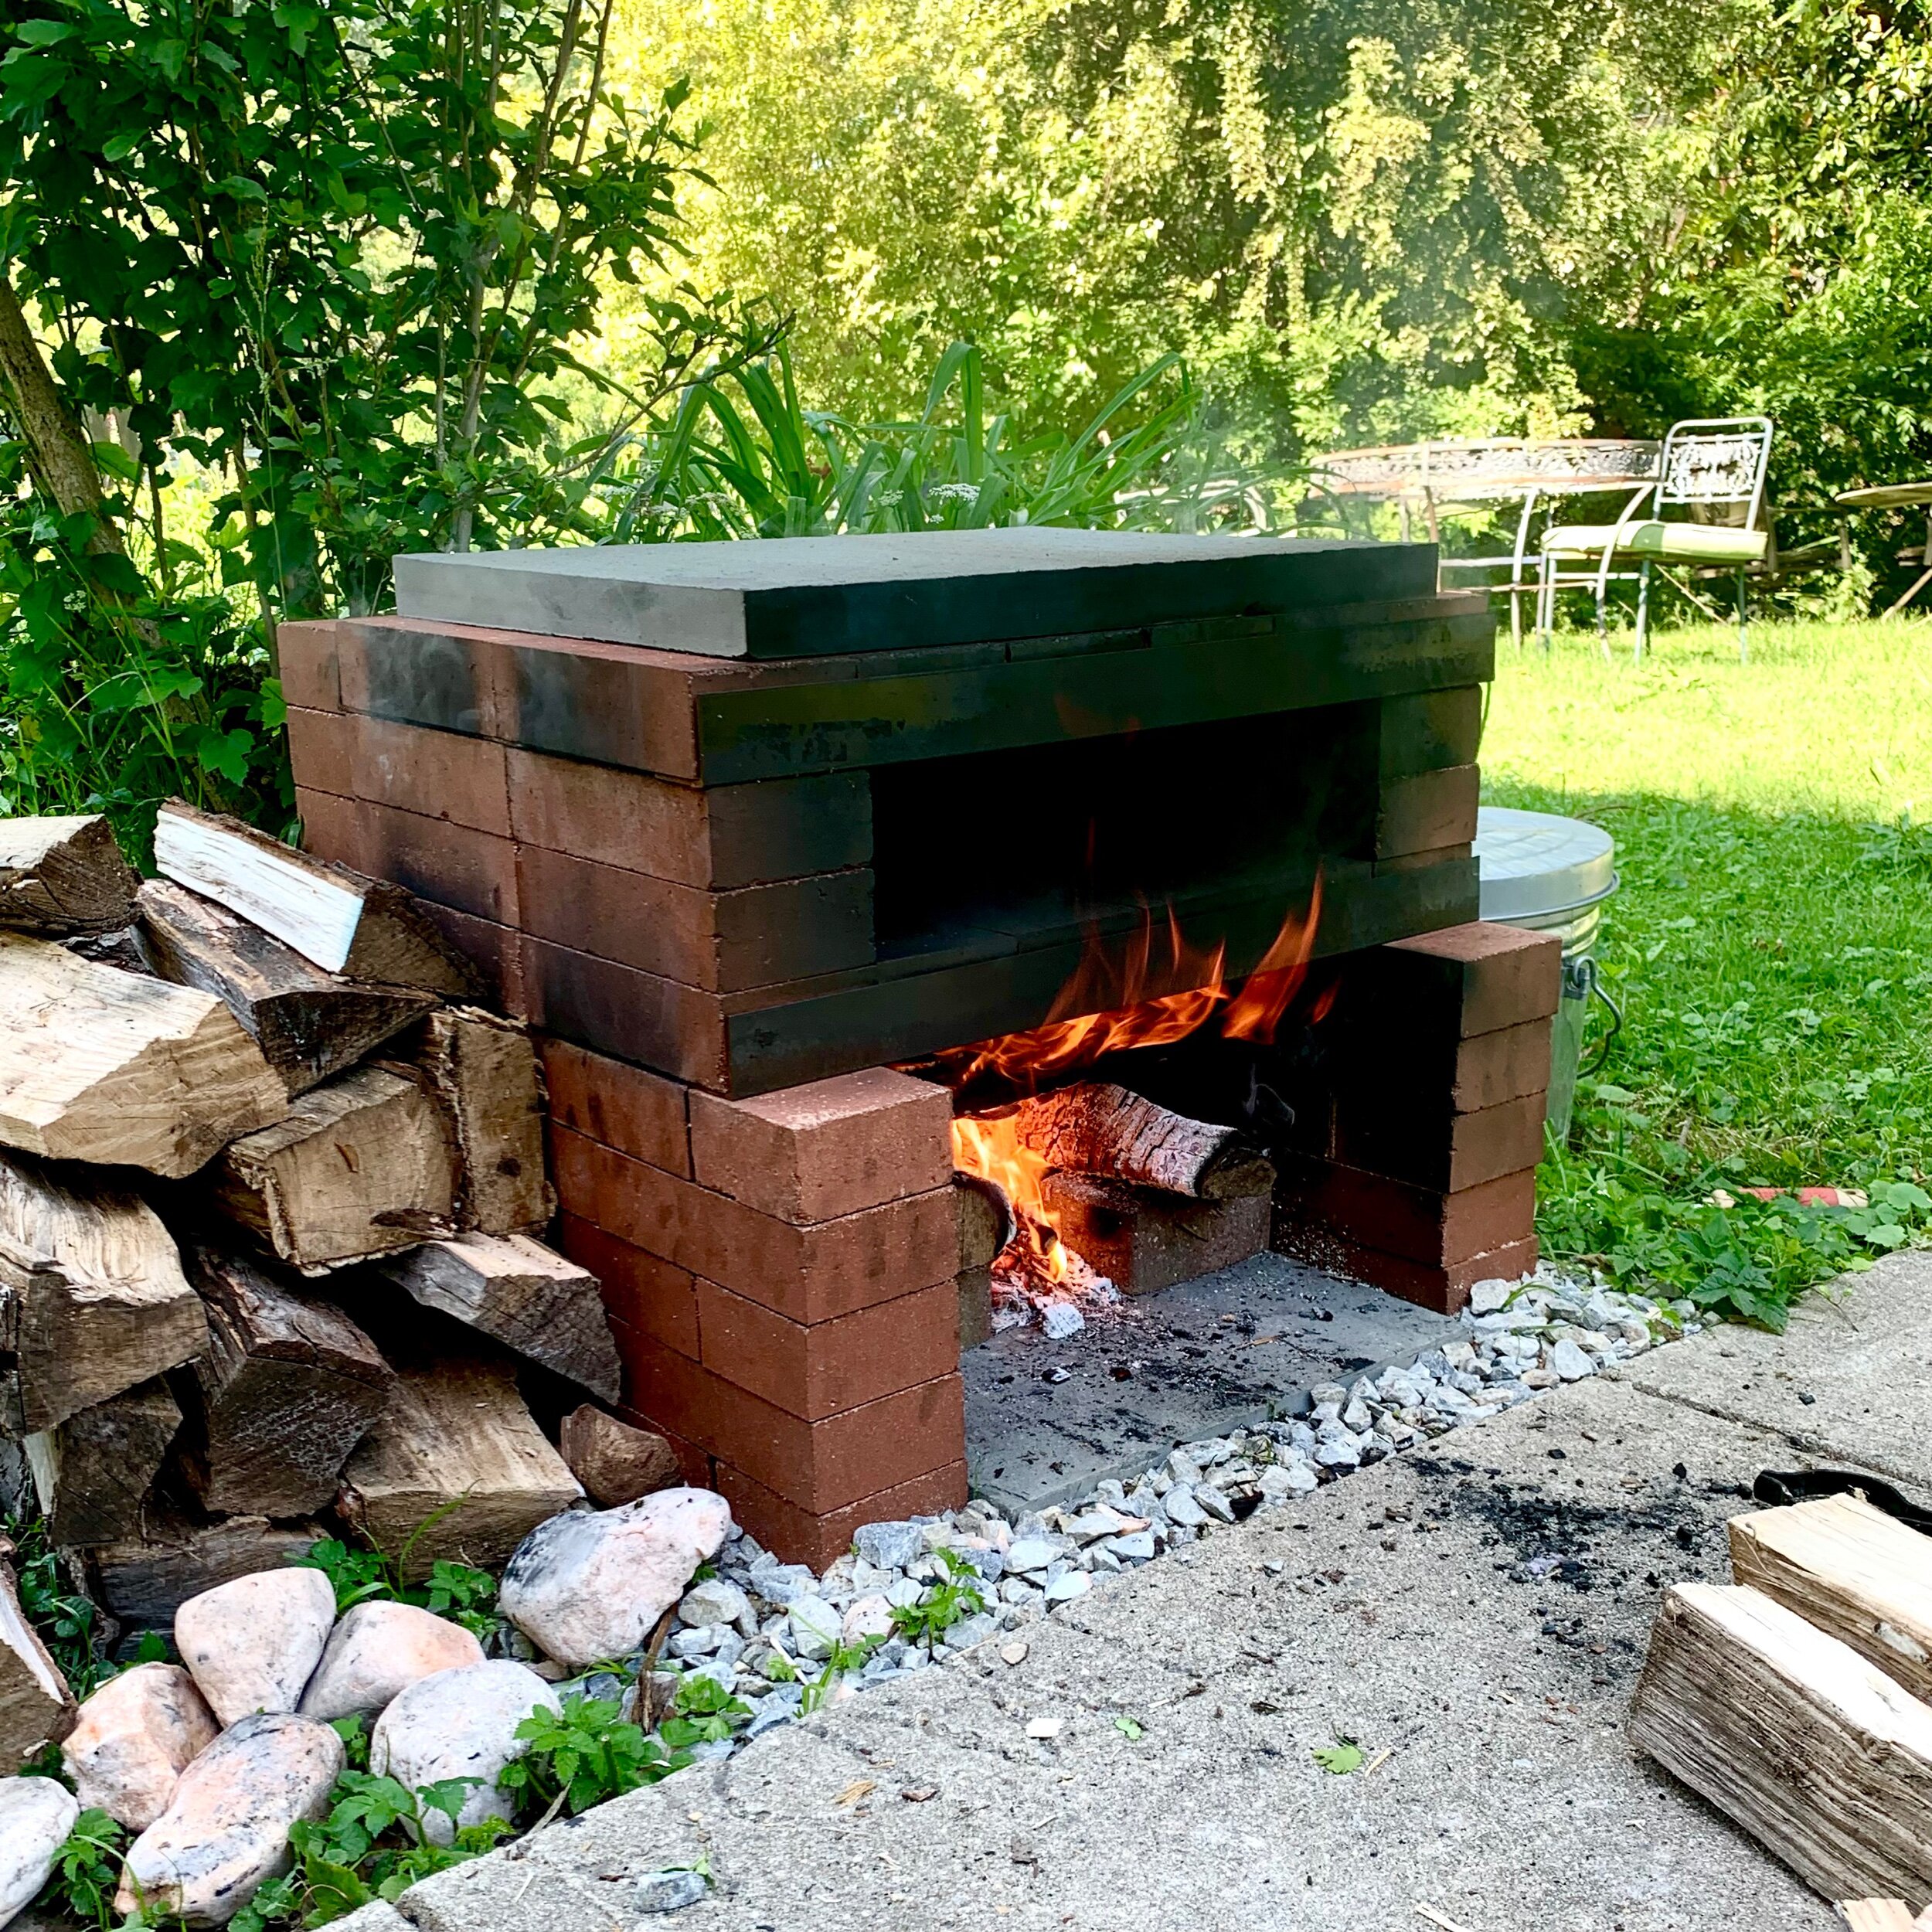
Then came the fun part – gathering materials! I went down to the local hardware store and loaded up on bricks, mortar, and some other bits and bobs. I opted for regular old bricks ’cause they were cheaper, and I figured they’d do the job just fine. I also grabbed a few firebricks for the oven floor since those can handle the real high heat.
Building the Base
Building the base was the first big hurdle. I dug out a shallow pit, and I poured a concrete slab to give the oven a solid foundation. Leveled that sucker out real good, ’cause a wonky base means a wonky oven, and nobody wants that! After the concrete set, I started laying bricks for the base walls. It was slow going at first, mixing the mortar, buttering the bricks, and tapping them into place. But I got into a rhythm eventually, and those walls started rising.
Constructing the Dome
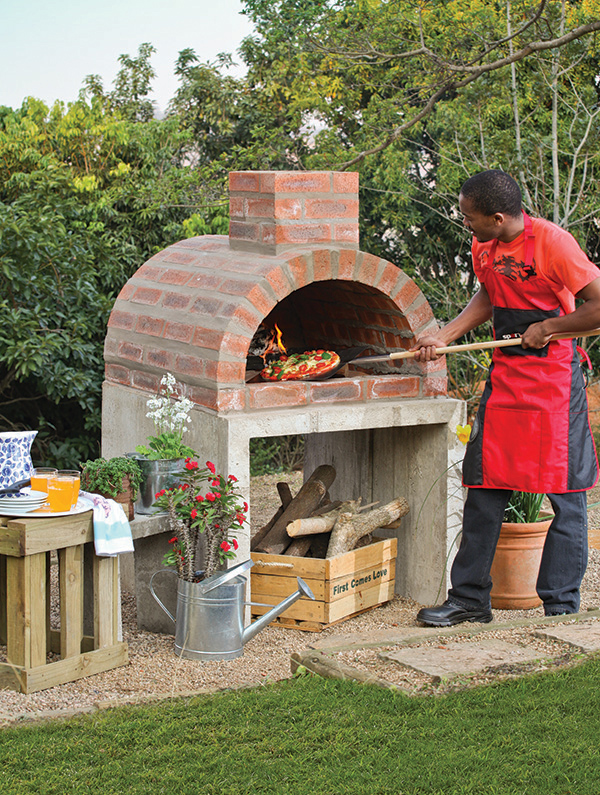
Once the base was done, it was time for the dome. Now, this was the tricky part. I built a wooden frame to support the bricks while the mortar dried. I started laying bricks around the base, slowly working my way up and inwards, creating that classic dome shape. It was like a giant, three-dimensional puzzle, and I won’t lie, there were a few moments where I questioned my sanity. But I kept at it, brick by brick, until that dome was complete.
Finishing Touches
With the main structure done, I added a chimney, a little door, and some insulation around the dome to help keep the heat in. I even slapped on a coat of stucco to give it a nice, finished look. And let me tell you, seeing that oven take shape, it was a thing of beauty.
The First Firing
Finally, the day came to fire it up. I built a small fire inside, letting it burn slowly to cure the mortar and dry everything out. Then, I cranked up the heat and tossed in a pizza. The smell of that wood fire, the crackling flames, the bubbling cheese – it was magical! And the pizza? Oh man, the pizza! It was crispy, smoky, and cooked to perfection. I knew right then and there that all that hard work was worth it.
Now, I’ve got the best pizza joint in town right in my backyard. My friends and family love coming over for pizza nights, and I gotta say, I’m pretty darn proud of my little creation. It wasn’t easy, but it was one of the most rewarding projects I’ve ever taken on. So, if you’re thinking about building your own pizza oven, I say go for it! It’s a heck of an adventure, and the pizza is out of this world.
- Believe me, the satisfaction of building something with your own two hands and then cooking in it? Priceless.
So go grab some bricks, mix some mortar, and get building! You won’t regret it.


