Alright, so I’ve been wanting to build a fire pit in my backyard for a while now. You know, a place where you can chill with friends, roast some marshmallows, and just enjoy the outdoors. Well, I finally got around to doing it, and I thought I’d share my experience with y’all.
Getting Started
First things first, I had to figure out where to put this thing. I paced around my backyard like a madman for a good hour before settling on a spot. It’s far enough from the house and trees, so no fire hazards there. Safety first, people!


Planning and Design
Next, I had to decide on the size and shape. I went with a circular design because, well, it looks cool and it’s easier to gather around. I sketched out a rough plan on a piece of paper, nothing fancy, just a circle with some dimensions. I measured it out in the yard with a tape measure and marked the outline with some spray paint.
Digging the Foundation
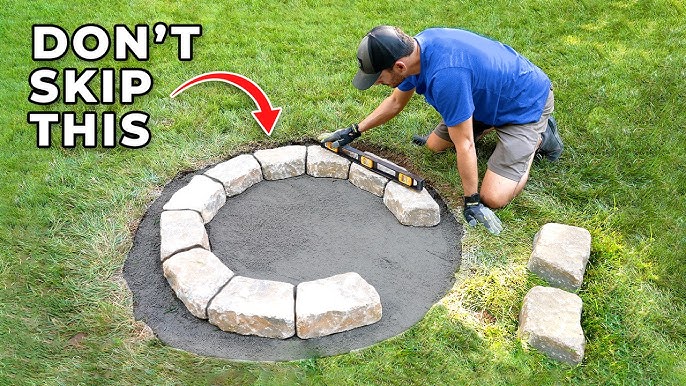
Now came the fun part – digging. I grabbed my shovel and started digging out the area I marked. I went about 6 inches deep, making sure the base was nice and level. I used a level tool to check it every so often because nobody wants a lopsided fire pit, right?
Laying the Base
Once the hole was dug, I poured in a layer of gravel for drainage. I spread it evenly and tamped it down with a hand tamper. This is important because you don’t want water pooling up in your fire pit and turning it into a mosquito breeding ground.
Building the Walls
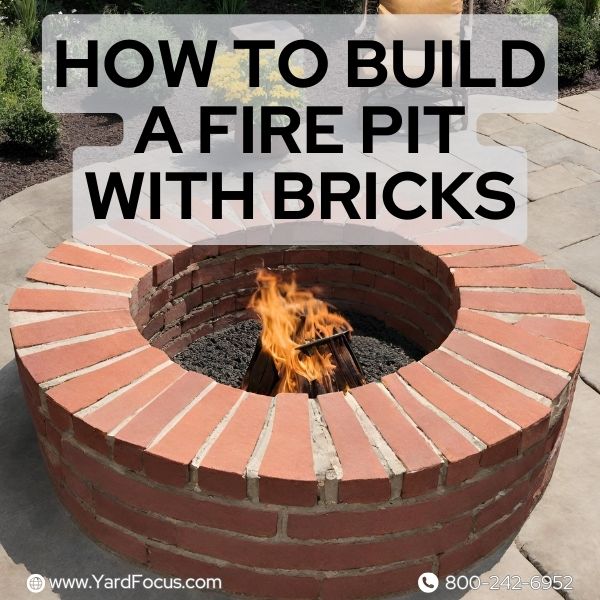
This is where the bricks came in. I picked up a bunch of fire-resistant bricks from the local hardware store. For the round shape, I did a quick calculation. I used a formula like pi times the diameter times the height, divided by the brick length. Also I added an extra 10% to account for the mortar between the bricks. But this just gave me an estimate for each layer, so I ended up buying extra to be safe. I started laying the bricks around the perimeter, using mortar to stick them together. I made sure to stagger the joints like you’re supposed to, you know, for stability and whatnot. It was a bit tedious, but I put on some music and got into a rhythm. Each layer of bricks, I checked with the level tool to make sure everything was still even. I had to tap some bricks into place with a rubber mallet to adjust them. It felt like I was building a mini brick fortress or something.
Adding the Cap
After I built up the walls to the height I wanted, which was about four layers of bricks, I added a cap on top. I used some wider, flat bricks for this. It gives it a nice finished look and a place to rest your drinks or whatever. I used mortar here as well and let the whole thing set for a couple of days. I wanted to make sure it was solid as a rock before I started using it.
Finishing Touches
Once the mortar was dry, I filled the bottom of the pit with some more gravel and then added a layer of sand on top. This helps with drainage and makes it easier to clean out the ashes later. I also put some larger stones around the inside edge to protect the bricks from the direct heat.
First Fire
Finally, it was time for the inaugural fire. I invited some friends over, we gathered some firewood, and lit it up. It was awesome! The fire pit worked perfectly, and we had a great time sitting around it, chatting, and enjoying the warmth. It felt really good to see something I built with my own hands being put to good use.
So, that’s the story of how I built my fire pit. It was a fun project, and I’m really happy with how it turned out. If you’re thinking about building one yourself, I say go for it! Just make sure you plan it out, take your time, and don’t be afraid to get your hands dirty. Happy building!


