Hey everyone, it’s your boy back again with another DIY project. This time, I tackled something I’ve been wanting to do for ages – building my own wood-fired brick oven. Yeah, you heard that right, a full-on brick oven in my backyard. I know, it sounds crazy, but trust me, it’s totally doable, and I’m here to share my whole journey with you guys.
Getting Started
First off, I spent a good chunk of time just sketching out what I wanted this oven to look like. I mean, size, shape, the whole nine yards. I decided to go with a Tuscan style oven because I heard the higher dome is more versatile. Then, I got down to figuring out the size of the cooking chamber. I wanted it big enough to cook some serious pizza but not so huge that it would take forever to heat up.


Laying the Foundation
Next up was creating a solid base. This is super important because the whole oven sits on this thing. I started by mixing up a bunch of mortar and creating a big, solid platform. I made sure it was level and large enough to accommodate the cooking space, the fire area, and the walls of the oven. It was a lot of heavy lifting, but getting this part right is key.
Building the Walls
Once the base was set, which took a while to dry, by the way, I started on the walls. I laid down bricks layer by layer, using mortar to hold them together. It was like a giant, very heavy puzzle. I had to make sure each brick was level and lined up properly. This part was slow going, but seeing the walls take shape was pretty cool.
Creating the Dome
Now, the dome was the trickiest part. I had to build a temporary wooden frame to support the bricks while I built the dome. This took a bit of engineering, I ain’t gonna lie. I carefully placed each brick, angling them inwards to create that classic dome shape. Removing the frame when it was all dry was a tense moment, but it held up perfectly. That was a huge relief, man!
Adding the Door
I built a small door at the front of the oven, too. I made it from some scrap metal I had lying around and attached it with some heavy-duty hinges. It’s not the prettiest thing, but it does the job, keeping the heat in and letting me check on my pizza without letting out all that precious warmth.
Firing It Up
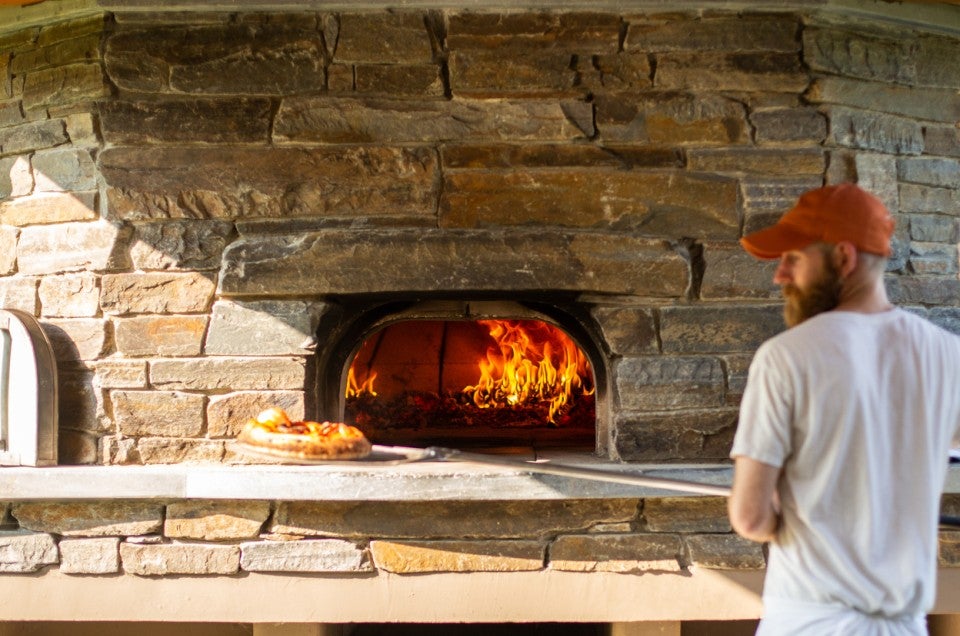
After letting everything dry for a week, it was finally time to fire it up. I started with a small pile of kindling in the center and gradually added larger pieces of wood. It took a while for the oven to heat up, but once it did, man, it was hot! I could feel the heat radiating out. That’s when I knew it was ready.
Cooking My First Pizza
Cooking my first pizza in the oven was epic. I slid the pizza onto the hot stone floor, and it cooked super fast. The crust was perfectly crispy, and the toppings were bubbling. It tasted amazing, way better than anything from a regular oven. I was so stoked! All the hard work, the heavy lifting, the sweat, it was all worth it for that first bite.
Conclusion
So, there you have it. My journey building a wood-fired brick oven. It was a challenging project, but also super rewarding. I learned a lot, got a good workout, and now I have this awesome oven in my backyard. If you’re thinking about doing it yourself, I say go for it. Just be prepared for some hard work, and make sure you follow each step carefully. And hey, if I can do it, so can you. Trust me, the taste of that first homemade pizza will make it all worthwhile.


