Okay, so I’ve always wanted a nice, cozy spot in my backyard, you know? Somewhere to just chill out with friends, maybe roast some marshmallows. I thought, “Why not build an outdoor fireplace?” Sounds fun, right? So, I rolled up my sleeves and got to it.
First things first, I had to figure out what I wanted this thing to look like. Did I want something big and grand, or just a simple, little fire pit? I sketched out a few ideas on some paper, nothing fancy, just some rough drawings. Finally, I settled on a medium-sized brick fireplace. It seemed like a good balance of being impressive but not too complicated to build.


Next, I had to gather all my materials. This was a bit of a chore, but I made a list and headed to the local hardware store. I picked up a ton of bricks—turns out, you need more than you think!—and some mortar mix. I also got some basic tools like a trowel, a level, and a shovel.
- Bricks: I got a few hundred. Better to have too many than not enough.
- Mortar Mix: This is like the glue that holds the bricks together.
- Trowel: For spreading the mortar.
- Level: To make sure everything is straight.
- Shovel: For digging and mixing.
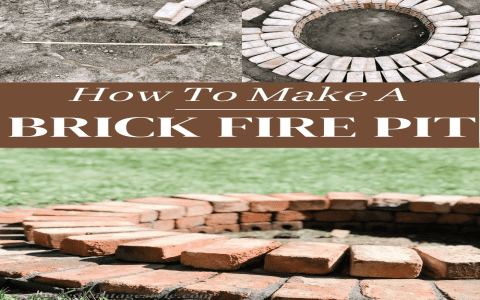
With everything ready, I started digging the foundation. This is where the fireplace was going to sit, so it had to be solid. I dug a shallow pit, about a foot deep, and made sure it was level. Then I poured a layer of gravel for drainage and packed it down.
Now for the fun part—laying the bricks! I mixed up the mortar according to the instructions on the bag, making sure it was the right consistency, like peanut butter. I started laying the bricks in the pattern I had designed, using the trowel to spread the mortar between each brick. I used the level every few bricks to make sure everything was straight and even. It was slow going, but kind of therapeutic, you know?
I kept building up the walls, layer by layer. It was like a giant, heavy puzzle. Every now and then, I’d step back to admire my work and make sure it looked okay. There were a couple of times I had to redo a few bricks because they weren’t quite right, but that’s part of the process.
Finishing Touches
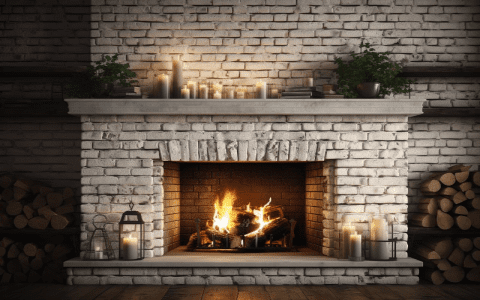
After what felt like forever, the main structure was done! I let the mortar dry for a few days, just to be safe. Then, I added a little chimney on top to help with the smoke. I also built a small hearth in the front, which was a nice touch.
Finally, the moment of truth—I lit the first fire! It was such a satisfying feeling, seeing the flames dance around in the fireplace I had built with my own hands. The bricks gave it a really rustic, charming look.
So, there you have it. That’s how I built my brick outdoor fireplace. It was a lot of work, but totally worth it. Now I have the perfect spot to relax and enjoy the evenings. If you’re thinking about doing something similar, just go for it! It’s a great project, and you’ll be so proud of yourself when it’s done.


