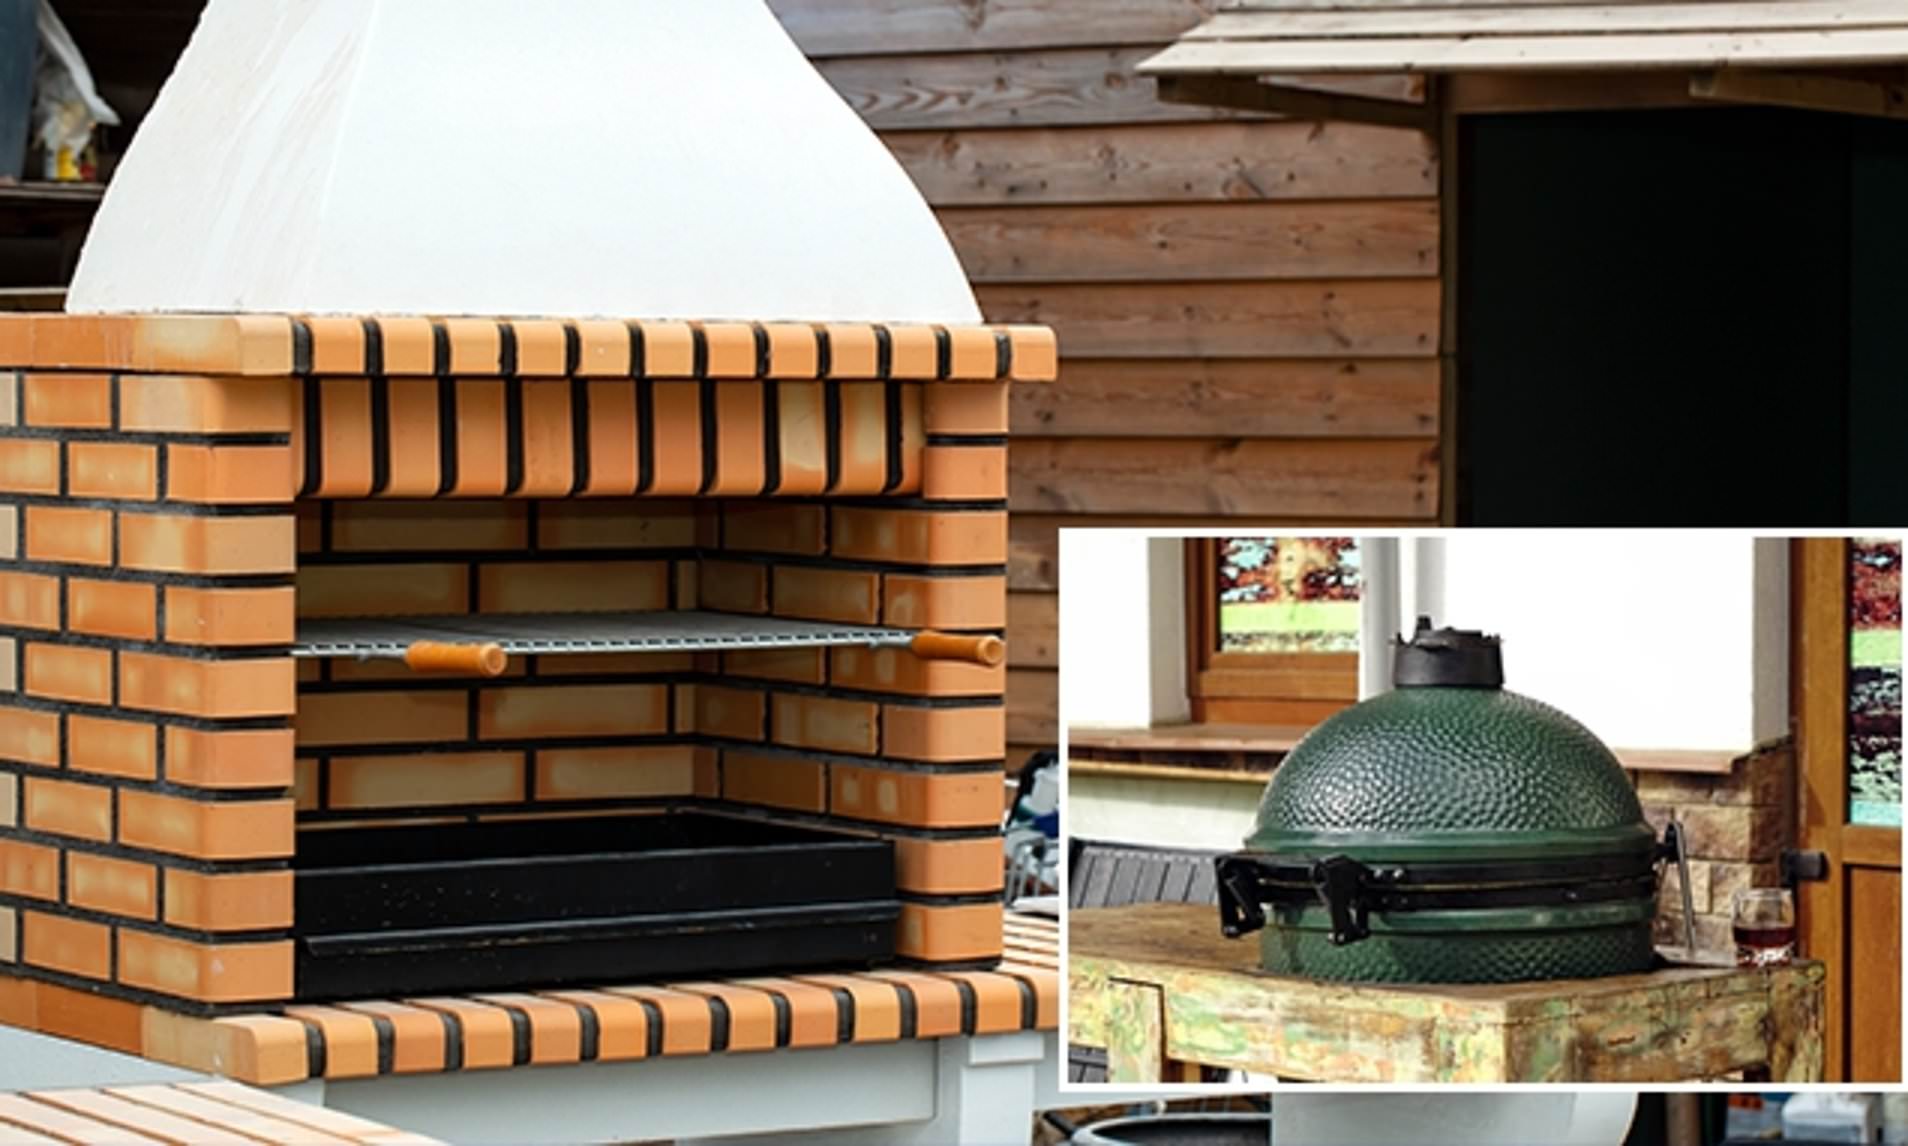
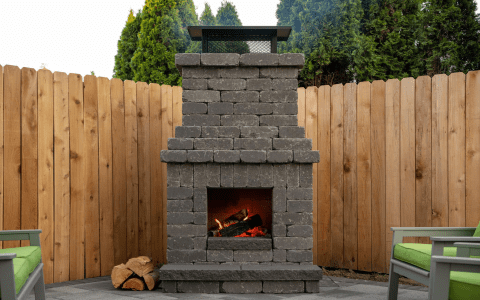
So I finally decided to build that brick barbecue I’ve always wanted. You know, the kind with a chimney and everything? I’ve been dreaming about this for years, and it was time to make it happen. First thing I did was walk around my backyard, trying to figure out the best spot. I wanted it to be close enough to the house for easy access but not so close that smoke would be an issue. Finally, I found the perfect place – right near my patio area.
Next, I started gathering all the materials. Let me tell you, this was a bit of a workout! I got some bricks, cement, concrete, rebar, and these special firebricks for the inside. I also grabbed some partition blocks to make a solid base. I had to make multiple trips to the hardware store, and my car got a good workout too!


The first real step was laying down the base. I used those partition blocks and made sure everything was level. This part was crucial because the whole structure would be built on top of this. I put down a layer of concrete, then the blocks, and then more concrete. I let it set for a day to make sure it was solid.
Once the base was ready, I started with the walls. I used regular bricks and this special mortar that can handle high heat. It’s called Sakrete. I started laying the bricks in rows, making sure to stagger them for strength. I put rebar in every other row for extra reinforcement, just to be safe. Building the walls took some time, and I had to make sure they were straight and level. It was a bit of a challenge, but I got the hang of it after a while.
- Laying Bricks: This was the most time-consuming part. I had to apply mortar to each brick and carefully place it.
- Reinforcing: Every second row, I added rebar and filled it with hydraulic cement. This made the structure super strong.
After the walls were up, it was time for the chimney. This was a bit tricky because I had to make sure it was straight and would draw smoke properly. I built it up brick by brick, just like the walls, using the same heat-resistant mortar. I kept checking the alignment with a level to make sure it was perfect.
Then, I added the firebox area. This is where the fire would actually be. I used firebricks for this part because they can handle really high temperatures. I also put in a metal tray for the coals and a grill on top. I made sure the grill was at a good height for cooking. I ended up using about 120 bricks for the whole thing, which was more than I initially thought, but it turned out great.
Finishing Touches
Once everything was built, I let it all dry for a few days. Then, I cleaned up any extra mortar and made sure everything looked good. I even added a little prep table on the side, which was a last-minute decision but totally worth it.
Finally, the moment of truth – I lit a fire in my new barbecue! It worked perfectly. The chimney drew the smoke up and away, and the grill got nice and hot. I cooked some burgers and hot dogs, and they tasted amazing. It was such a satisfying feeling to cook on something I built with my own hands. It took some time and effort, but building my own brick barbecue was one of the most rewarding projects I’ve ever done.


