Alright, so, I’ve always wanted one of those cool brick pizza ovens in my backyard. You know, the kind you see in those fancy cooking shows? Well, I finally decided to just go for it and build one myself. Let me tell you, it was quite the adventure!
Getting Started
First things first, I started to gather all the stuff I needed. I did some research and found out that you need a solid foundation. I dug up a spot in my yard and laid down a concrete pad. It wasn’t too hard, just mixed some concrete and poured it into a wooden frame I made. I made the pad pretty big, it measured about eight by ten. Then, let it dry for a couple of days.

Building the Base
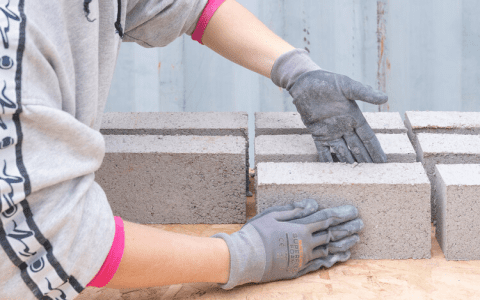
Once the pad was ready, I started on the base. I used concrete blocks to make a U-shape. I made sure to use a level to keep everything straight and even. Mortar went between the blocks to stick them together. It was kind of like playing with giant LEGOs, but way messier. I got the base to about waist height, which seemed like a good height to work at.
Making the Oven Floor
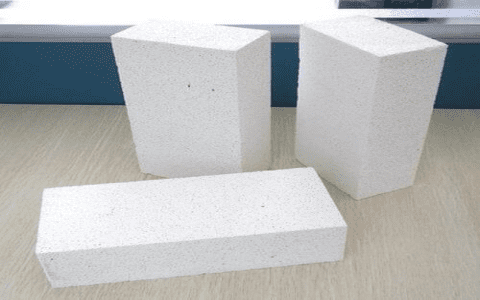
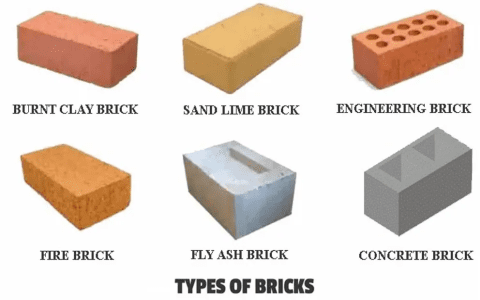
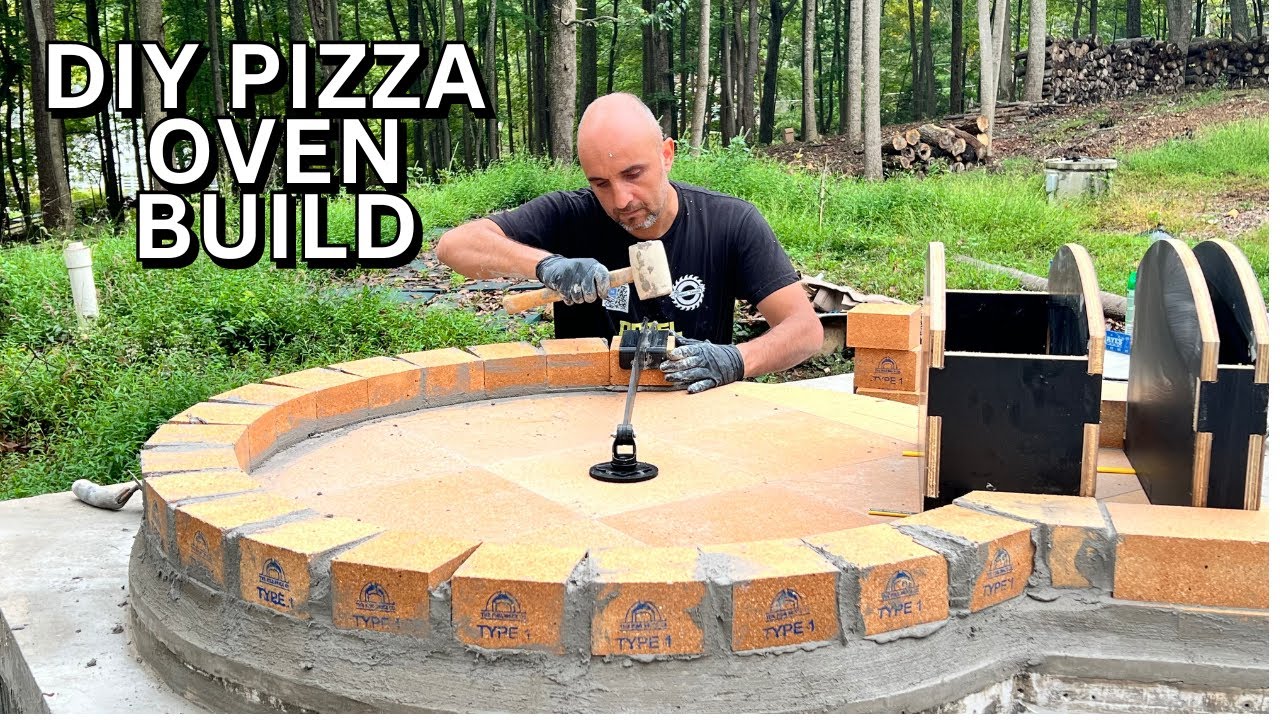
For the oven floor, I used firebricks. I put them close together on top of the base. No mortar here, I needed them to expand and contract with the heat. I made sure they were level, I didn’t want a wonky pizza!
Creating the Dome
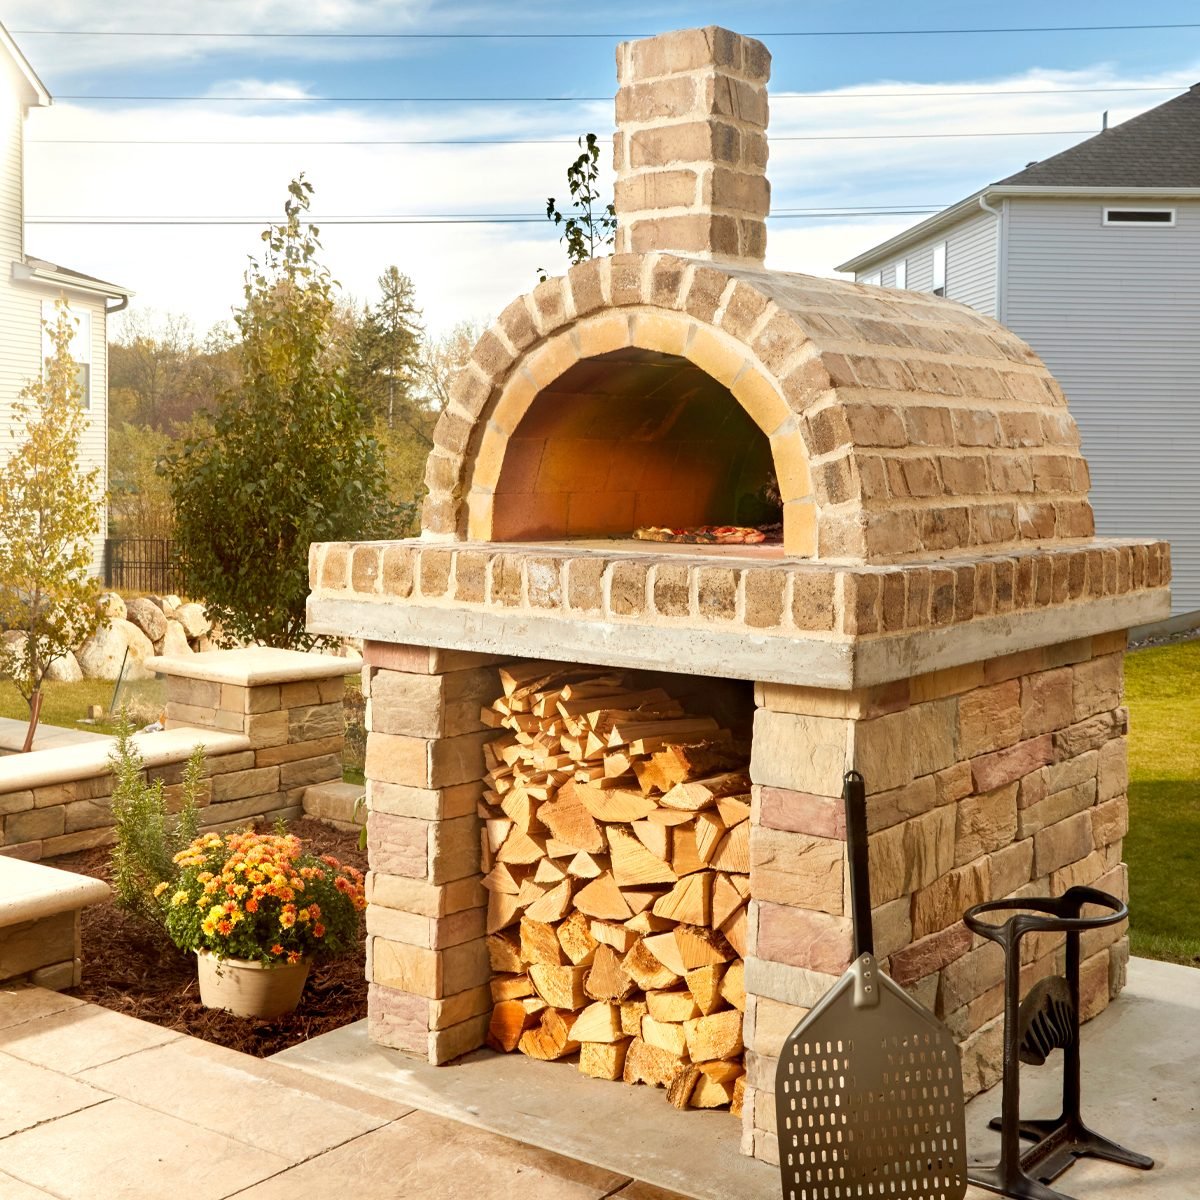
This was the tricky part. I built a dome form out of sand, then laid the firebricks over it. I used a mix of fireclay and sand for mortar. Each brick had to be cut and fit just right. It took some time and patience, but slowly the dome started to take shape. Once it was done, I let it dry for a while. Then I carefully removed the sand from inside, I was nervous, but it held up perfectly!
Adding the Door and Chimney
Next, I built the door frame and the chimney. I used regular bricks for these, since they don’t get as hot. The door was simple, just a small arch. The chimney was a bit taller and let me tell you, aligning those bricks vertically was a challenge. But, I got it done.
Insulation and Finishing
After the main structure was up, I covered the dome with ceramic fiber insulation to keep the heat in. Then, I added a layer of chicken wire and covered it with a thick coat of mortar. Once that was dry, I added some decorative stones to make it look nice. You could also use tiles, but I preferred a more rustic look.
Curing the Oven
Before I could start making pizzas, I had to cure the oven. This involved building small fires, gradually increasing the size each day. It’s important to do this slowly to let the moisture out and prevent cracks. This took about a week, but it was worth it.
Choosing the Wood
I learned that the type of wood really matters. Some good options are oak, maple, hickory, and ash. They burn hot and clean, giving that perfect smoky flavor to the pizza. Softwoods like pine burn too fast and can leave a weird taste, so I avoid those.
Finally, Pizza Time!
Finally, the day came when I could fire up the oven and make my first pizza! It took a few hours to get it to the right temperature, around 700-800 degrees Fahrenheit. I slid the pizza in, and in just a couple of minutes, it was done. The crust was crispy, the cheese was bubbly, and the taste was amazing. There’s nothing like homemade pizza from a wood-fired oven.

Maintenance
Keeping the oven in good shape is pretty straightforward. I clean out the ashes after each use and check for any cracks in the mortar. Every few months, I do a more thorough inspection to make sure everything is solid. Regular maintenance means I can enjoy my pizza oven for years to come.
Building a brick pizza oven was a lot of work, but it was totally worth it. The taste of the pizza is incredible, and it’s a great way to entertain friends and family. Plus, I get to say I built it myself, which is pretty cool.
