Okay, so, I’ve always wanted one of those cool brick pizza ovens in my backyard. You know, the kind you see in those fancy Italian restaurants? Yeah, well, I finally decided to just go for it and build one myself. Let me tell you, it was quite the adventure!
The Planning Phase
First things first, I needed a plan. I spent hours online looking at different designs, trying to figure out what would work best for my space. There are tons of options, but I needed something that would not only be functional but also look good in the backyard. I sketched out a few ideas, thinking about the size, the shape, and where it would sit.


Gathering Supplies
Once I had a rough idea of what I wanted, it was time to gather the supplies. This was a bit of a challenge because I needed a lot of bricks—like, a LOT. I also needed some other stuff like mortar, sand, and some tools I didn’t have. I made a list and started checking it twice, then it was off to the hardware store.
Building the Base
The first actual building step was creating a solid base. This is super important because the oven is heavy, and you don’t want it sinking or cracking. I dug out an area in my backyard, laid down some gravel for drainage, and then poured a concrete slab. I’m no expert, but I managed to get it pretty level, which was a relief.
Laying the Bricks
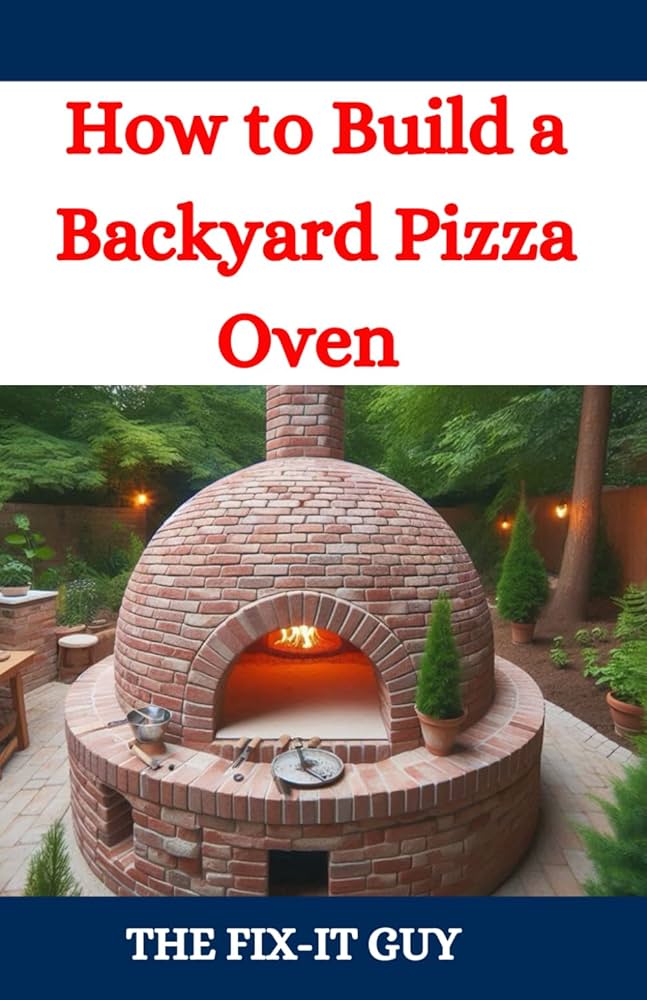
Now came the fun part—laying the bricks. I started with the floor of the oven, carefully placing each brick and using mortar to keep them together. It was slow going, but seeing it take shape was pretty exciting. After the floor, I started on the walls, slowly building them up in a dome shape. This was tricky, but I took it one brick at a time, making sure each one was secure.
Creating the Dome
The dome was definitely the hardest part. I had to shape the bricks and angle them just right so they would form a stable arch. I used a temporary wooden frame to support the bricks while the mortar dried. It was a bit nerve-wracking, hoping it wouldn’t all come crashing down. But, brick by brick, I built up the walls, higher and higher, trying to follow my rough plan.
Finishing Touches
Once the dome was done, I added a chimney to help with the smoke. I also built a little door for the front to keep the heat in. After everything was built, I let the mortar cure for a few days. This was the hardest part because I was so eager to try it out!
The First Pizza
Finally, the day came to test it out. I built a fire inside, let it heat up, and then slid in my first homemade pizza. The smell was amazing, and watching it cook in my own brick oven was such a cool feeling. And let me tell you, it tasted incredible—way better than anything I’ve made in a regular oven.
Final Thoughts
Building a brick pizza oven was a lot of work, but it was totally worth it. It’s not just about the pizza; it’s about the whole experience of building something with your own hands and then enjoying the fruits of your labor. If you’re thinking about doing it, I say go for it! Just be prepared for a bit of a challenge, and a lot of fun along the way.


