Alright, let’s talk about something I did a while back that I’m pretty proud of – building my own brick pizza oven. Yeah, you heard that right, a real, fire-breathing pizza oven right in my backyard. It wasn’t a walk in the park, but man, was it worth it.
First things first, I had to figure out where to put this thing. I mean, it’s not exactly a small project. I spent a good chunk of time just walking around my backyard, picturing where the oven would fit best. I wanted it close enough to the house so I wouldn’t have to trek too far for ingredients, but far enough that the smoke wouldn’t be a problem. Finally, I settled on a spot that felt just right.


Next up was the design. Now, I’m no architect, but I did my homework. I looked at a ton of different oven designs online, trying to get a feel for what I wanted. I ended up going with a pretty classic dome shape. It seemed like the most common design, and I figured there must be a reason for that.
Once I had the location and design sorted, it was time to start building. The foundation was the first real challenge. I had to dig a hole, build a wooden frame, and pour concrete. It was tough work, especially since I was doing it all by myself. But I got it done, and it felt pretty darn solid.
With the foundation ready, I started on the base. This is where the oven would actually sit, so it had to be strong. I used concrete blocks for this part, stacking them up and filling them with more concrete. It was like playing with giant, heavy LEGOs.
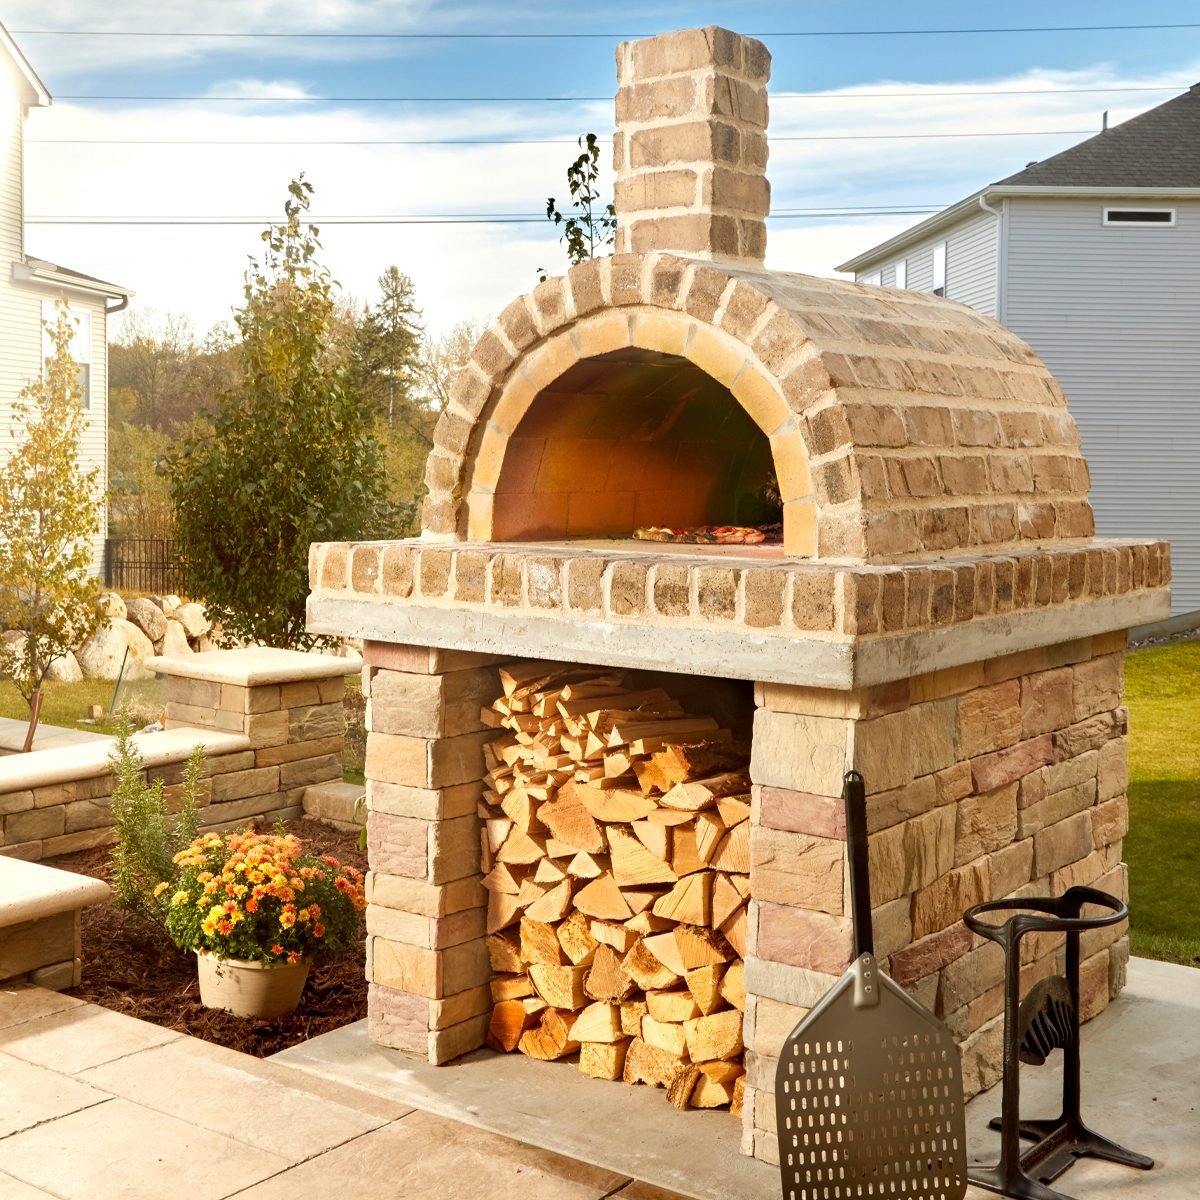
Then came the fun part – building the oven itself. I started with the floor, laying out firebricks in a circular pattern. These bricks can handle some serious heat, which is exactly what we need for a pizza oven.
Building the dome was the trickiest part of the whole project. I made a form out of sand to get the right shape, then started laying bricks over it. I had to cut some of the bricks to get them to fit just right, which was a bit of a pain. But slowly but surely, the dome started to take shape.
- Digging and pouring the foundation: This was tough, but crucial.
- Building the base: Like playing with giant LEGOs.
- Laying the firebrick floor: These bricks can handle the heat.
- Constructing the dome: The trickiest part, but I got it done.
After the dome was finished, I added a layer of insulation and then a layer of regular bricks for the exterior. This helped keep the heat in and gave the oven a nice, finished look. I even built a little chimney to help with the smoke.
The final step was to let the whole thing cure for a few weeks. This was the hardest part because I was so eager to try it out! But I knew it was important to let the concrete and mortar set properly.
Finally, the day came when I could fire up my oven for the first time. I built a small fire inside and slowly increased the temperature over a few hours. I watched the thermometer climb, feeling like a kid on Christmas morning.


And then, it was pizza time. I slid my first homemade pizza into the oven and waited. A few minutes later, it came out perfect – a crispy crust, bubbly cheese, and that amazing wood-fired flavor. It was the best pizza I’d ever tasted, and I made it myself, in my own oven that I built with my own two hands. It doesn’t get much better than that.
Reflecting on the Build
Looking back, building that pizza oven was one of the most rewarding things I’ve ever done. It was a lot of hard work, but it was totally worth it. Not just for the delicious pizza, but also for the sense of accomplishment. I built something real, something lasting, something I can share with my friends and family. And every time I fire up that oven, I’m reminded of that feeling.


