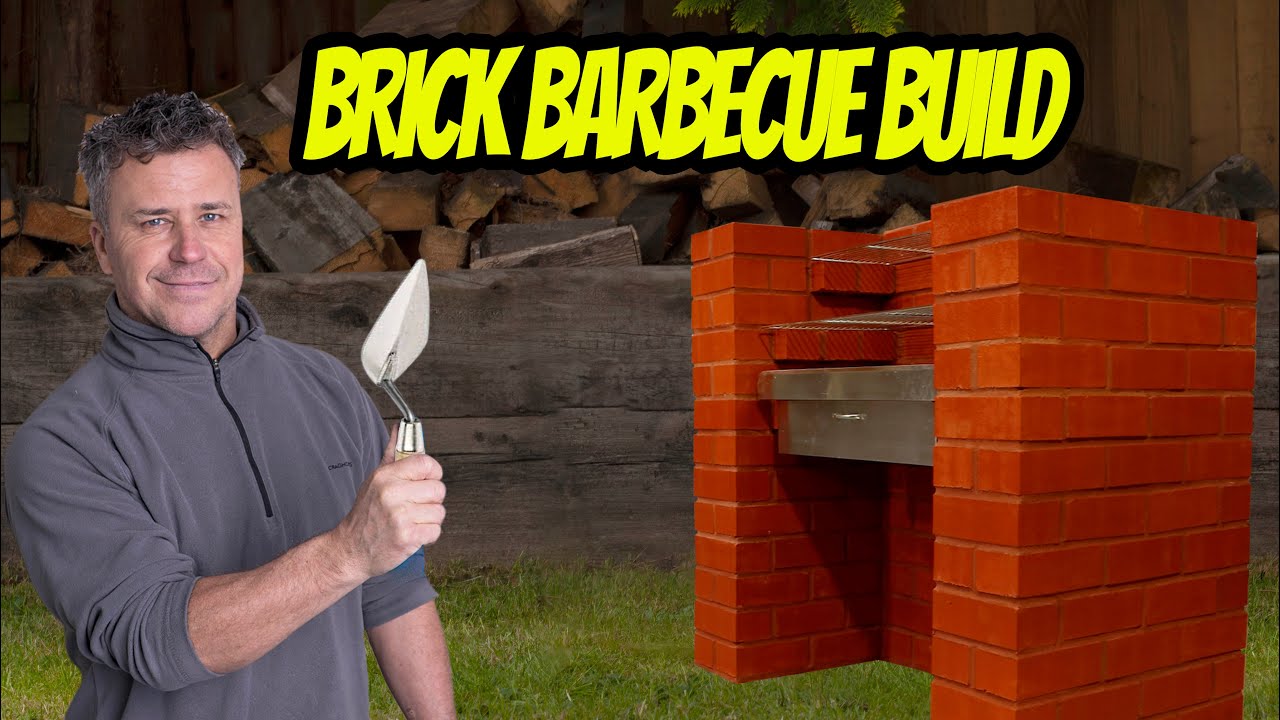
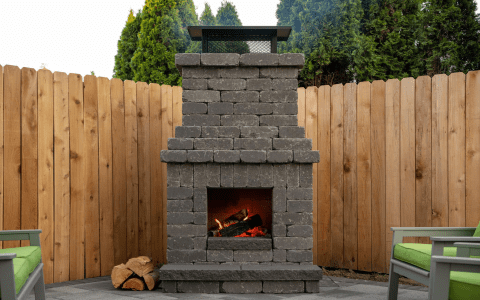
Okay, so I got this idea stuck in my head about building a brick BBQ smoker in my backyard. I’ve always loved the taste of smoked meat, and I figured, why not give it a shot? Plus, it would be a pretty cool project to tackle, you know?
First, I spent some time figuring out what I wanted. I started by looking around online, reading articles, and watching some videos. I needed to decide on the size. I thought about how much meat I usually cook and considered my family size and the number of guests I usually have over. The size needed to be just right—not too big, not too small. So, I sketched out a few designs, trying to get a feel for the dimensions and how it would look in my backyard. I also had to think about where to put it, making sure it was a safe distance from the house and any trees.


Once I had a rough plan, I started gathering the materials. I needed a ton of bricks, obviously, and some good quality mortar to hold them all together. I also bought a few metal parts, like a door for the firebox and grates for the cooking chamber. Getting all this stuff to my place was a bit of a hassle, I had to borrow my buddy’s truck. I also needed some tools for bricklaying, like a trowel, a level, and a few other things.
The next step was building the base. I dug a shallow pit and filled it with gravel and concrete to make a solid foundation. This was crucial because the whole smoker would be pretty heavy. After the foundation was set, I started laying the bricks. This was the most time-consuming part. I had to make sure each brick was level and that the mortar was applied evenly. I built up the firebox first, where the wood would burn, and then the cooking chamber, where the meat would go. It was slow going, and I definitely made a few mistakes along the way. I had to redo a couple of sections, but hey, that’s part of the learning process, right?
After I was done with the main structure, I had to add the door to the firebox. I made sure it fit snugly to keep the heat in. Then, I placed the metal grates inside the cooking chamber. I also built a chimney on top to let the smoke out. Oh, and I decided to add a small metal pan inside the firebox to hold the wood chips, that was a tip I got from some article about building it by using a trash can.
Once everything was in place, I let the mortar cure for a few days. I kept checking on it, making sure it was setting properly. Finally, the day came to test it out. I built a small fire in the firebox and added some wood chips for that smoky flavor. I put a piece of chicken on the grate to see how it would cook. I also installed a thermometer, which I highly recommend for monitoring the temperature. The first time using it, I had a bit of trouble controlling the temperature, but after a few tries, I got the hang of it.
The chicken turned out amazing! It was smoky and juicy, and it tasted so much better than anything I’d ever bought from a store. I’ve used the smoker a bunch of times since then, and each time it gets a little bit easier. I’ve smoked ribs, brisket, and even some vegetables. It’s been a lot of work, but totally worth it. Plus, it’s pretty cool to tell people I built it myself, you know?
Things I Learned Along the Way:
- Take your time: Rushing will only lead to mistakes.
- Double-check everything: Make sure your bricks are level and your measurements are accurate.
- Don’t be afraid to ask for help: I got some great advice from a friend who’s a contractor.
- It is really cheap: It uses very little wood to create smoke, so it is potentially more affordable to operate.
- Patience is key: Smoking meat takes time, but the results are worth the wait.
- It was fun to build, and it’s fun to use!
So, yeah, that’s my brick BBQ smoker story. It’s been a fun and rewarding project, and I’m really happy with how it turned out. If you’re thinking about building one yourself, I say go for it! Just be prepared to put in some work, and don’t expect it to be perfect the first time. But trust me, the taste of that first piece of smoked meat will make it all worthwhile.


