Okay, so I’ve always wanted to build one of those cool outdoor pizza ovens, you know, the kind you see in fancy backyards. I finally got around to doing it, and let me tell you, it was a bit of a project. But hey, I’m here to share the whole messy process with you guys!
Choosing the right stuff
First things first, I had to figure out what kind of bricks to use. You can’t just grab any old bricks for this, oh no. After digging around online, it seemed like these “firebricks” were the way to go. Apparently, they’re made to handle some serious heat, which makes sense, right? So, I went on a mission to find some firebricks, you want high duty or super duty firebrick, really.


Getting my hands dirty
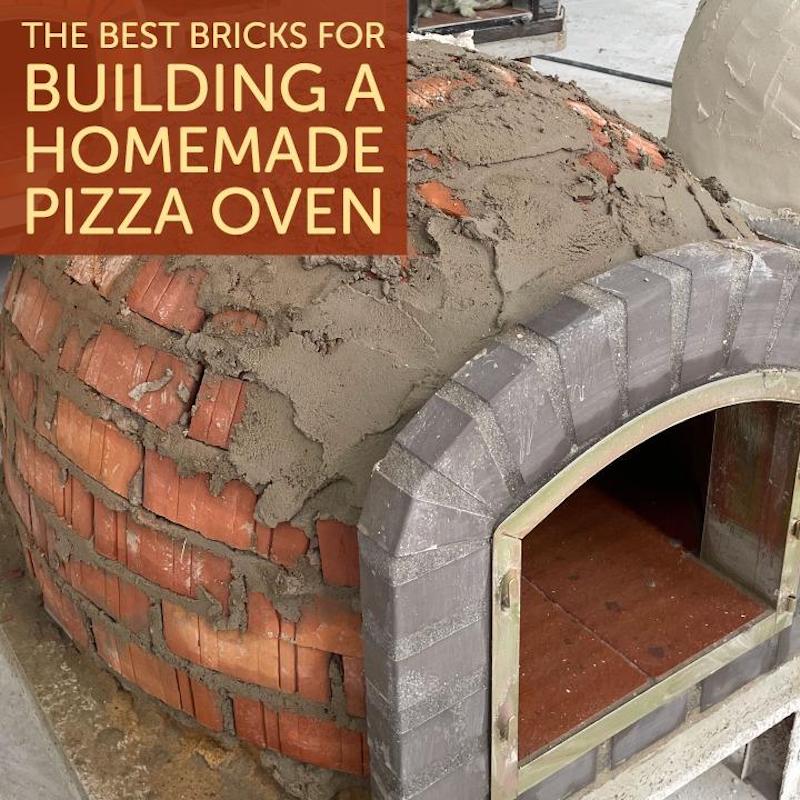
With the bricks sorted, it was time to actually start building. I cleared out a spot in the yard, leveled the ground, and laid down a simple concrete base. Nothing fancy, just something solid to build on. Then came the fun part – stacking those firebricks. I mixed up some mortar, which is basically like a special kind of glue for bricks, and started laying them out in a circle. Slowly but surely, the oven started to take shape.
It wasn’t easy, though. Bricks are heavy, and mortar gets everywhere. I definitely had a few moments where I wondered what I had gotten myself into. But I kept at it, layer by layer, checking the level every now and then to make sure things weren’t getting wonky.
The final touches
After what felt like forever, I finally finished the main structure of the oven. It looked pretty decent if I do say so myself. I built a little archway at the front for the opening, which was a bit tricky, but I managed it. Then I covered the whole thing with a layer of regular bricks, just to make it look a bit nicer and add some extra insulation.
- Clear a spot in the yard.
- Level the ground.
- Lay a concrete base.
- Mix mortar.
- Stack firebricks to form the oven shape.
- Build an archway.
- Cover with regular bricks for appearance and insulation.
The moment of truth
Once the mortar had dried, it was time to fire up the oven for the first time. I built a small fire inside and let it burn for a few hours, just to cure everything and make sure it was all good to go. I’m not gonna lie, I was pretty nervous. But it worked! No cracks, no explosions, just a nice, hot oven.
So, there you have it, my little outdoor oven adventure. It was a lot of work, but totally worth it. Now I can make awesome pizzas, bread, and whatever else my heart desires. If you’re thinking about building one yourself, just be prepared for some hard work, and don’t forget those firebricks! It is the Refractory that I think is the best brick for an outdoor oven! You will use these fire-resistant bricks for oven construction.


